React Contact Forms
Design a React contact form with Formspree's templates. Easily gather messages, inquiries, and customer information in your React application.
-
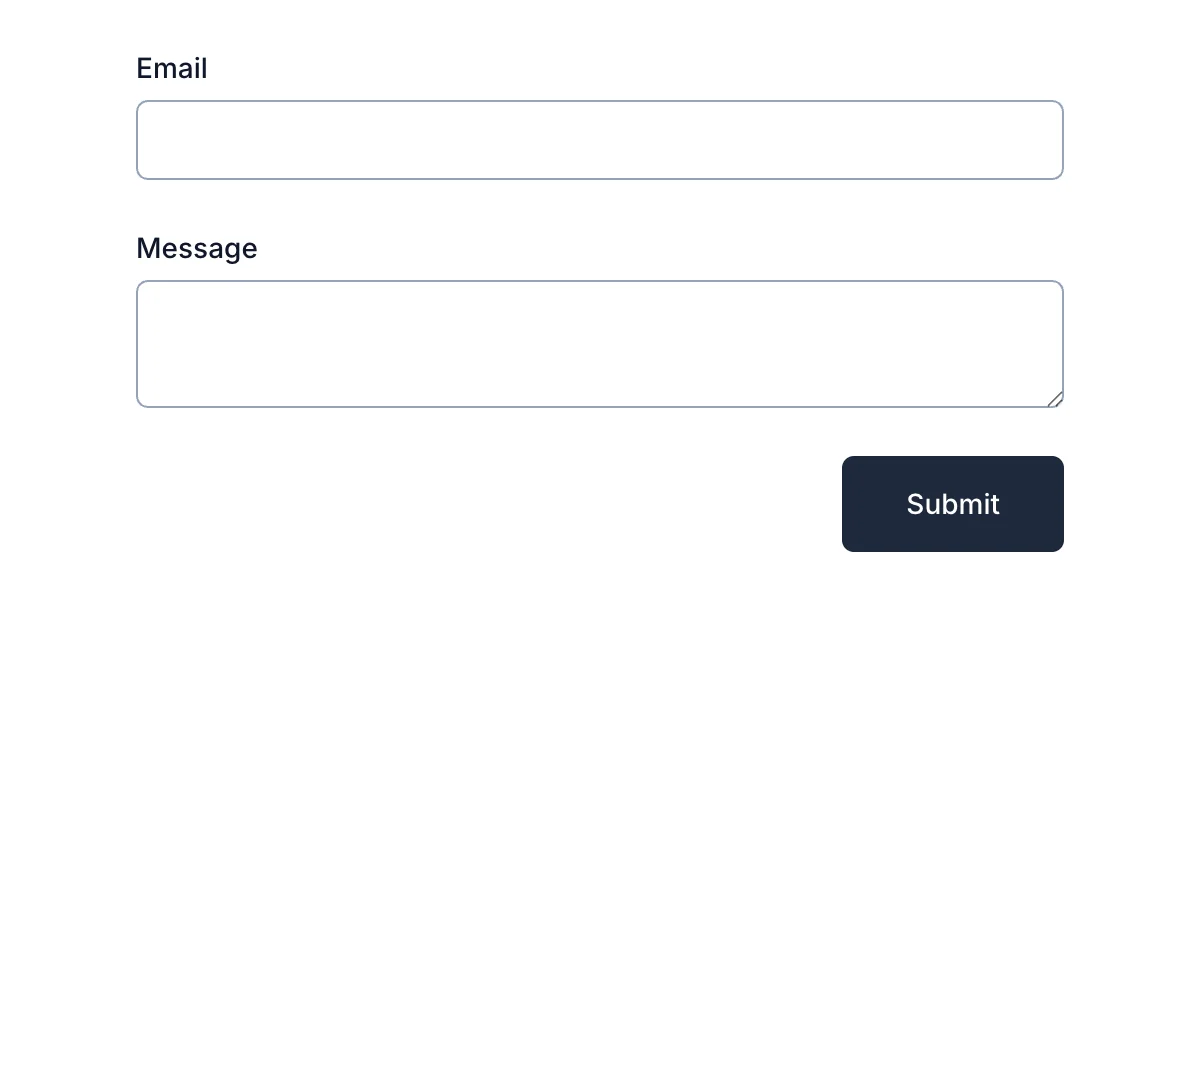
Simple Contact Form
Professional contact form for straightforward, efficient business communication
Get code -
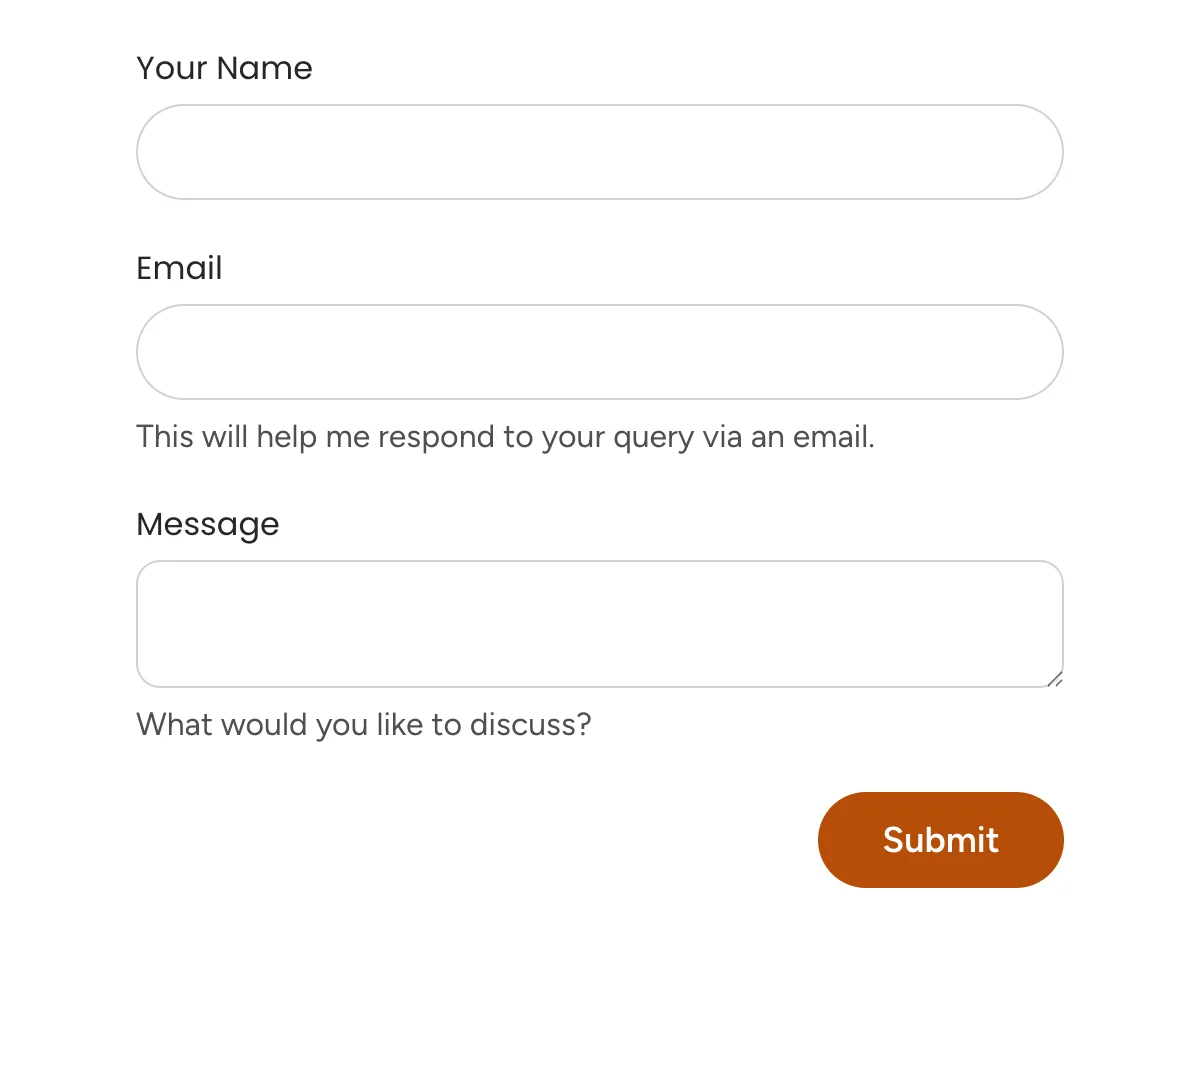
Contact Me Form
Simple 'Contact Me' form for direct, personal connections made easy
Get code -
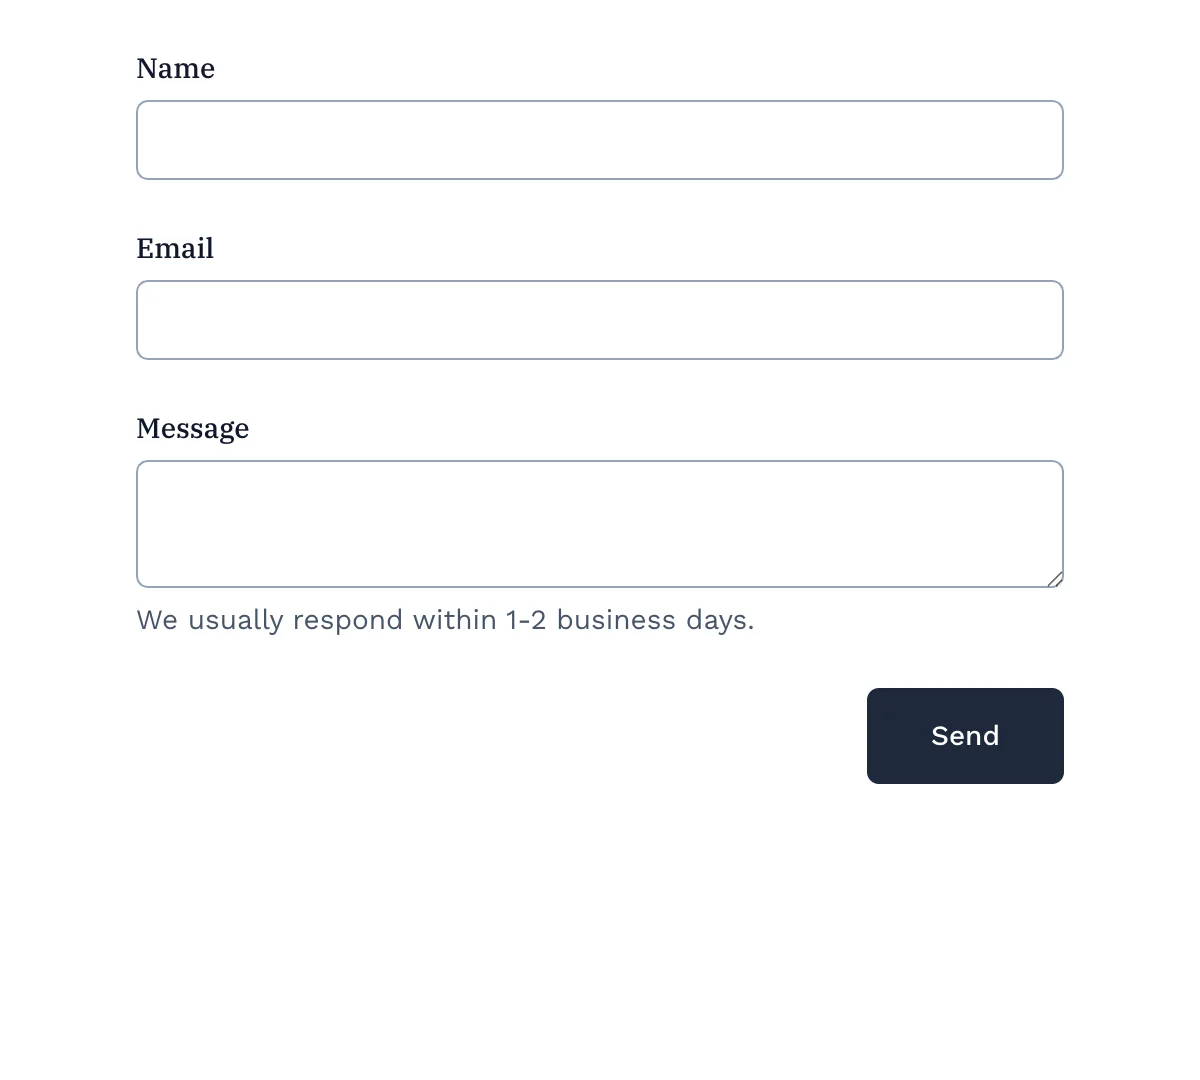
Contact Us Form
Professional contact form for easy communication with your customers
Get code -
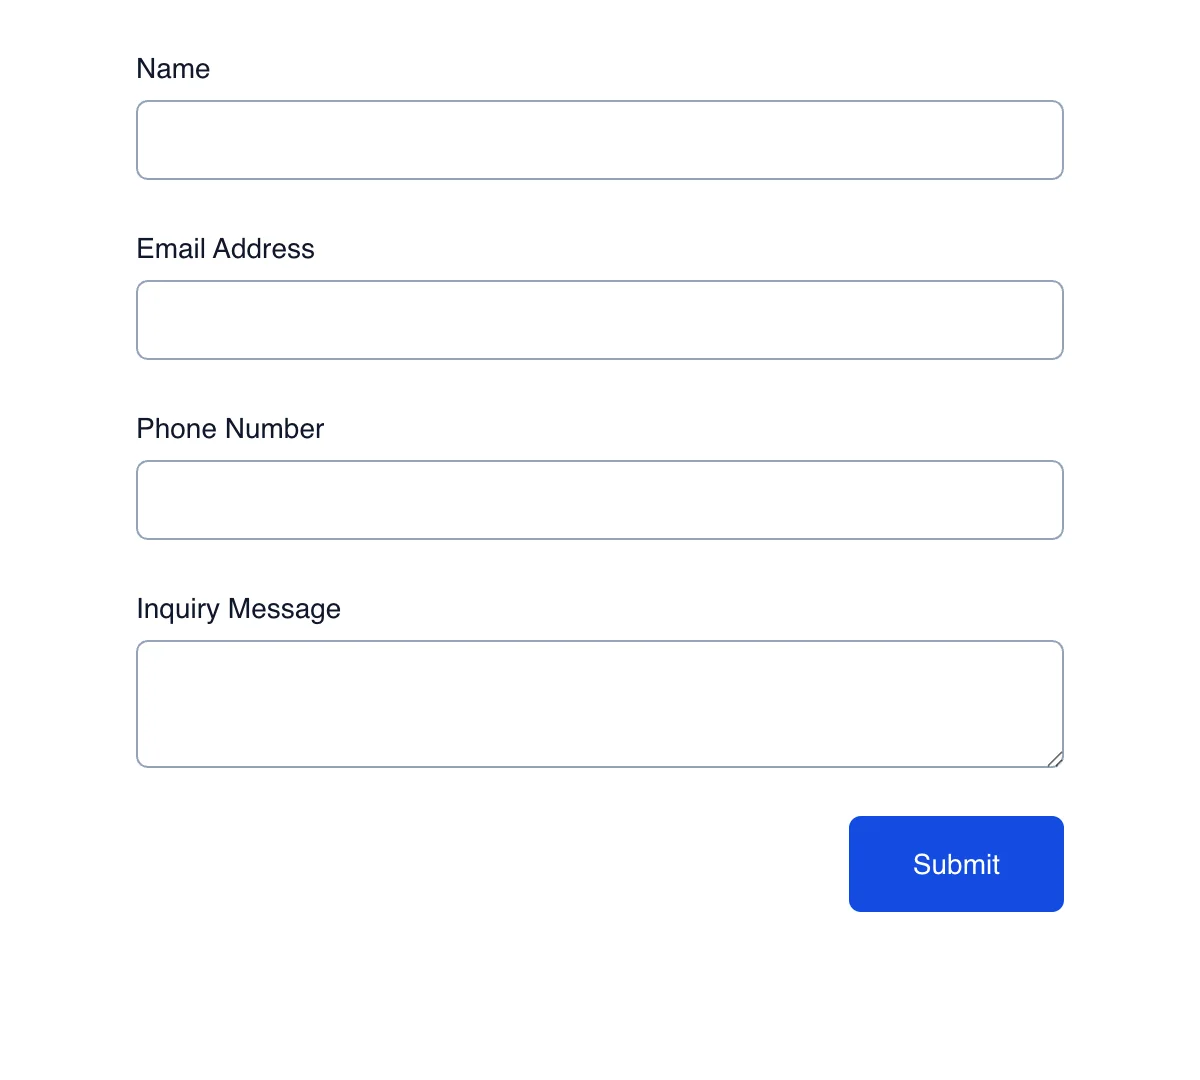
Inquiry Form
Clean, minimal inquiry form for general questions and quick responses
Get code -

Contact Sales Form
Streamlined sales contact form for quick customer connections and quotes
Get code -
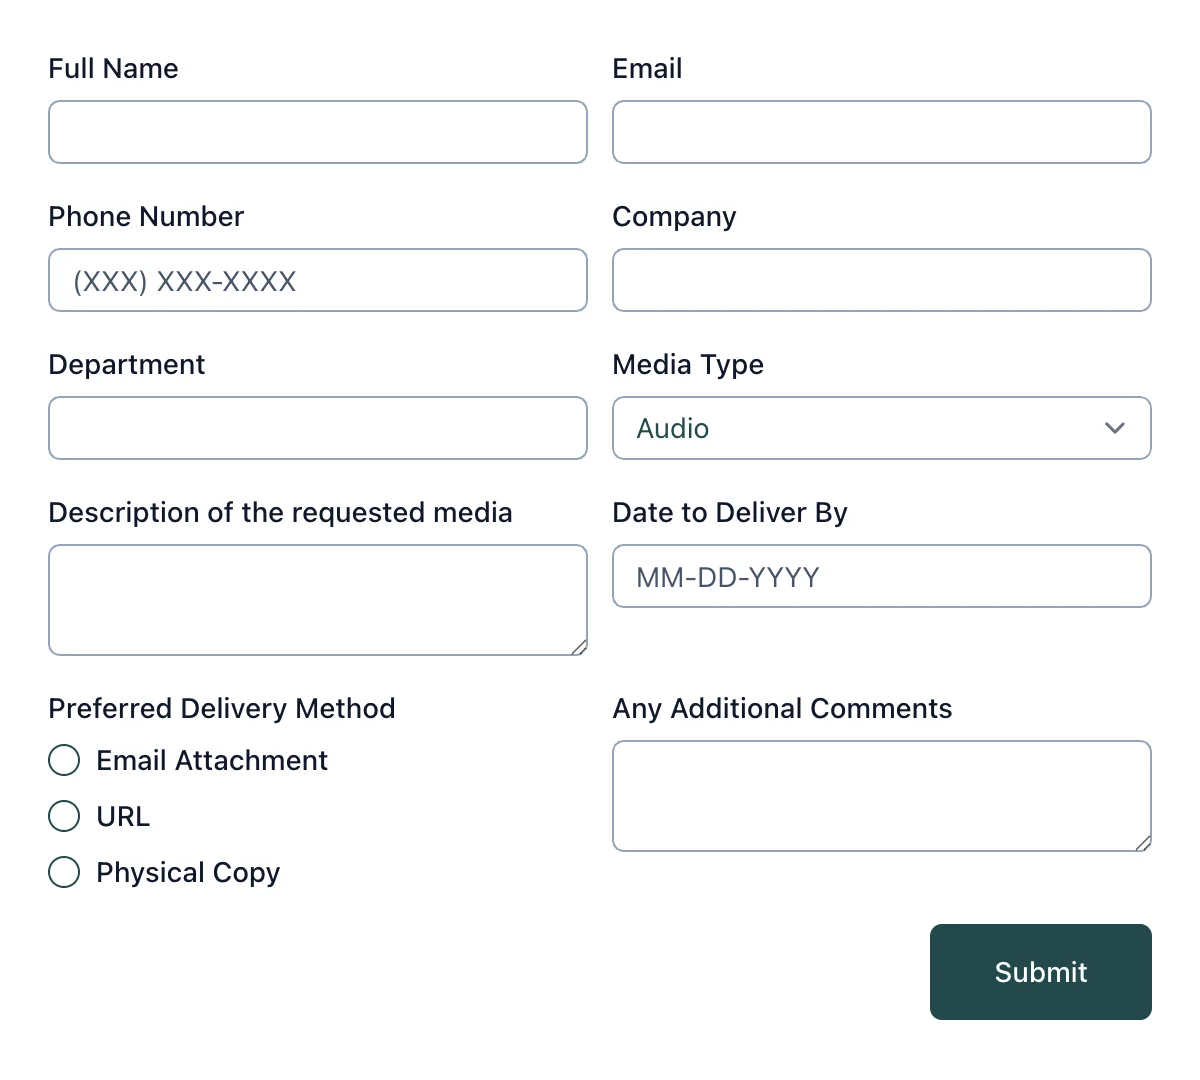
Media Inquiry Form
Simple media inquiry form for journalists to request info quickly
Get code
What is a React Contact Form?
A React contact form is a user interface element in a React application that allows users to enter and submit their contact information, such as name, email address, phone number, and message. It plays a crucial role in gathering data from users and facilitating communication between users and website owners. React’s component-based architecture makes building and managing a contact form component straightforward, even for those creating a new React application.
This guide will walk you through what a React contact form is, its essential components, and how to create a simple contact form in a React application. By the end, you’ll have a complete understanding of how to handle form submissions, work with form data, and integrate features like sending a confirmation email.
Why Use a React Contact Form?
React contact forms are an integral part of modern user interfaces because they:
- Simplify form creation: With reusable React components, you can build scalable forms.
- Enable real-time feedback: React allows for dynamic validation and error handling as users fill in the form.
- Improve user experience: The seamless integration of form data handling enhances interaction with your React application.
- Streamline form submissions: React’s state management simplifies capturing and processing form submissions.
Setting Up a New React Application With a Contact Form
Before we build our React contact form, let’s set up a new React application:
- Open your code editor.
- Ensure Node.js is installed on your local machine.
- Run the following command to create a new project:
npx create-react-app react-contact-form - Navigate to the project folder:
cd react-contact-form - Start the development server:
npm start
This will generate the scaffolding for your new React application and launch it in the browser.
If you’re looking to implement Formspree in a NextJS application, we have a detailed guide for you here.
Creating a Simple Contact Form
To build a simple contact form, follow these steps:
Step 1: Create a New File for the Contact Form
In the src folder of your React project, create a new file named ContactForm.js. This file will contain the React component for the contact form.
Step 2: Define the Contact Form Component
Open ContactForm.js in your code editor and add the following code:
  import React from 'react';


  const ContactForm = () => {

      return (
          <form>
              <label>Name:</label>
              <input type="text" name="name" required />

              <label>Email:</label>
              <input type="text" name="email" required />

              <label>Message:</label>
              <textarea name="message" required />

              <button type="submit">Submit</button>
          </form>
      );
  }

  export default ContactForm;
The component initializes its state with empty fields. The handleInputChange method updates the state as users type. The handleFormSubmission method prevents the default form submission and logs the form data. The submit button triggers the form submission.
Step 3: Integrating the Contact Form Component
To use the contact form component, import it into your main App.js file:
  import React from 'react';
  import ContactForm from './ContactForm';

  function App() {
    return (
      <div>
        <h1>Contact Us</h1>
        <ContactForm />
      </div>
    );
  }

  export default App;
This code integrates the React contact form into your React application and displays it under a “Contact Us” heading.
Handling Form Submissions with a POST Request
When building a production-ready React contact form, you’ll often need to send the form data to a backend server using a post request. Here’s how to do it using Formspree React library:
Step 1: Install Formspree
Run the following command to install the Formspree React library:
npm install @formspree/react
Step 2: Update the Handle Form Submission Method
Modify the ContactForm.js file to include a the calls to the Formspree React library:
  import React, { useState } from 'react';
  import { useForm } from '@formspree/react';

  const ContactForm = () => {

      const [state, handleSubmit] = useForm('your-form-id');

      if (state.succeeded) {
        return <div>Thank you for signing up!</div>;
      }

      return (
          <form onSubmit={handleSubmit}>
              <label>Name:</label>
              <input type="text" name="name" required />

              <label>Email:</label>
              <input type="text" name="email" required />

              <label>Message:</label>
              <textarea name="message" required />

              <button type="submit">Submit</button>
          </form>
      );
  }

  export default ContactForm;
The import { useForm } from '@formspree/react'; statement imports the Formspree library. Then, you call the useForm hook to create a form using the your form ID. You can now use the state object to track the state of your form (submitting, succeeded, errors, or result) and the handleSubmit button to trigger the submission of the form.
Step 3: Adding Validation
Formspree also supports integration backend validation into your React forms easily. You can use the ValidationError component from Formspree to render the validation error of a field right next to it:
  import React, { useState } from 'react';
  import { useForm, ValidationError } from '@formspree/react';

  const ContactForm = () => {

      const [state, handleSubmit] = useForm('your-form-id');

      if (state.succeeded) {
        return <div>Thank you for signing up!</div>;
      }

      return (
          <form onSubmit={handleSubmit}>
              <label>Name:</label>
              <input type="text" name="name" required />
              <ValidationError field="name" prefix="Name" errors={state.errors} />

              <label>Email:</label>
              <input type="text" name="email" required />
              <ValidationError field="email" prefix="Email" errors={state.errors} />

              <label>Message:</label>
              <textarea name="message" required />

              <button type="submit">Submit</button>
          </form>
      );
  }

  export default ContactForm;
If you wish to handle errors interactively while the user is entering data rather than after the user has submitted the form, check out our article on frontend validation techniques in React.
Testing the Contact Form Locally
To test your React contact form on your local machine, ensure the development server is running (npm start). Open the app in the browser, fill out the form, and click the submit button. Check the browser console for the logged form data.
Final Thoughts
A React contact form is an essential part of any React application, providing a means to collect user data effectively. By using React components, you can build a simple contact form that handles form submissions seamlessly, processes form data, and even integrates with a backend server for sending post requests.
With React’s flexibility, creating interactive and responsive user interfaces for forms is both efficient and enjoyable. Whether you’re building a new project or enhancing an existing one, understanding how to work with React forms will significantly improve your development skills.
Get started today by creating your own React contact form and explore its capabilities in real-world applications!