React Forms
Build a React form with Formspree's templates. Easily handle state, validation, and seamless submissions.
-
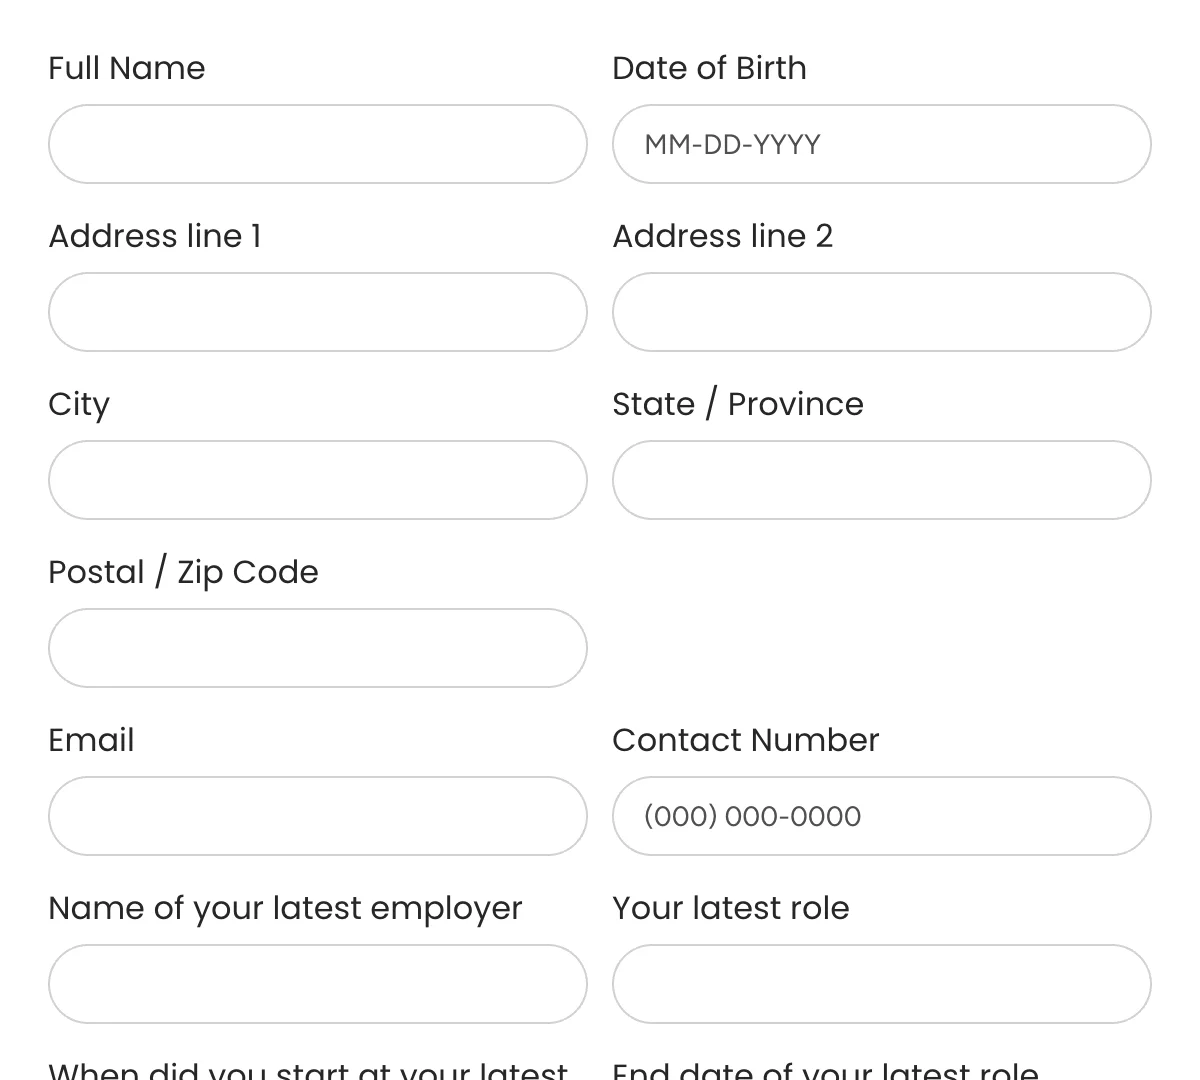
React Application Forms
Application forms to simplify hiring and screen candidates effectively!
-

React Contact Forms
Essential contact forms for smooth communication with your business
-
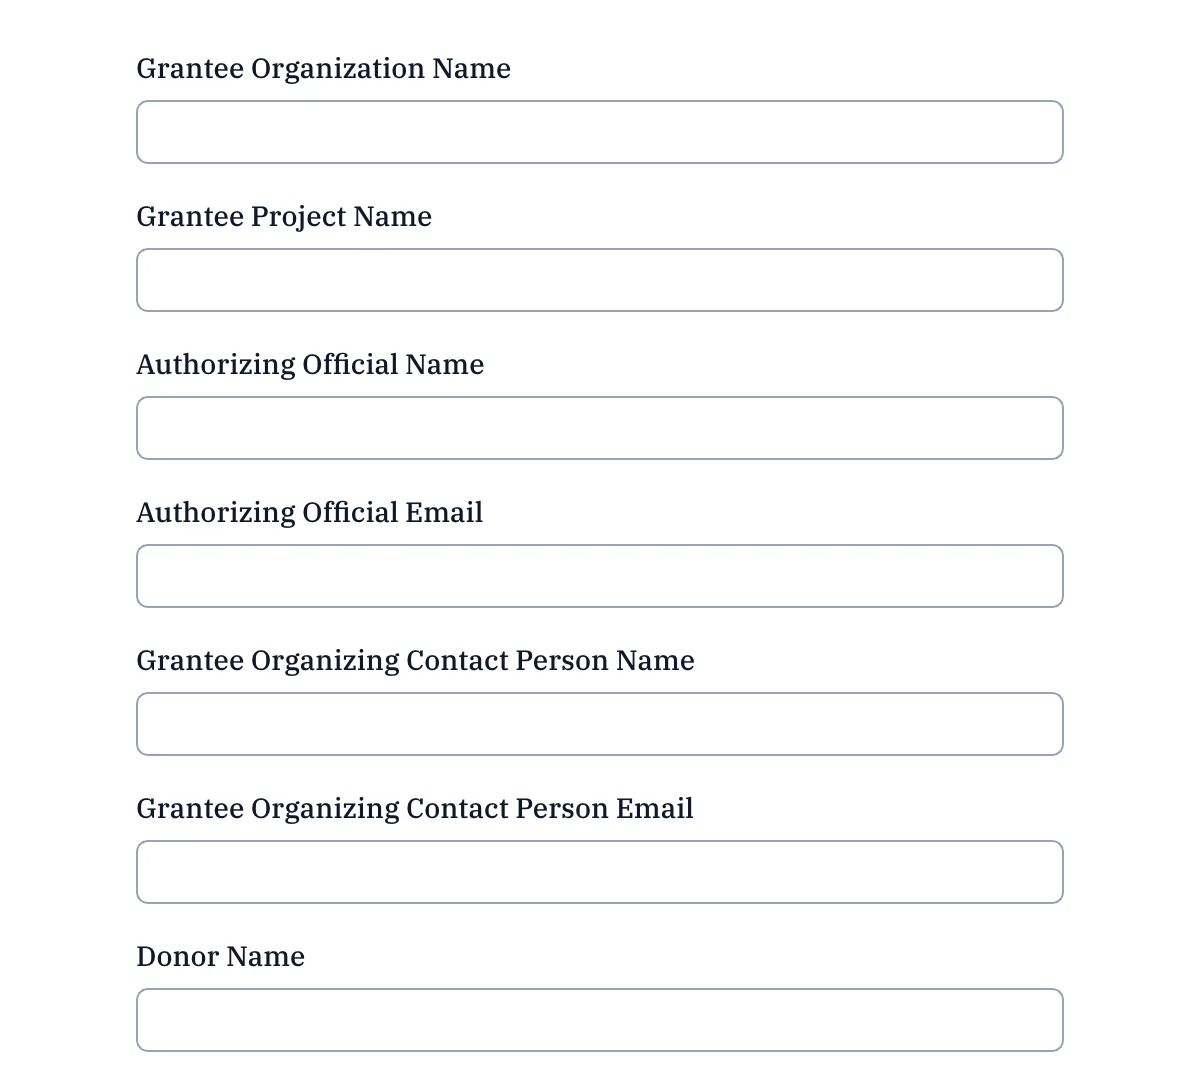
React Donation Forms
Ready-to-go donation forms for non-profits and charities
-
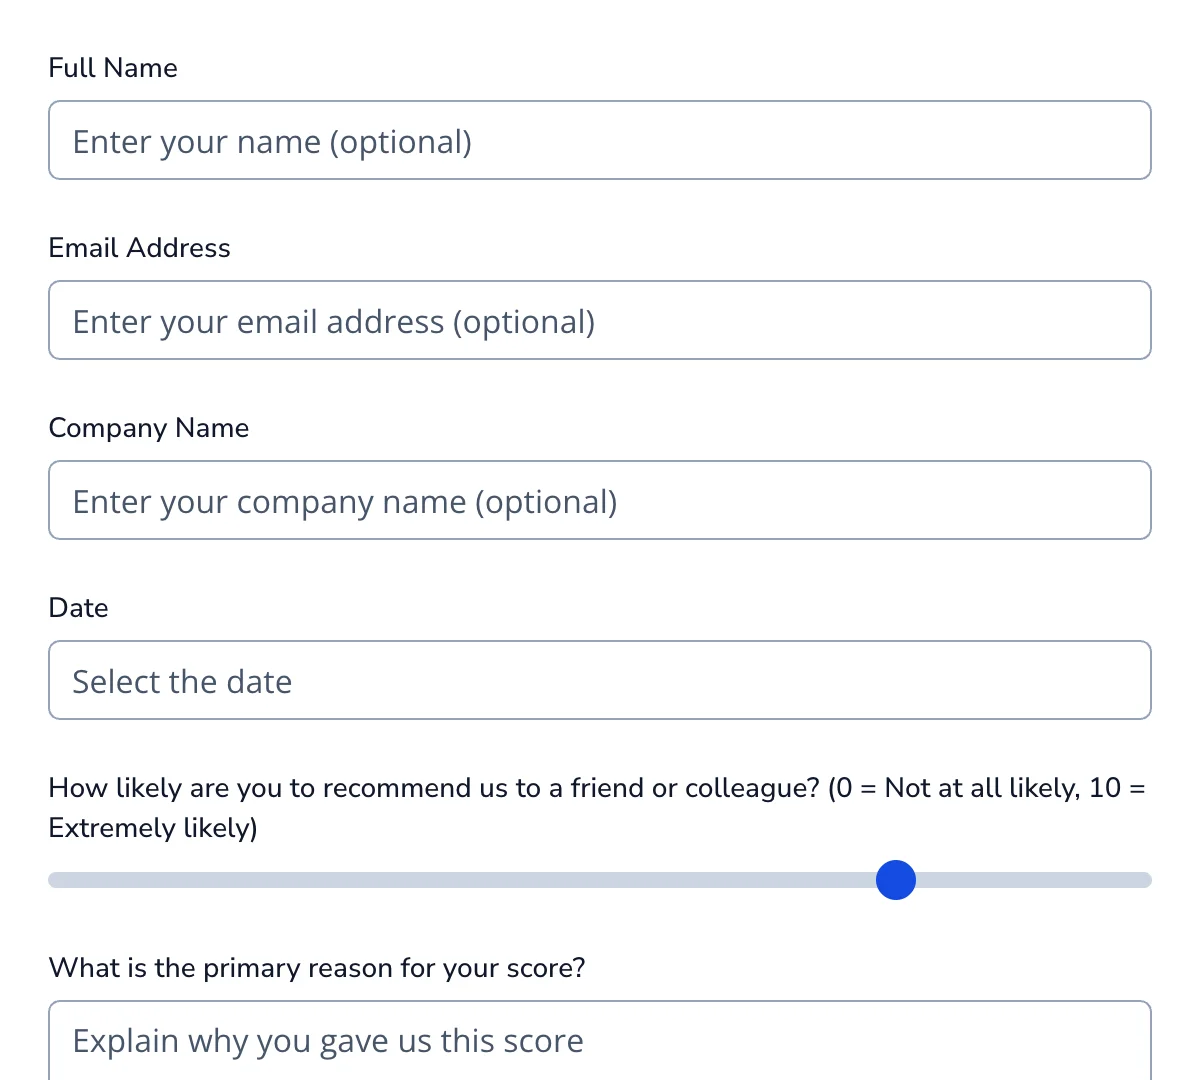
React Feedback Forms
Clean, minimal feedback forms for collecting opinions, reviews, and experiences
-
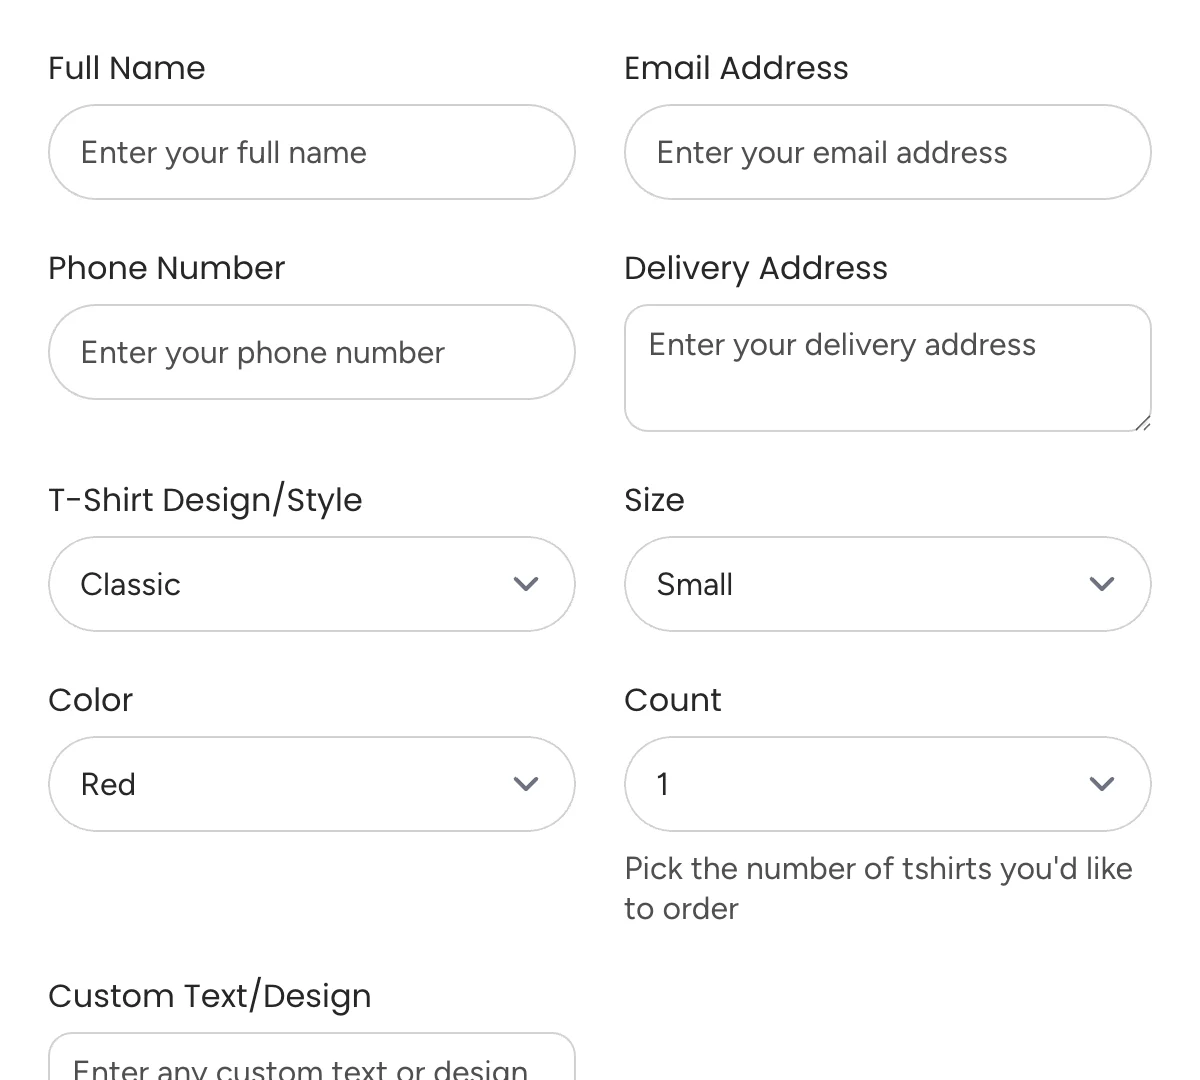
React Order Forms
Clean, versatile order forms for efficient tracking and processing.
-
React Registration Forms
Simple registration forms for easy sign-ups and onboarding
-
React Request Forms
Clean, flexible request forms for streamlining customer and internal submissions.
-
React Signup Forms
Clean, effective signup form for growing your audience or user base.
What are React Forms?
Forms are integral to many web applications. Whether it’s a login page, registration form, or a feedback survey, forms enable user interaction and data collection. In React, handling forms requires an understanding of form state, form data, and the React way of managing event listeners.
React simplifies form handling by providing the flexibility to use either controlled components or uncontrolled components. Each approach has its use cases, but the goal remains the same: improving the user experience.
For developers, mastering React forms means efficiently managing input fields, implementing form validation, and streamlining form submission. Throughout this guide, you’ll learn how to build forms using React, manage form states, handle validation errors, and use libraries like React Final Form and React Hook Form for advanced capabilities.
Controlled vs. Uncontrolled Components
React offers two main approaches to handling form elements: controlled components and uncontrolled components. These approaches differ in how they manage form state and input values.
Controlled Components
A controlled component is one where the input element’s value is fully managed by the React state object. Each change in an input field triggers an onchange event, updating the state variable and re-rendering the component. This approach allows for greater control over form validation and error handling.
Here’s an example:
  import React, { useState } from "react";

  function MyForm() {
    const [inputValue, setInputValue] = useState("");

    const handleChange = (event) => {
      setInputValue(event.target.value);
    };

    return (
      <form>
        <label htmlFor="email">Email:</label>
        <input
          type="text"
          id="email"
          value={inputValue}
          onChange={handleChange}
        />
      </form>
    );
  }

  export default MyForm;
Uncontrolled Components
In an uncontrolled component, the input element manages its own state. React interacts with the uncontrolled input using refs, making this approach ideal for quick, lightweight form handling.
Here’s an example:
  import React, { useRef } from "react";

  function MyForm() {
    const inputRef = useRef();

    const handleSubmit = (event) => {
      event.preventDefault();

      // This only prints the form data to the console
      // You can read here on how to submit the data to a backend server like Formspree 👇
      // https://help.formspree.io/hc/en-us/articles/360013470814-Submit-forms-with-JavaScript-AJAX
      console.log(inputRef.current.value);
    };

    return (
      <form onSubmit={handleSubmit}>
        <label htmlFor="email">Email:</label>
        <input type="text" id="email" ref={inputRef} />
        <button type="submit">Submit</button>
      </form>
    );
  }

  export default MyForm;
You should use controlled components for forms requiring frequent form validation or state management. And, you should use uncontrolled forms for really simple forms or scenarios where tracking form state is not necessary.
Basic Form Elements in React
React makes it easy to work with form elements like input fields, checkboxes, and submit buttons. Understanding these components is essential for building any basic form.
Key Form Elements
input type="text": Captures text input.input type="submit": Triggersform submission.select tag: Creates dropdown menus.radio buttons: Allows selection from predefined options.
Here’s a quick example:
  function MyForm() {
    return (
      <form>
        <label htmlFor="email">Email:</label>
        <input type="text" id="email" />

        <label htmlFor="gender">Gender:</label>
        <select id="gender">
          <option value="male">Male</option>
          <option value="female">Female</option>
        </select>

        <button type="submit">Submit</button>
      </form>
    );
  }

  export default MyForm;
Setting Default Values
Default values can be set using the defaultValue property for uncontrolled components or state variables for controlled components.
Working With Event Handlers
Event listeners like the onchange event are crucial for capturing input values and updating the form state. For example:
  const handleChange = (event) => {
    console.log(event.target.value);
  };
Building Forms in React
When building forms, understanding the structure of the entire form and effectively managing form fields is essential. Let’s break this process into steps.
Setting Up the Basic Structure
Start by importing React and creating a form component:
  import React, { useState } from "react";

  function MyForm() {
    const [formData, setFormData] = useState({ email: "", password: "" });

    const handleChange = (event) => {
      setFormData({
        ...formData,
        [event.target.name]: event.target.value,
      });
    };

    return (
      <form>
        <label htmlFor="email">Email:</label>
        <input
          type="text"
          name="email"
          value={formData.email}
          onChange={handleChange}
        />

        <label htmlFor="password">Password:</label>
        <input
          type="password"
          name="password"
          value={formData.password}
          onChange={handleChange}
        />

        <button type="submit">Submit</button>
      </form>
    );
  }

  export default MyForm;
Managing the Initial State
Using the initial state is key to setting up the state variable for a form. In the example above, useState initializes the form state with empty strings for input fields.
Handling Multiple Input Fields
By using dynamic property names ([event.target.name]) in the change handler, you can manage multiple input fields with a single event handler. This simplifies managing the entire form.
Submitting the Form
To handle form submission, prevent the default behavior of the form, and process the form data:
  const handleSubmit = (event) => {
    event.preventDefault();
    console.log(formData);
  };
With these steps, you can build React forms that efficiently handle form values, validation rules, and error messages.
Handling Form State and Events
Managing form state and handling events are central to React’s approach to form handling. By leveraging React Hooks, such as useState, you can efficiently manage form data, track input values, and respond to user interactions.
Using form state in React
The form state object stores the input values and provides a way to update them dynamically based on user actions. For example:
  import React, { useState } from "react";

  function MyForm() {
    const [formState, setFormState] = useState({
      email: "",
      password: "",
    });

    const handleChange = (event) => {
      const { name, value } = event.target;
      setFormState({ ...formState, [name]: value });
    };

    return (
      <form>
        <label htmlFor="email">Email:</label>
        <input
          type="text"
          id="email"
          name="email"
          value={formState.email}
          onChange={handleChange}
        />
        <label htmlFor="password">Password:</label>
        <input
          type="password"
          id="password"
          name="password"
          value={formState.password}
          onChange={handleChange}
        />
      </form>
    );
  }

  export default MyForm;
Handling Events
React provides built-in support for handling user interactions through event listeners such as the onchange event and onsubmit event.
onchangeevent: Tracks changes in an input field and is used for updating the form state.onsubmitevent: Captures the form submission event and allows for processing or validation before sending form data to the server.
Working with Multiple Inputs
As mentioned earlier, handling multiple input fields can be simplified with dynamic property names:
setFormState({ ...formState, [event.target.name]: event.target.value });
Validation and Error Handling in React Forms
Form validation ensures that users input the correct data into a form. React offers flexibility for creating custom validation rules or using libraries like React hook form and React final form.
Implementing Basic Validation
For simple forms, validation errors can be handled manually by checking the input values against your criteria:
  const validateForm = () => {
    if (!formState.email.includes("@")) {
      return "Invalid email address";
    }
    return null;
  };
Handling Validation Errors
When validation fails, you should display error messages to guide users:
{error && <p className="error-message">{error}</p>}
Custom Validation Rules with React
By adding validation logic directly to event handlers, you can set up real-time validation:
  const handleChange = (event) => {
    const { name, value } = event.target;
    if (name === "email" && !value.includes("@")) {
      setError("Please enter a valid email");
    } else {
      setError("");
    }
    setFormState({ ...formState, [name]: value });
  };
Advanced Validation with Libraries
Libraries like React Hook Form and React Final Form can help simplify complex validation scenarios by integrating default validation rules and better error handling. You will take a look at them in the next section.
Exploring Popular React Form Libraries
For more advanced form handling needs, using a form library can save time and effort. Libraries like React Hook Form, React Final Form, and Formik are designed to manage form states, validation errors, and form submissions. For a more complete solution, you should take a look at Formspree’s React library that can help you integrate with Formspree’s form backend easily and handle server interactions as well.
Why Use a Form Library?
A form library handles common challenges like managing form states, validation rules, and reusable field components. They also provide optimized performance for large forms with multiple input fields.
Here are a few examples of React form libraries:
React Hook Form
React Hook Form is lightweight and performance-focused. It uses uncontrolled inputs for faster rendering.
Here’s an example React component that uses React Hook Form:
  import { useForm } from 'react-hook-form';

  function MyForm() {
    const {
      register,
      handleSubmit,
      formState: { errors },
    } = useForm();

    const onSubmit = data => console.log(data);

    return (
      <form onSubmit={handleSubmit(onSubmit)}>
        <input {...register('email', { required: true })} />
        {errors.email && <p>Email is required</p>}
        <button type='submit'>Submit</button>
      </form>
    );
  }

  export default MyForm;
React Final Form
React Final Form is designed for scalability with complex forms. It manages field components and tracks form state changes efficiently.
Here is an example React component that uses React Final Form:
  import { Form, Field } from "react-final-form";

  function MyForm() {
    const onSubmit = (values) => console.log(values);

    return (
      <Form
        onSubmit={onSubmit}
        render={({ handleSubmit }) => (
          <form onSubmit={handleSubmit}>
            <Field name="email">
              {({ input }) => <input {...input} placeholder="Email" />}
            </Field>
            <button type="submit">Submit</button>
          </form>
        )}
      />
    );
  }

  export default MyForm
Using Formspree for React Forms
Formspree simplifies form submission by handling the backend for you. It supports form validation, error handling, and integrates seamlessly with React.
Here’s a quick example if you want to use it with an uncontrolled form:
  import React from "react";
  import { useForm } from "@formspree/react";

  function MyForm() {
    const [state, handleSubmit] = useForm("yourFormId"); // Replace with your Formspree form ID

    return (
      <form onSubmit={handleSubmit}>
        <label htmlFor="email">Email:</label>
        <input type="email" id="email" name="email" required />
        <button type="submit" disabled={state.submitting}>Submit</button>
        {state.succeeded && <p>Thanks for your submission!</p>}
      </form>
    );
  }

  export default MyForm;
You can also integrate Formspree with a controlled React form, as shown in this blog. Feel free to take a look at the Formspree React docs here. If you want to learn more, here’s a detailed guide on form validation in React with Formspree and other libraries.
Form Submission and Server-Side Integration
Once the form is filled, form submission is the final step in the user journey. React allows you to handle the entire form submission process with custom logic and integrate it with backend services for processing form data.
Handling Form Submission in React
Prevent the default behavior of the form and process form values:
  const handleSubmit = (event) => {
    event.preventDefault();
    console.log("Submitting:", formState);
  };
Sending Data to the Server
To send form data to the server, you can use server action calls (in frameworks like Nextjs) or APIs:
  const sendDataToServer = async (data) => {
    const response = await fetch("/api/submit", {
      method: "POST",
      headers: {
        "Content-Type": "application/json",
      },
      body: JSON.stringify(data),
    });
    return response.json();
  };
Best Practices for Form Submission
Here are a few quick tips to keep in mind when setting up your form submissions:
- Validate form data before submission to avoid errors.
- Show a loading indicator during server calls for a better user experience.
- Use tools like React hook form or React final form for managing large-scale form submission.
With these techniques, you can seamlessly integrate React forms into your web application and ensure efficient form handling.
Designing Forms for Better User Experience
Designing forms is not just about functionality; it’s also about providing a seamless user experience. Thoughtfully crafted form elements can significantly impact how users interact with your web application.
Here are a few tips to help you design great form user experiences:
- Use Clear Labels and Placeholders: Include descriptive labels like
<label htmlfor="email">Email:</label>. Use placeholders to guide users on what to input in input fields. - Group Related Fields: Organize multiple input fields into logical sections for clarity. For example, group radio buttons for gender selection.
- Provide Real-Time Feedback: Use event listeners to display validation errors as users type. Highlight fields with invalid input values.
- Default Values and Autofill: Set a default value for dropdown menus or select tag components to simplify data entry.
Using Field Components for Reusability
React allows you to create reusable field components to maintain consistency:
  function InputField({ label, name, value, onChange }) {
    return (
      <div>
        <label htmlFor={name}>{label}</label>
        <input
          type="text"
          id={name}
          name={name}
          value={value}
          onChange={onChange}
        />
      </div>
    );
  }
Advanced Features and Best Practices
Creating robust forms in React requires incorporating advanced techniques and following best practices to handle scalability and maintainability.
Working with Uncontrolled Components
While controlled components are preferred for managing form state, uncontrolled components can be used when minimal state management is required, such as in forms with uncontrolled input fields.
Handling Complex Validation Rules
Use libraries like React Final Form and React Hook Form for custom validation rules:
- Cross-Field Validation: Ensure related form fields are validated together (e.g., password and confirm password).
- Async Validation: Check the availability of usernames during form submission.
Managing Large-Scale Forms
- Divide the entire form into smaller steps using wizards or multi-step forms.
- Use conditional rendering for form fields to show or hide sections dynamically.
Here’s an example of conditional rendering in practice:
  function MyForm() {
    const [showExtraFields, setShowExtraFields] = React.useState(false);

    return (
      <form>
        <label htmlFor="name">Name:</label>
        <input type="text" id="name" />
        <button type="button" onClick={() => setShowExtraFields(!showExtraFields)}>
          Toggle Extra Fields
        </button>
        {showExtraFields && (
          <div>
            <label htmlFor="age">Age:</label>
            <input type="number" id="age" />
          </div>
        )}
      </form>
    );
  }
Conclusion
Forms are at the heart of most web applications, enabling data collection and user interaction. This guide covered everything from creating a basic form with input fields to using advanced techniques like validation rules, error handling, and library integrations.
To deepen your expertise, consider exploring libraries like Formik and React Hook Form for handling advanced use cases. You could also consider learning about server action integration for form submission in real-world projects. Consider experimenting with reusable field components to improve scalability.
By mastering React forms, you’ll be able to build interactive, user-friendly forms that elevate your web application’s user experience. Remember to prioritize validation rules, clear error messages, and streamlined form submission to ensure success.