Create a Registration Form with an Auto Response
Part of the
Getting Started with Formspree
Series
If you’re hosting an event, you need to collect information about the participants—names, emails, mailing addresses, food allergies, you name it. How do you do it? The registration form.
But what you won’t get out of most codeless form tools (like Google Forms) is the ability to connect your form responses to different applications. Need a Slack notification? Want to add registrants to a Mailchimp or ConvertKit list? With just a bit of HTML-savvy, Formspree can help you supercharge your registration form.
The very first tool to improve your registration form should be the auto response. An auto response lets participants know that their registration is confirmed, while you pass on any important information, like the web conference details or how to print tickets.
In this blog post, we’ll walk you through how to create an HTML registration form for a webinar hosted by our favorite fictional business, Seltz. Seltz makes sparkling water with personalized levels of carbonation. They’re collecting information for a webinar, “Everything You Need to Know about Home Carbonation.”
Code the registration form
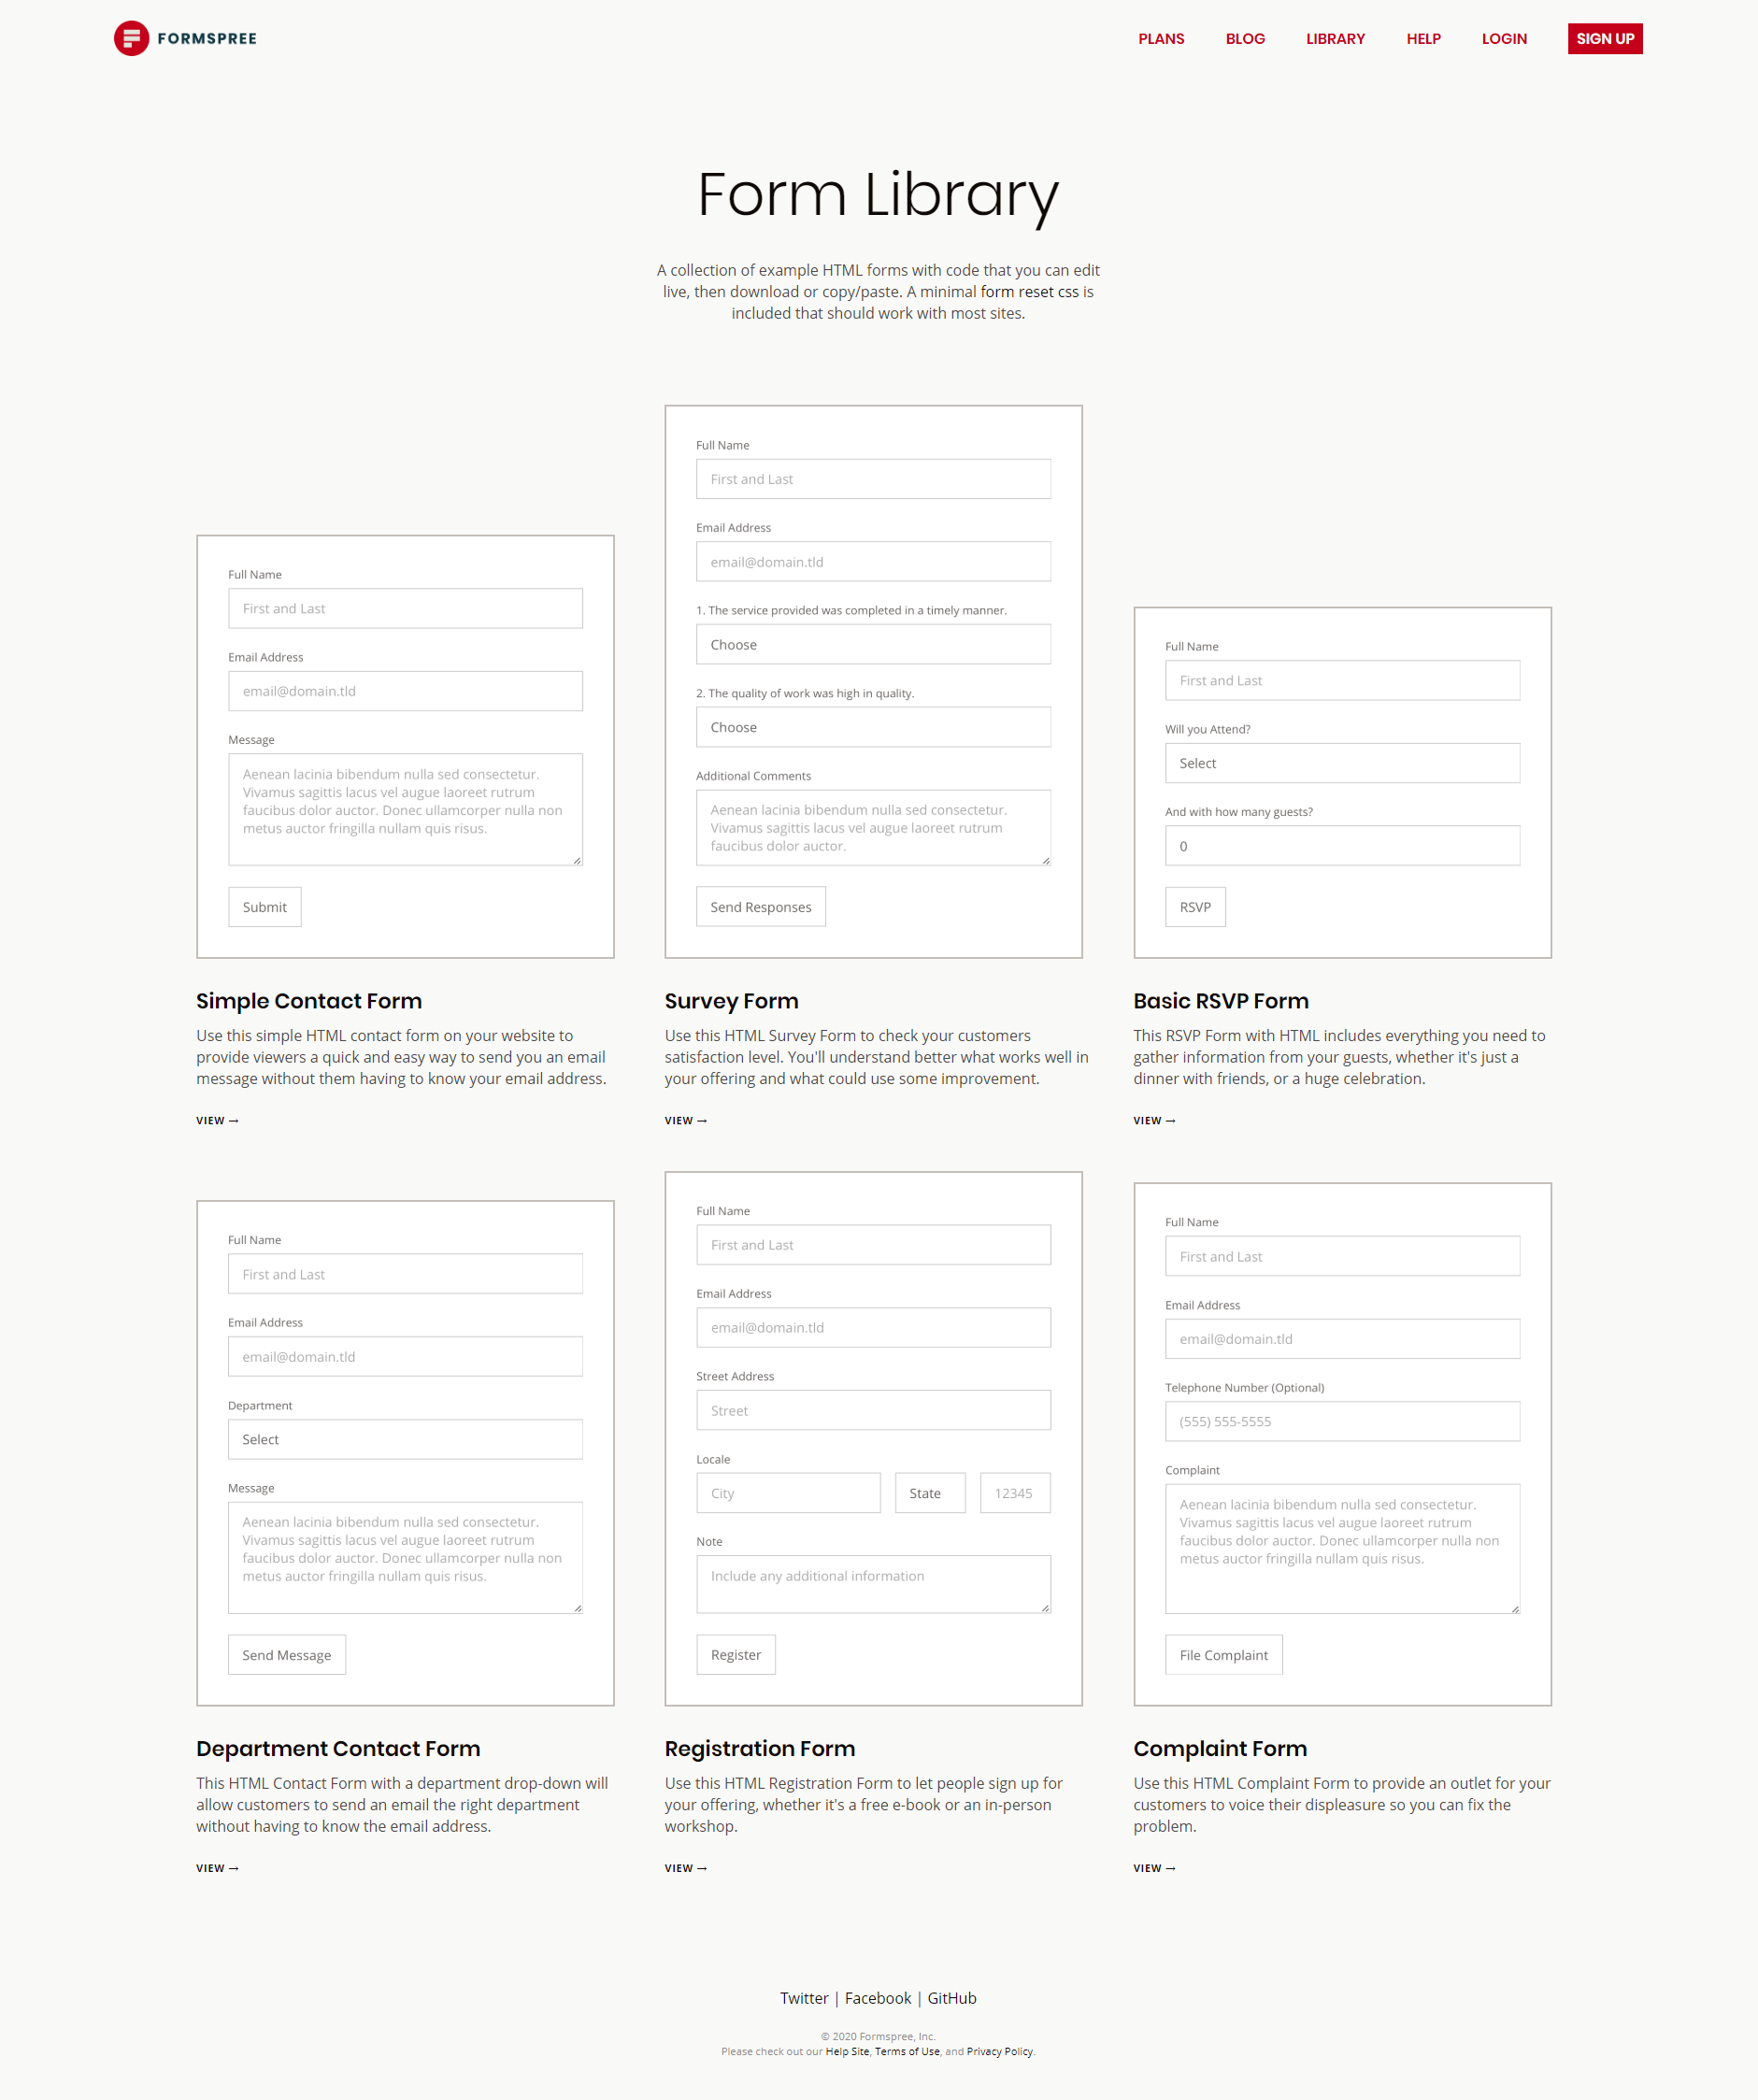
HTML lets you customize your registration form exactly to your needs, without relying on templates that may or may not fit the bill. Get a baseline for your form from our form library, and edit the code directly in the text editor.
Choose the fields
The fields of your registration form should depend on what specific information you need to know for your event—don’t go overboard asking for superfluous information.
Since Seltz’s event takes place online, we don’t need to collect people’s mailing addresses. We decided to go with name, company, email address, and an optional question. While the company name isn’t strictly necessary, it can tell you a lot about the kind of registrants you’re attracting.
Here’s the edited code:
  <form id="fs-frm" name="registration-form" accept-charset="utf-8" action="https://formspree.io/YOUR_FORM_ID" method="post">
    <fieldset id="fs-frm-inputs">
      <label for="full-name">Full Name</label>
      <input type="text" name="name" id="full-name" placeholder="Sally Soda" required="">
      <label for="company">Company</label>
      <input type="text" name="company" id="company" placeholder="Seltz" required="">
      <label for="email-address">Email Address</label>
      <input type="email" name="_replyto" id="email-address" placeholder="email@domain.tld" required="">
      <label for="message">Questions for our panelists? (Optional)</label>
      <textarea rows="5" name="message" id="message" placeholder="Send questions in advance and we will cover them in the Q&A"></textarea>
      <input type="hidden" name="_subject" id="email-subject" value="Registration Form Submission">
    </fieldset>
    <input type="submit" value="Register">
  </form>
Let’s go over a few details:
- We placed an endpoint in the
actionattribute. This is the URL where all the form data is sent. Formspree generates a unique and secure endpoint for your form when you create it in your account. - For an auto response to work, the form has to include a field named
emailor_replyto. - We used the
placeholdertext to reflect the Seltz persona and to explain what the message field is for (questions for the panelists). - We removed the
requiredtag from the message field to make it optional.
If you want to learn how to break down the form code even further, check out our post on simple contact forms.
Add the form to your website
It doesn’t matter whether you’re working in GitHub, an HTML template, or a CMS like WordPress—you can still use an HTML form with Formspree. If you are using an HTML template or have a static website, drop the form code on any page where you want it to appear. If your site is built using Webflow, Wordpress, or Shopify, just make an HTML code block and put the code there.
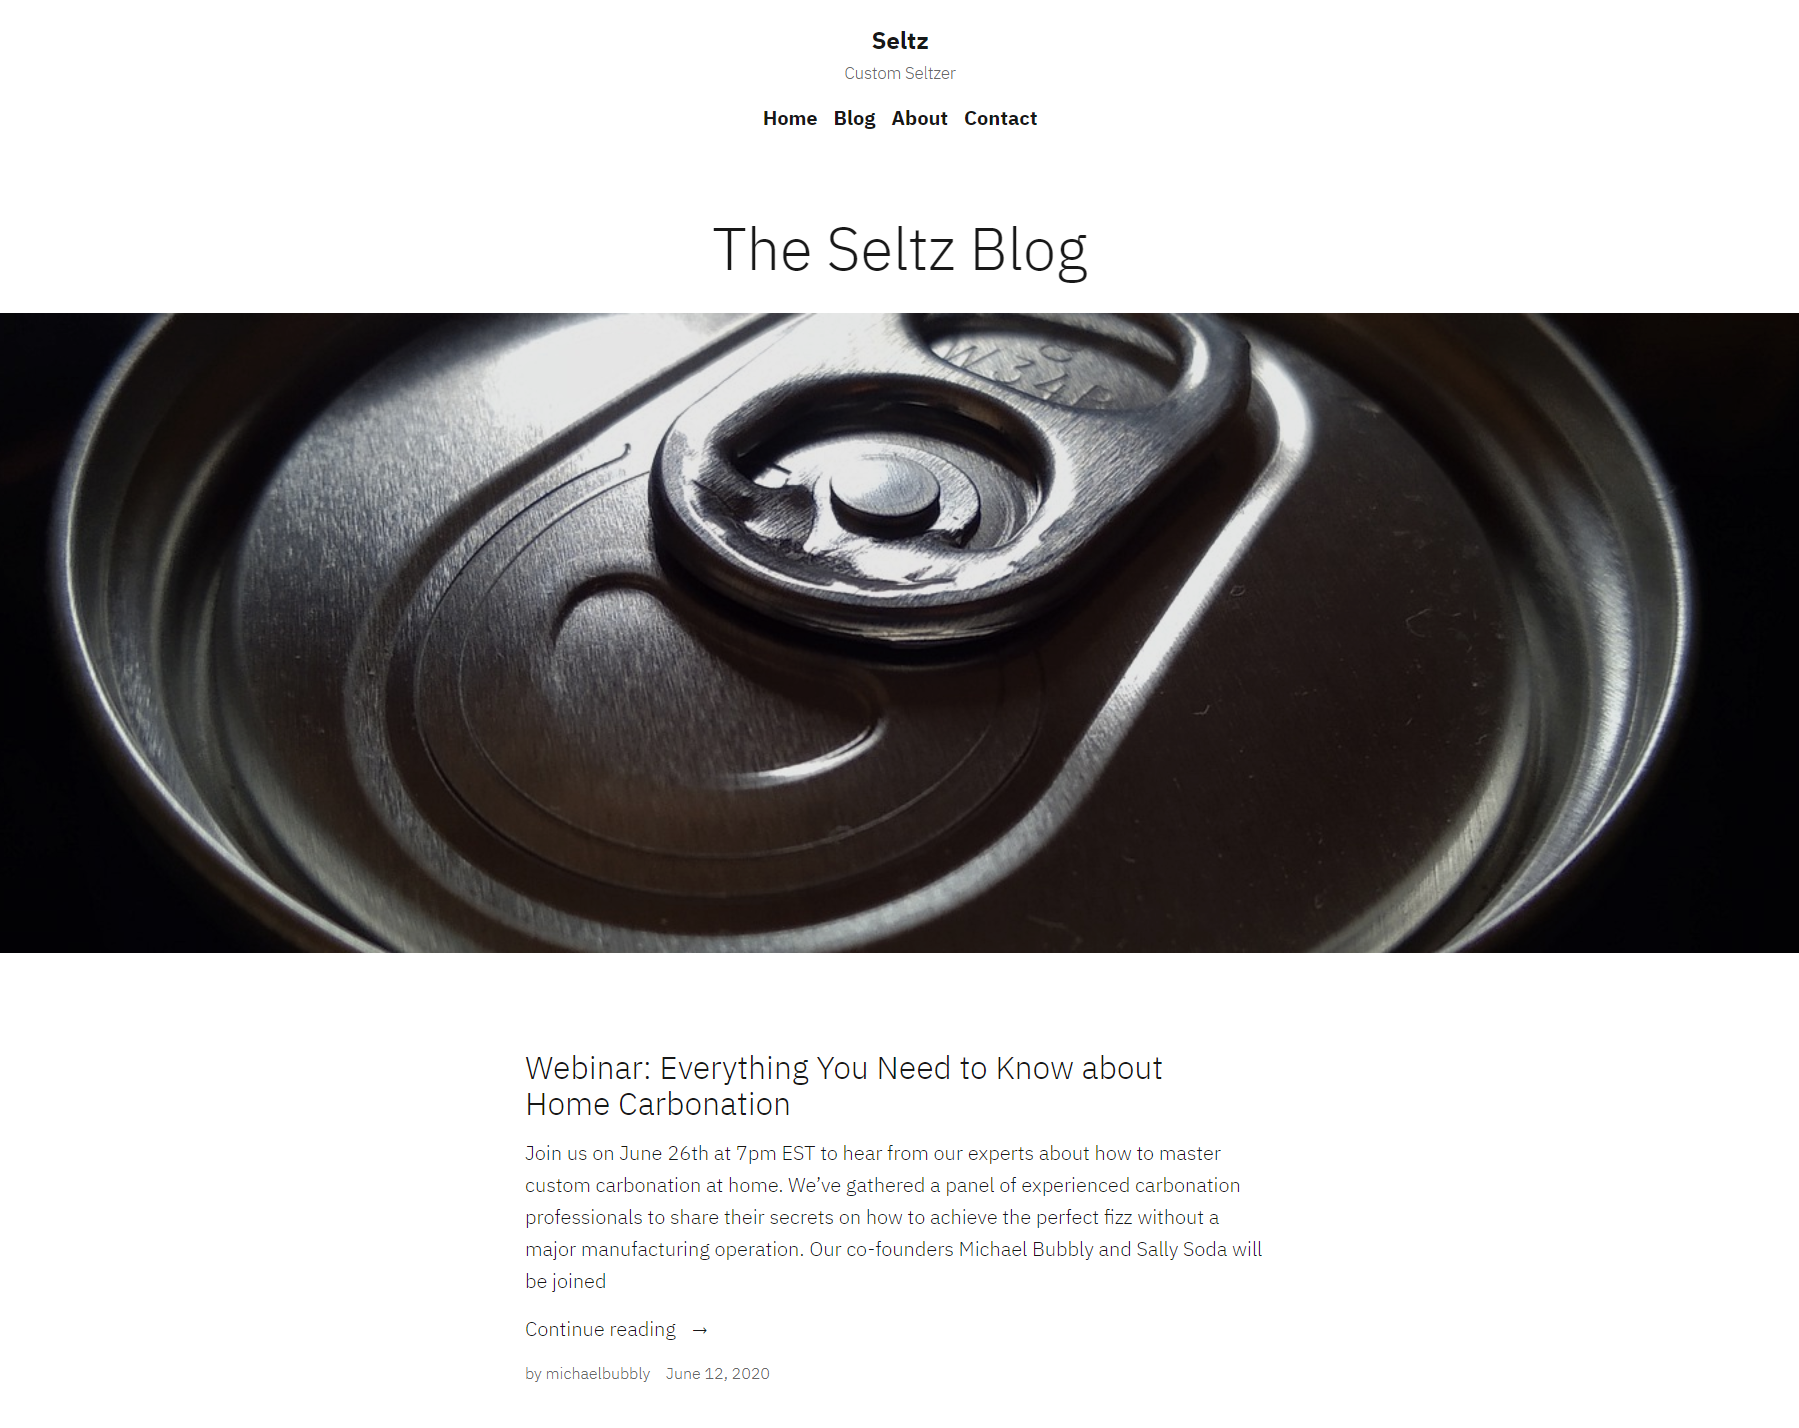
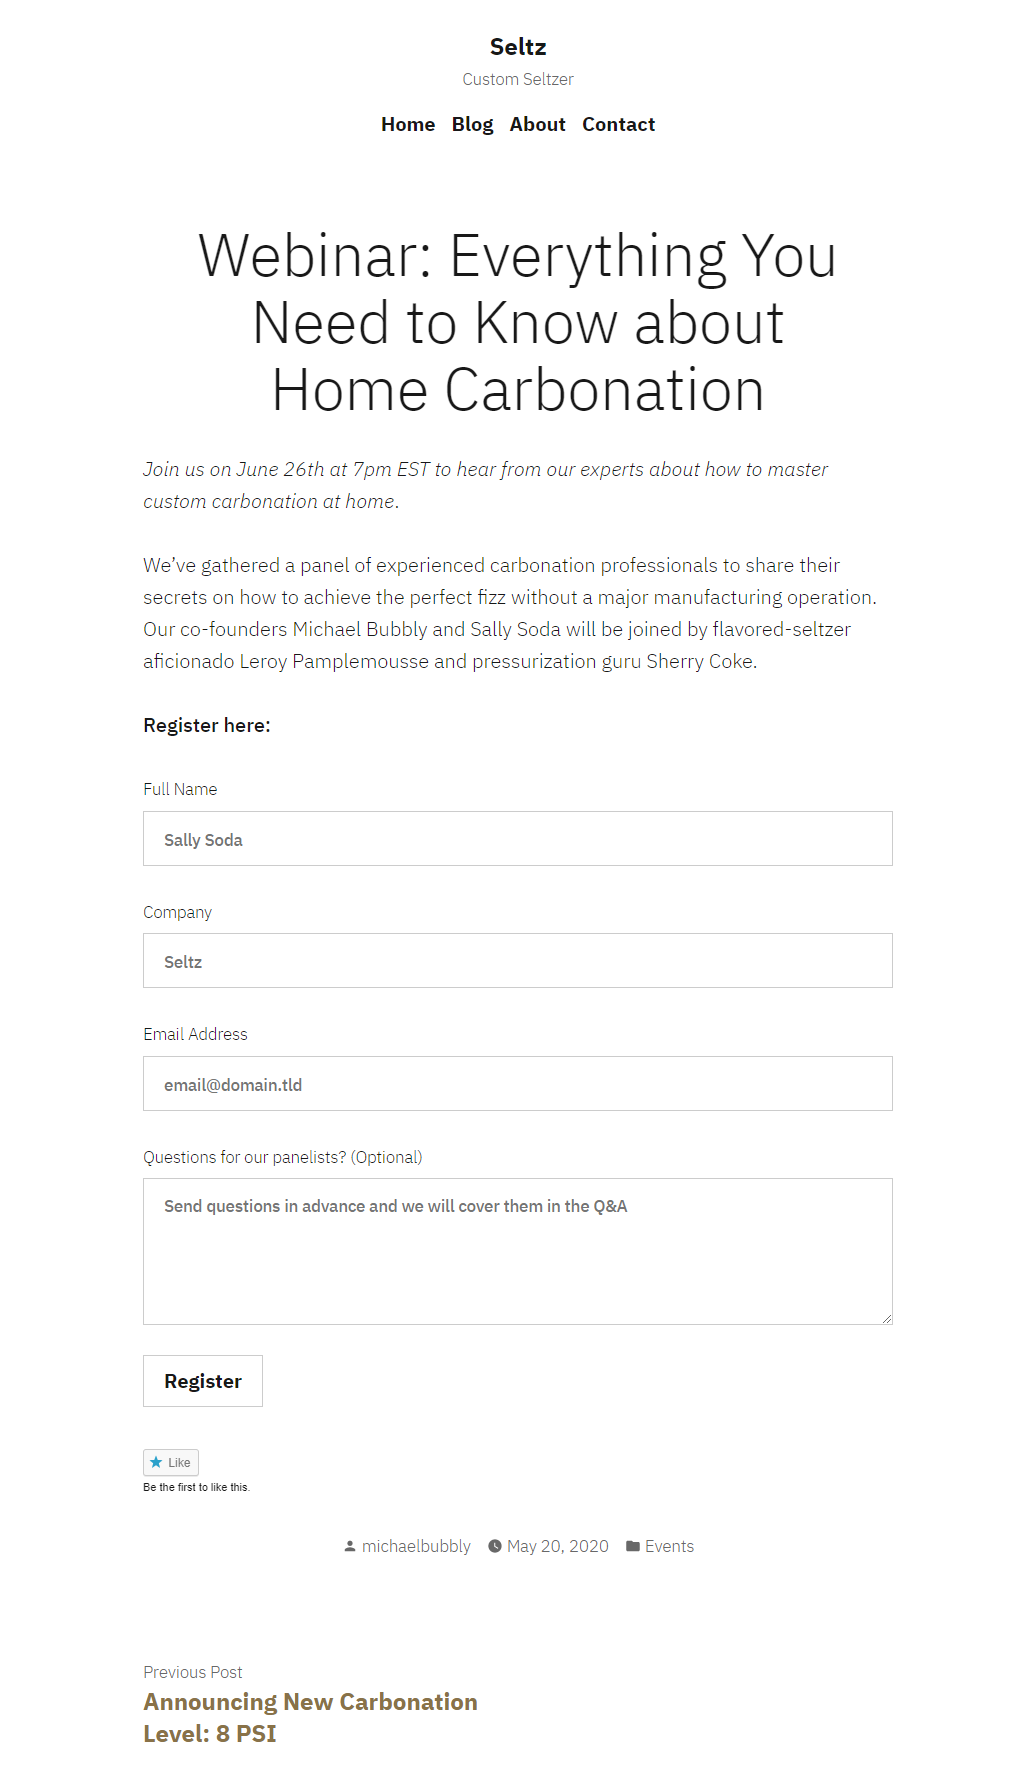
This is what it looks like on Seltz’s blog:
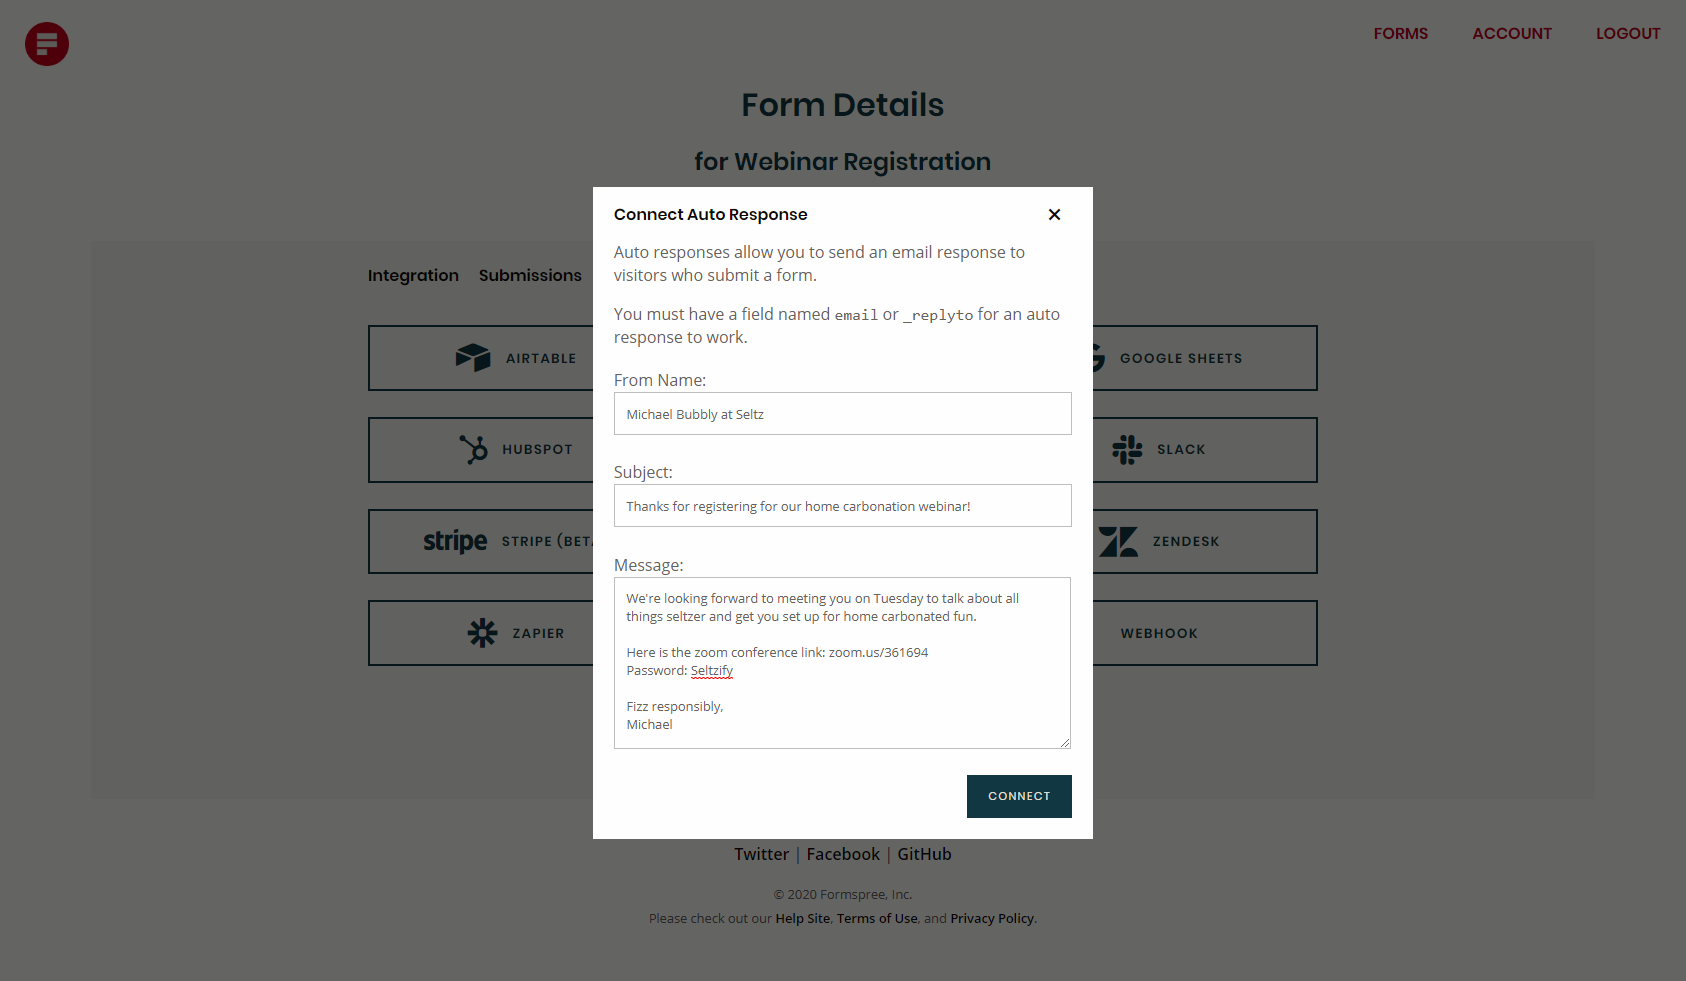
Set up the auto response
An auto response saves you manual work by automatically sending event participants a confirmation of their registration and any important details about the event you want to share with them. Here’s how you set it up in Formspree.
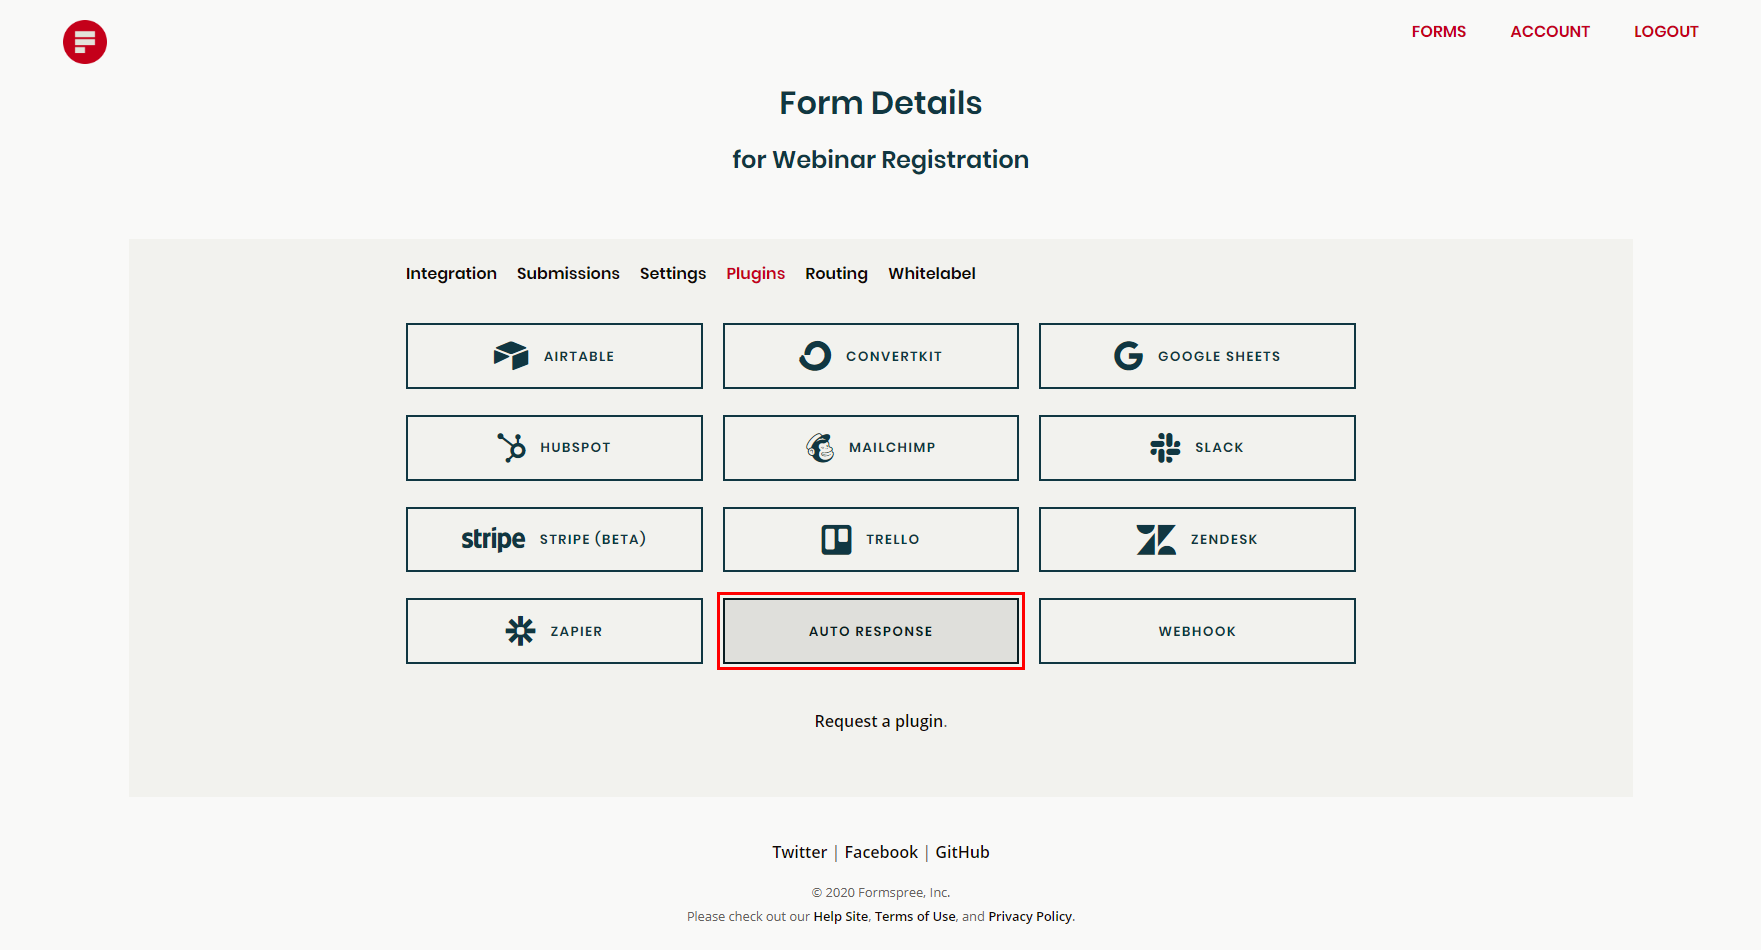
Go to the Plugins page in your Formspree account and select “auto response.”
Fill out what you want the auto response to say—who it’s from, the subject line, and message. We noted the Zoom video conference link and password.
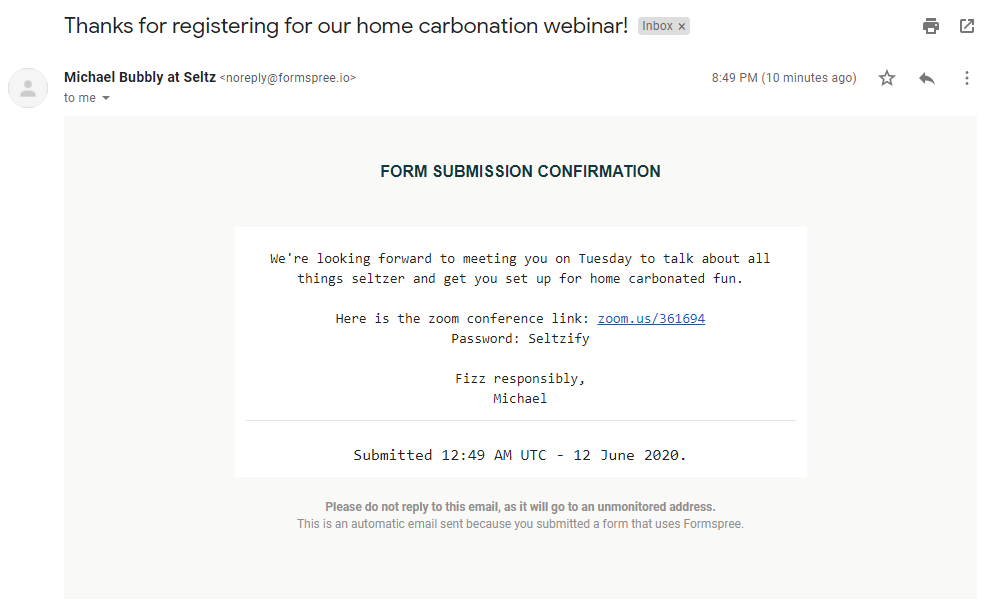
Test it out
Make sure everything’s working by sending some test emails.
This is what the confirmation email will look like. If you want to customize this email, we offer custom email templates in the Platinum plan.
And this is how form submissions will appear in your account:
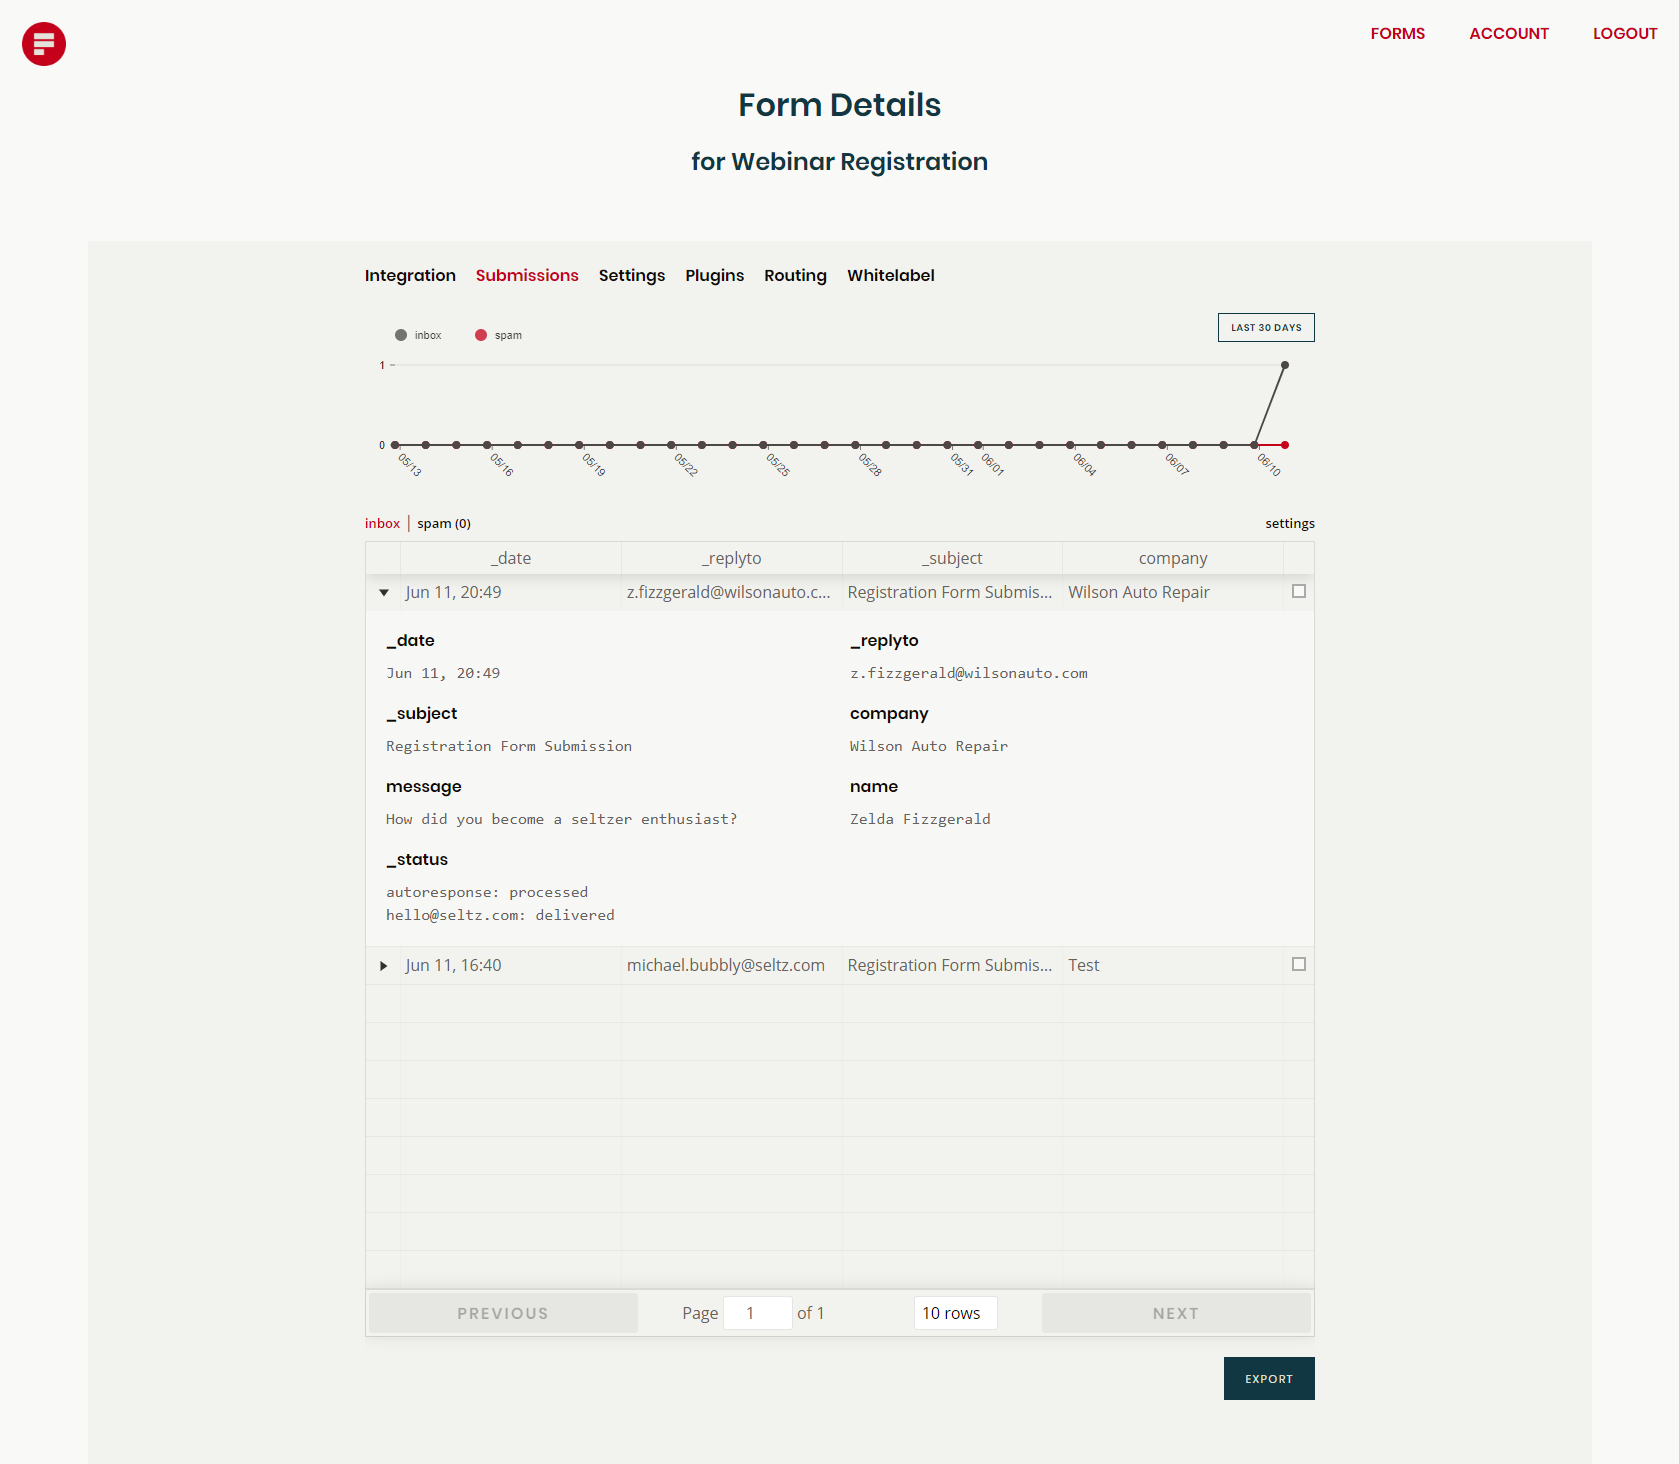
Click “export” if you want to download the submissions.
Registration form: complete. But your event is just getting started.
An auto response is just the beginning of what you can do with your registration form to make your event run smoothly. Track registrations in Google Sheets or use Airtable to link registrants with a badge for a live event. Use ConvertKit to start participants on an email drip to send them information leading up to your event and then to continue marketing to them. Or add people to a custom CRM in Trello to track follow-up engagement. All of these integrations and more are available with Formspree’s monthly plans.