Mastering File Uploads: A Guide to the HTML File Input Element
Everything you need to know about the HTML file input element

Today’s web users expect to not only consume content from the web but also actively contribute photos, videos, documents, and more. To enable this, your forms must be able to accept file uploads without any hassle.
This article is a detailed guide for developers looking to master file uploads using the HTML file input element. It will dive into how the HTML file input element works, explore essential attributes for customization, and discuss best practices for a smooth end-user experience. Additionally, it will explore server-side handling of uploaded files and introduce Formspree, a service that simplifies form submission and file handling.
By the end of this guide, you’ll be equipped to build web apps with user-friendly file upload experiences.
Understanding the HTML File Input Element
At its core, the HTML file input tag provides a user interface component for triggering the file picker to select files from a user’s device, be it a desktop or a mobile device. When included in a form, it renders as a button with a text field prompting users to browse and choose files for upload. The file picker will typically be the native file chooser on your device.
Here’s an example of a basic HTML form with a file input tag:
  <form method="POST" action="https://formspree.io/f/{form_id}">
    <input type="text" name="name" placeholder="Your Name">
    <input type="file" name="file" placeholder="Your email">
    <button type="submit">Send Test</button>
  </form>
This code will display a form with a file upload field like this:
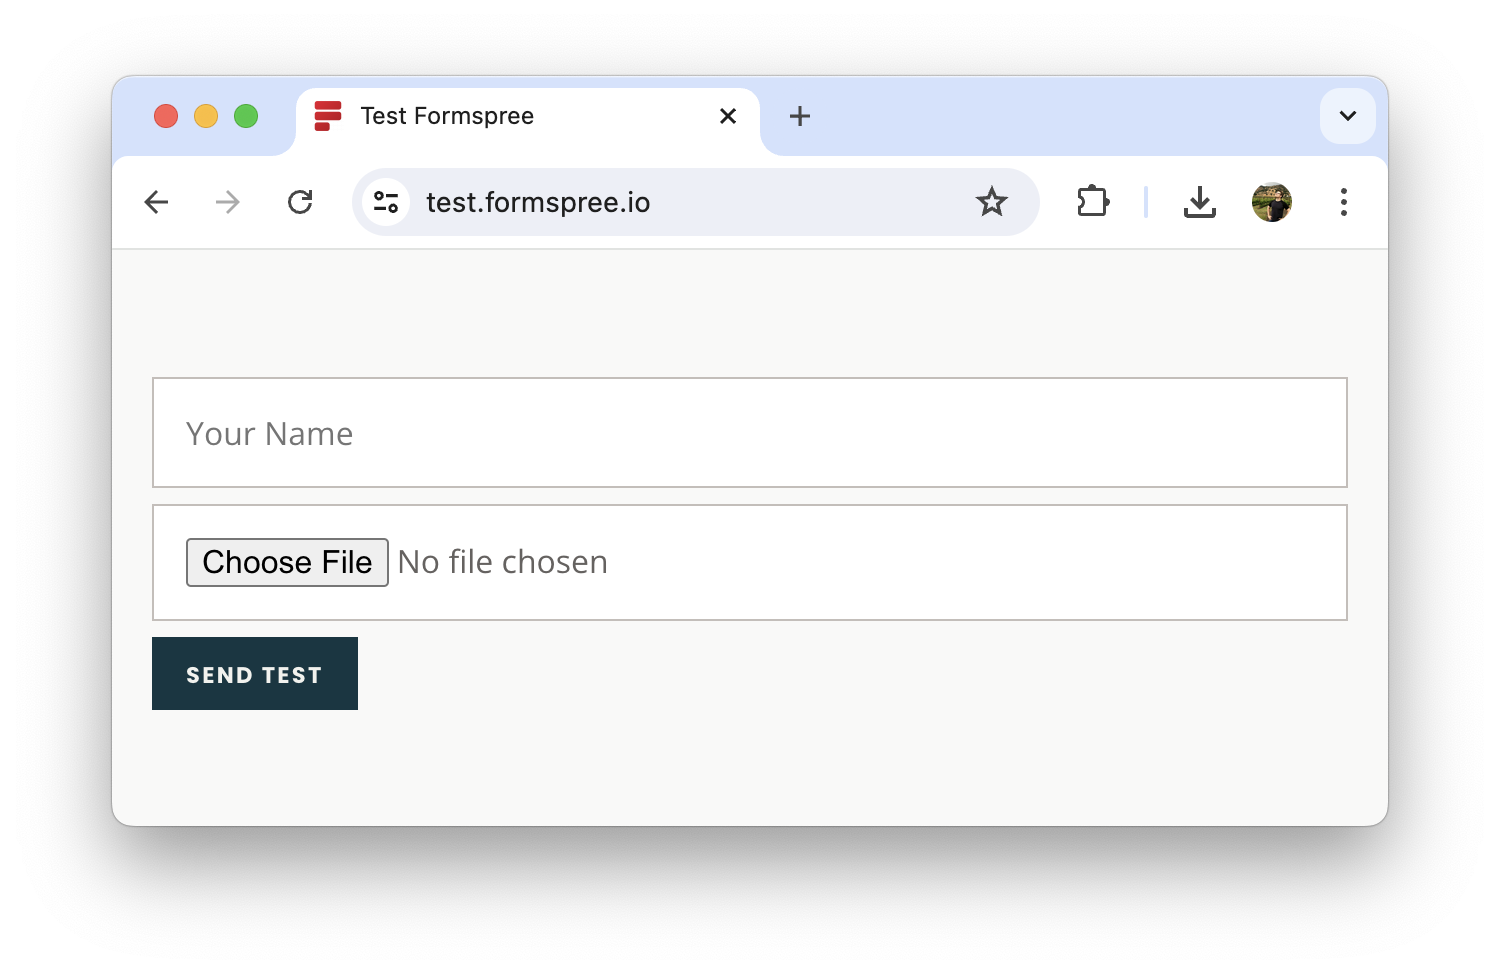
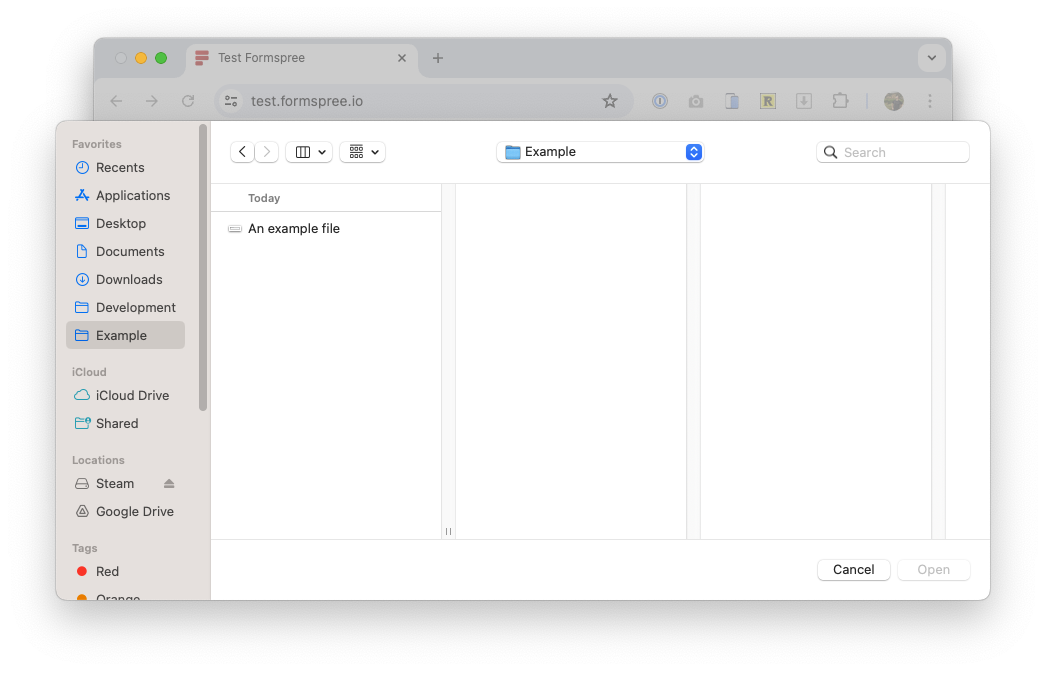
When you click the “Choose File” button it will open the file picker, allowing you to choose a file. Here’s what it looks like on a 2024 Macbook Pro:
Options for Customization
The file input element offers various attributes to customize its behavior. Here are some of the most used ones:
accept: This attribute sets the types of files users can select. You can specify allowed file types using MIME types (e.g.,image/jpeg) or filename extensions (e.g.,.pdf, .docx). Here’s a quick example:
<input type="file" accept=".jpg,.jpeg,.png">
This code allows users to select only image files with the extensions JPG, JPEG, and PNG.
multiple: Setting this attribute totrueenables users to select multiple files for upload at once.capture: This attribute is primarily for mobile devices. It allows you to specify which camera or microphone to use for capturing images or videos directly through the browser. However, its availability depends on the mobile browser. The possible values for this attribute areuserfor the user-facing camera on the device andenvironmentfor the outward-facing camera.name: This attribute assigns a unique name to the file input field within the form. This name is used to identify and access the uploaded file data on the server side.id: While not essential for functionality, theidattribute provides an optional identifier for the element. This can be helpful for styling the element with CSS or modifying it using JavaScript.enctype: This attribute goes on the parent<form>tag and it helps specify how the form data, including uploaded files, is encoded before being sent to the server. This is crucial for ensuring the data is transmitted correctly. The most common value for file uploads ismultipart/form-data.
It’s important to consider accessibility when using the <input type="file"> element. Always associate the input field with a clear label using the for attribute and consider using appropriate ARIA attributes to provide additional information for screen readers.
Best Practices for Seamless File Upload Experiences
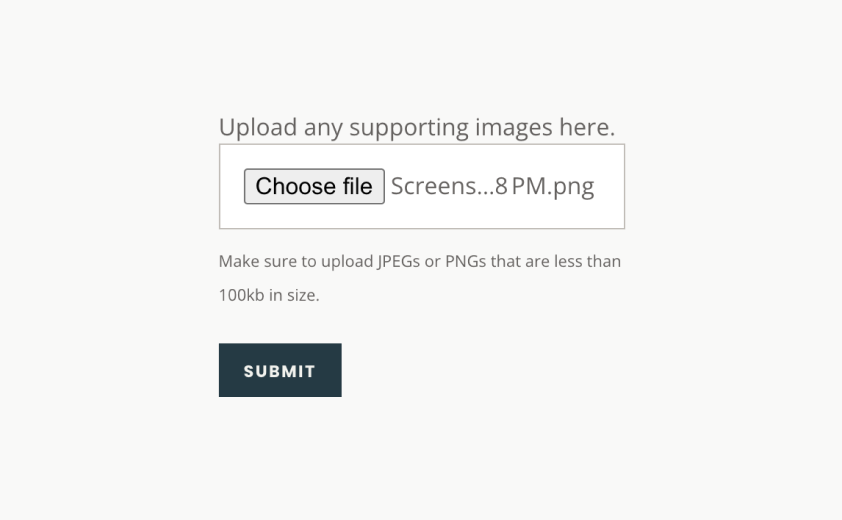
While file uploads are one of the most primitive functionalities offered by web applications, there are a few best practices you can follow to really perfect their implementation. For starters, guide users with clear instructions on what type of files are expected. Use concise text next to the file input field or display a modal window with detailed information. You could also consider using icons or visual cues to enhance clarity. Here’s an example of a well-explained file input label:

Once a user selects a file, it is a good practice to display its name and size for confirmation. This helps users double-check their selection before proceeding with the upload. The basic file input element will automatically display the name for you.
Should you choose to modify it to meet design requirements, make sure to place the file details somewhere in the app for the user’s ease.
After a file upload is complete, it’s a good practice to provide clear feedback. Consider displaying a success message with confirmation details like the uploaded file name or offering options for further actions. Conversely, for failed uploads, you could provide informative error messages that pinpoint the issue (e.g., file size limit exceeded, invalid file type). This allows users to correct their mistakes and retry the upload.
Finally, you should strive to make file upload experiences accessible as well. You can do that by ensuring keyboard navigation is available for selecting files, especially for users who rely on assistive technologies. You could also consider using ARIA attributes to provide additional context for screen readers, such as describing the allowed file types. Please note that screen readers will automatically read out <label> tags, so you don’t need to add ARIA attributes in such cases. However, if you have a form that does not require a visible label with an input file element, you should consider adding aria-label attribute to the file upload field.
Server-Side Handling of Uploaded Files
The server-side script that handles form submissions acts as the gatekeeper for uploaded files. It processes the data received from the user’s browser and plays a crucial role in ensuring security, proper storage, and integration with your application’s functionality. Here’s a quick look at the key aspects of such a process:
- Server-Side Frameworks: Popular frameworks like Express (Node.js), Laravel (PHP), and Django (Python) offer built-in libraries specifically designed for handling file uploads. These functions typically allow you to:
- Access File Information: Retrieve details like the uploaded file’s original name, size, MIME type, and temporary storage location on the server.
- Store Files: Save the uploaded file to a designated location, which could be local server storage or a cloud storage solution like Amazon S3 or Google Cloud Storage. The choice depends on factors like cost, scalability, and security needs.
- Perform Validations: Implement validation checks to ensure only allowed file types and sizes are accepted. This prevents malicious file uploads that could compromise your application or server. Additionally, consider sanitizing uploaded files to remove potentially harmful code or scripts.
- Security Measures: Security is the most important when dealing with uploaded files. Some ways in which you could improve it are:
- File Type Validation: Restrict uploads to specific file extensions and MIME types associated with legitimate content (e.g., images, documents). This helps prevent unauthorized scripts or executable files from being uploaded.
- File Size Limits: Set a maximum file size limit to prevent users from uploading excessively large files that could overwhelm your server resources.
- Sanitization: Sanitize uploaded files to remove any potentially harmful code or scripts embedded within them. Refer to best practices for secure file handling specific to your chosen server-side language for more detailed guidance.
Here’s a simplified example showcasing basic file upload processing in Express (Node.js) using the Multer middleware:
  const express = require('express');
  const multer = require('multer'); // Middleware for handling uploads

  const app = express();

  // Configure multer storage destination
  // (replace with your desired location)
  const upload = multer({ dest: './uploads' });

  app.post('/upload', upload.single('myfile'), (req, res) => {
    const fileName = req.file.filename;
    const fileSize = req.file.size;

    // Perform additional processing or validation on the uploaded file

    res.send(`File uploaded successfully! `
              + `Name: ${fileName}, Size: ${fileSize}`);
  });

  app.listen(3000, () => console.log('Server listening on port 3000'));
This example demonstrates accessing file information and storing it locally. Remember, this is a basic setup, and the specific implementation will vary depending on your framework and chosen storage solution.
Beyond basic handling, consider factors like storage options and scalability. Depending on your file size and volume requirements, you may need to choose between local server storage or cloud storage solutions. The cloud storage option offers scalability and redundancy for high-volume uploads.
For applications expecting a large number of concurrent uploads, you should research your chosen framework’s capabilities for handling such loads. You could also explore implementing queuing systems to manage upload requests efficiently, ensuring smooth operation under high traffic.
Streamlining File Uploads with Formspree
For developers seeking a simplified approach to file uploads, Formspree can serve as a reliable and convenient solution. As a service designed to streamline form submission and file handling, Formspree alleviates the need for complex server-side scripting even for file uploads. This allows developers to focus on building the core functionalities of their web application without getting bogged down in server-side complexities.
By leveraging Formspree, you eliminate the need to write and maintain server-side scripts for handling file uploads. Formspree takes care of receiving the uploaded files, processing them securely, and delivering them to your designated endpoint (e.g., email address, webhook URL). This frees you to concentrate on front-end development and core application logic.
Integrating Formspree with existing HTML forms is a breeze. You simply replace the form’s action attribute with a unique Formspree form ID. This form ID is generated when you create a form on the Formspree platform.
  <form action="https://formspree.io/f/{form_id}"
    method="POST"
    enctype="multipart/form-data">

    <input type="text" name="name" placeholder="Your Name">
    <input type="file" name="myfile">
    <button type="submit">Send</button>

  </form>
Formspree automatically stores uploaded files on its secure servers and provides you with a link to the file in your submission data. You don’t need to worry about setting up and managing server storage yourself. You can access the uploaded files as part of the submission from the Formspree dashboard:
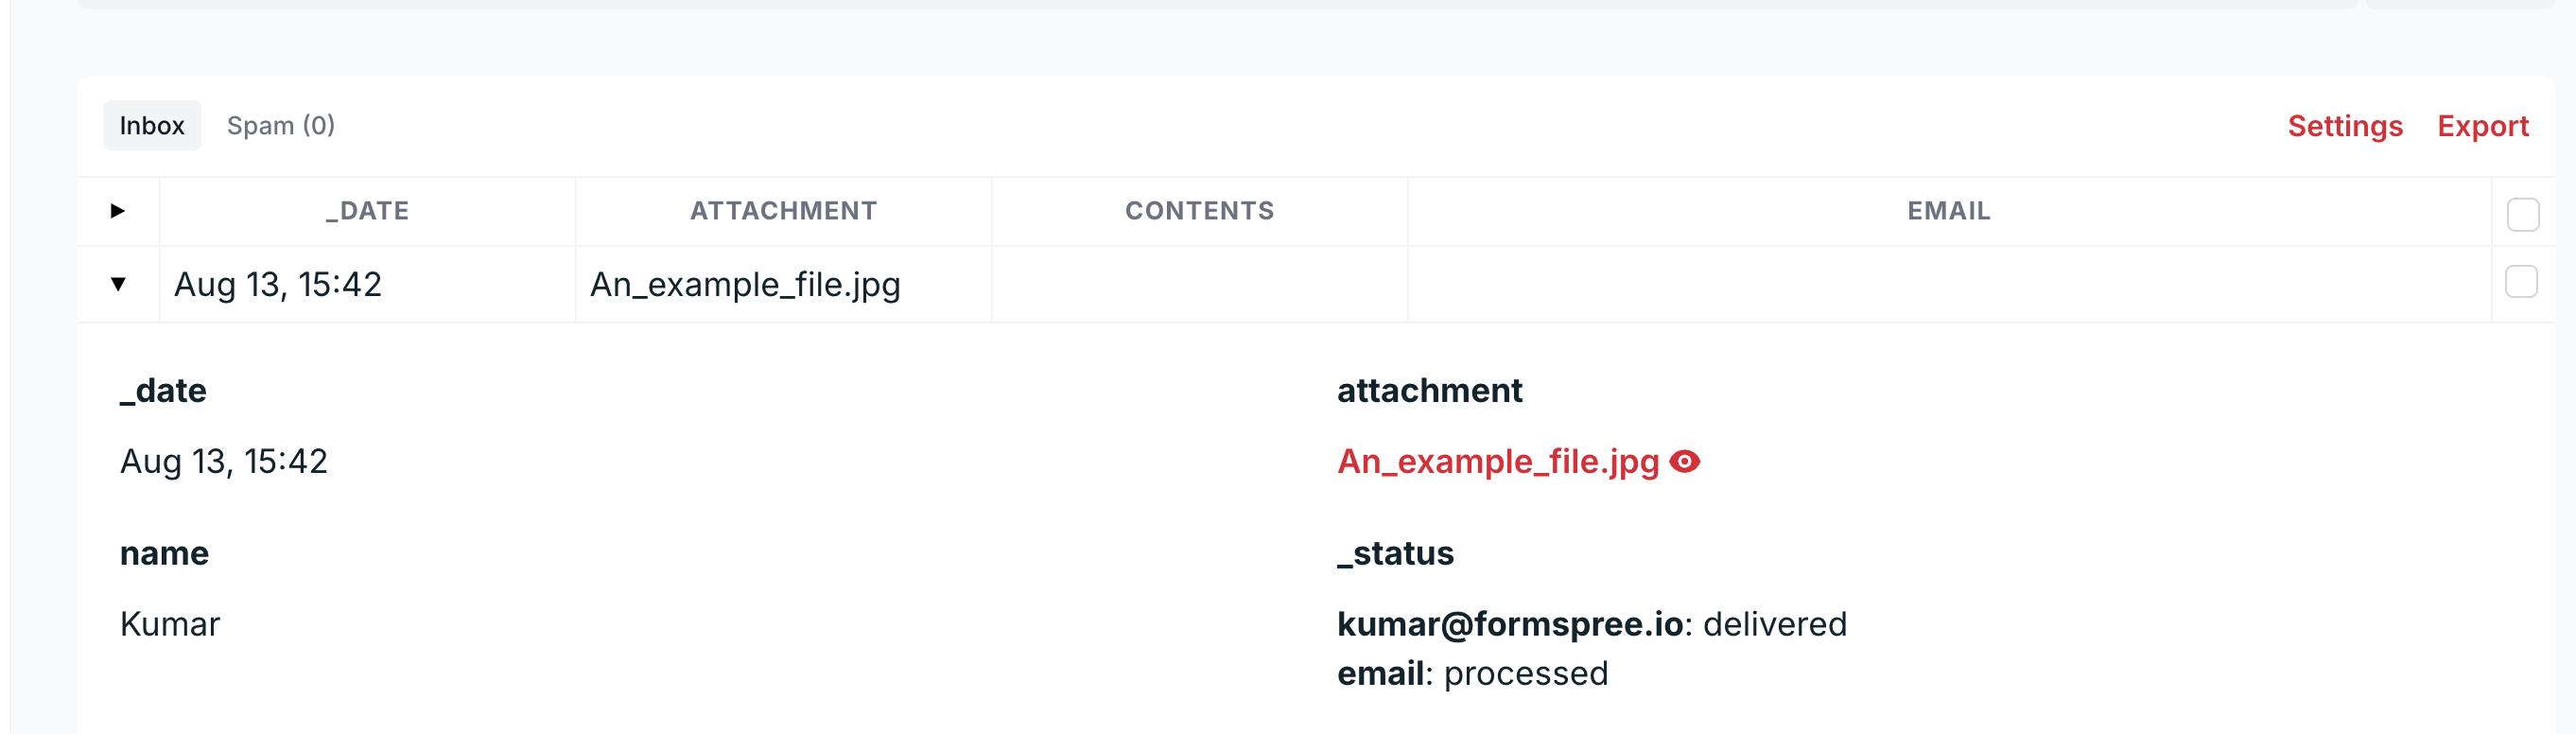
By clicking the 👁️ button for images, you can quickly preview images sent.

Files are also included in notification emails as an attachment.

Additionally, Formspree offers features like file size limits and spam protection to ensure a smooth and secure upload experience. You can also configure Formspree to send real-time notifications (webhooks) whenever a new file upload occurs (as part of a form submission). This allows you to integrate the uploaded files into your application’s workflow seamlessly. By using Formspree, you can significantly simplify file upload processes within your web application. This allows you to focus on building a robust and user-friendly experience for your users.
Final Thoughts
As you’ve seen, the <input type="file"> element enables web applications to collect user-generated content in the form of files. This article provided a comprehensive guide, exploring its functionalities, essential attributes, and best practices for a seamless user experience. We delved into server-side handling, emphasizing the importance of security and various storage options. Finally, we talked about Formspree as a valuable tool for simplifying file uploads and reducing server-side complexity.
By doing file uploads correctly, you can enhance your web applications and enable your users to actively contribute content. Remember, a smooth and user-friendly file upload experience helps develop user satisfaction and engagement, ultimately resulting in a successful product.