Webflow Forms
Design a Webflow form with Formspree's templates. Easily create customizable, embeddable forms for any Webflow site.
-
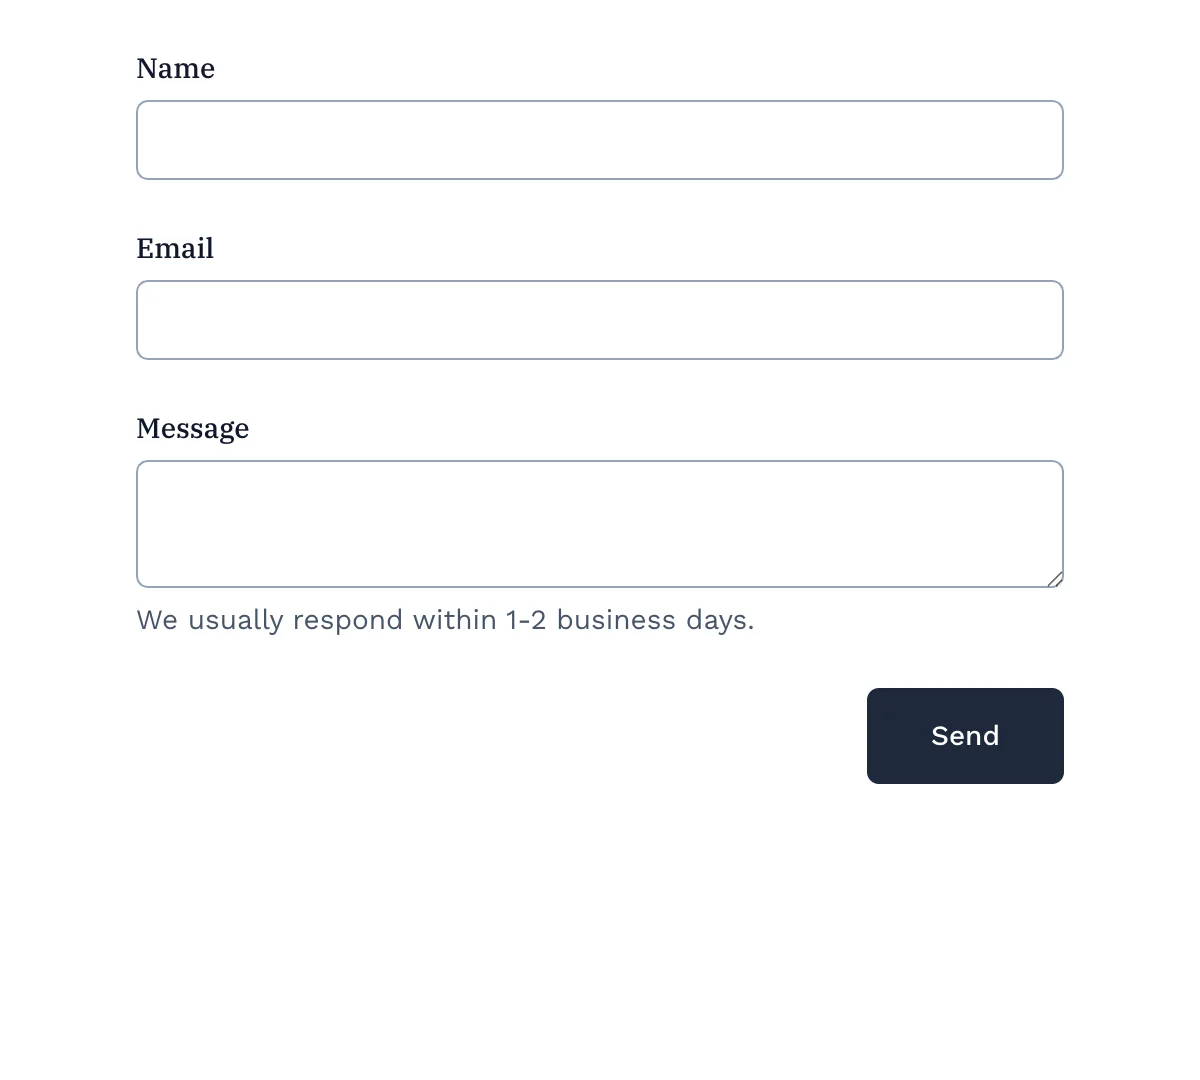
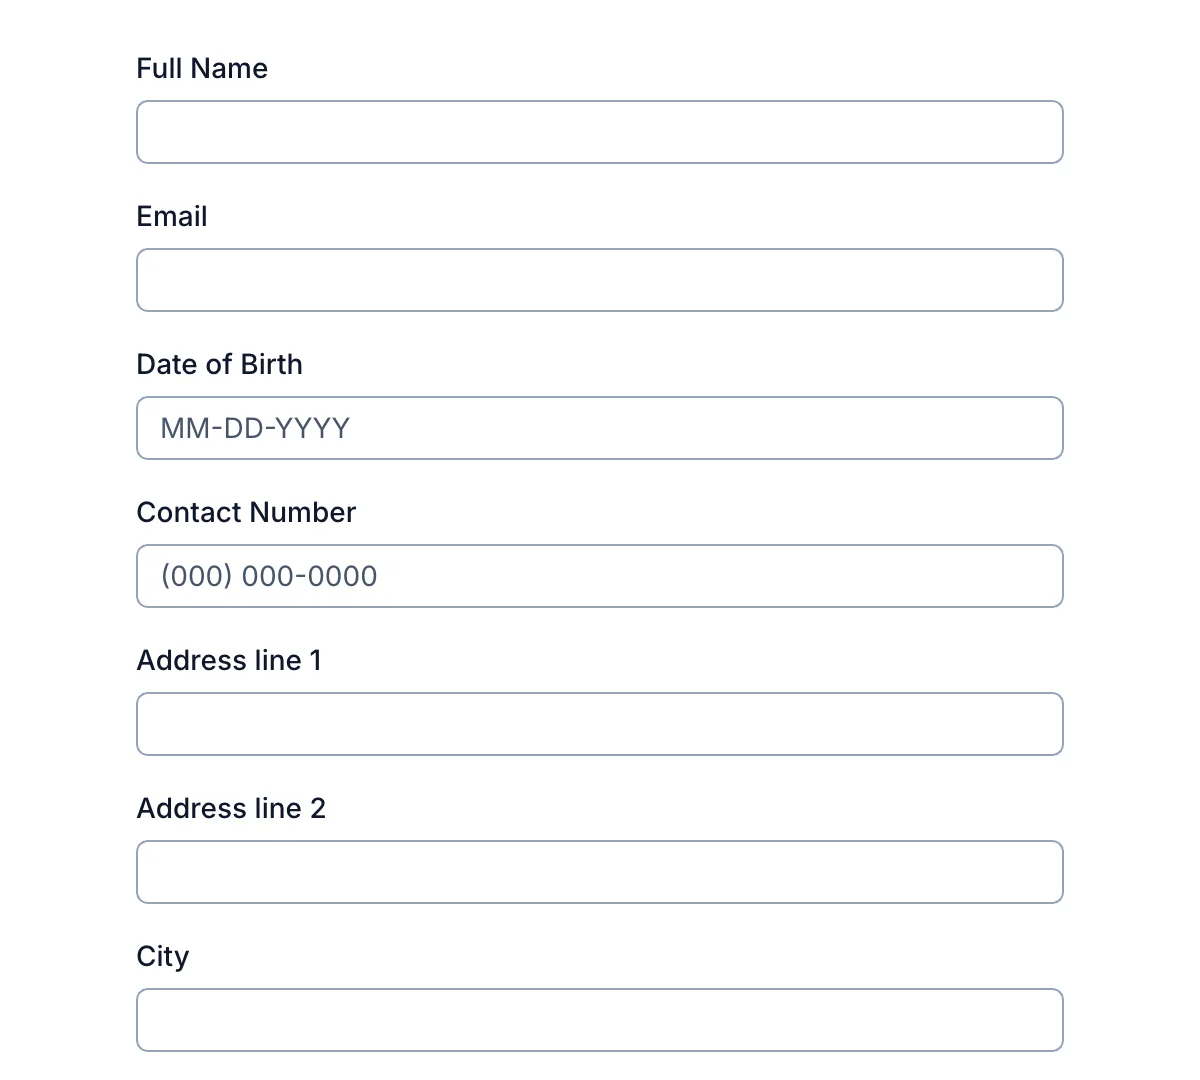
Webflow Contact Us Form
Professional contact form for easy communication with your customers
Get code -
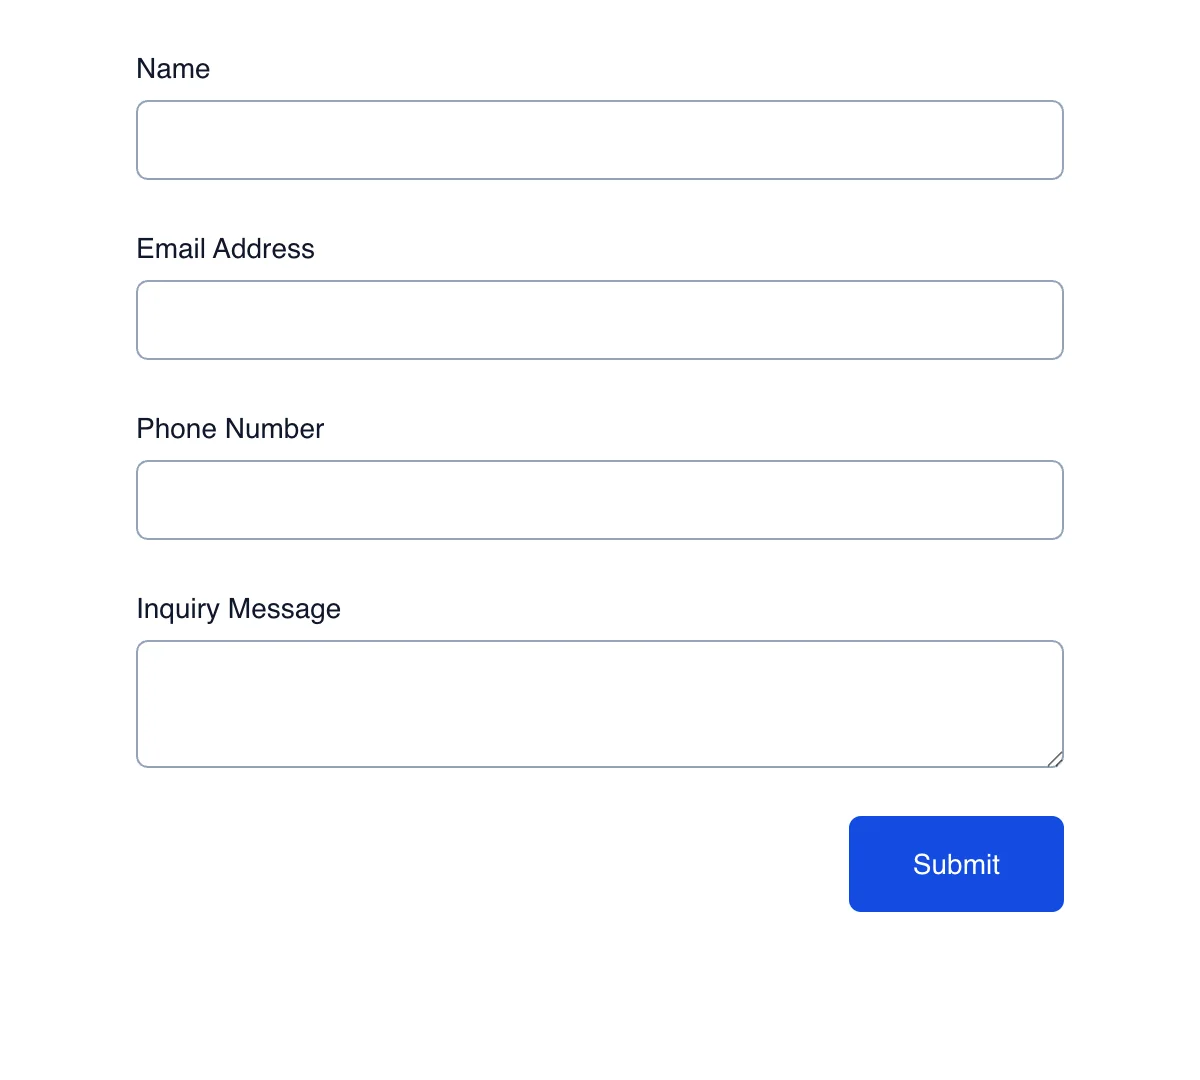
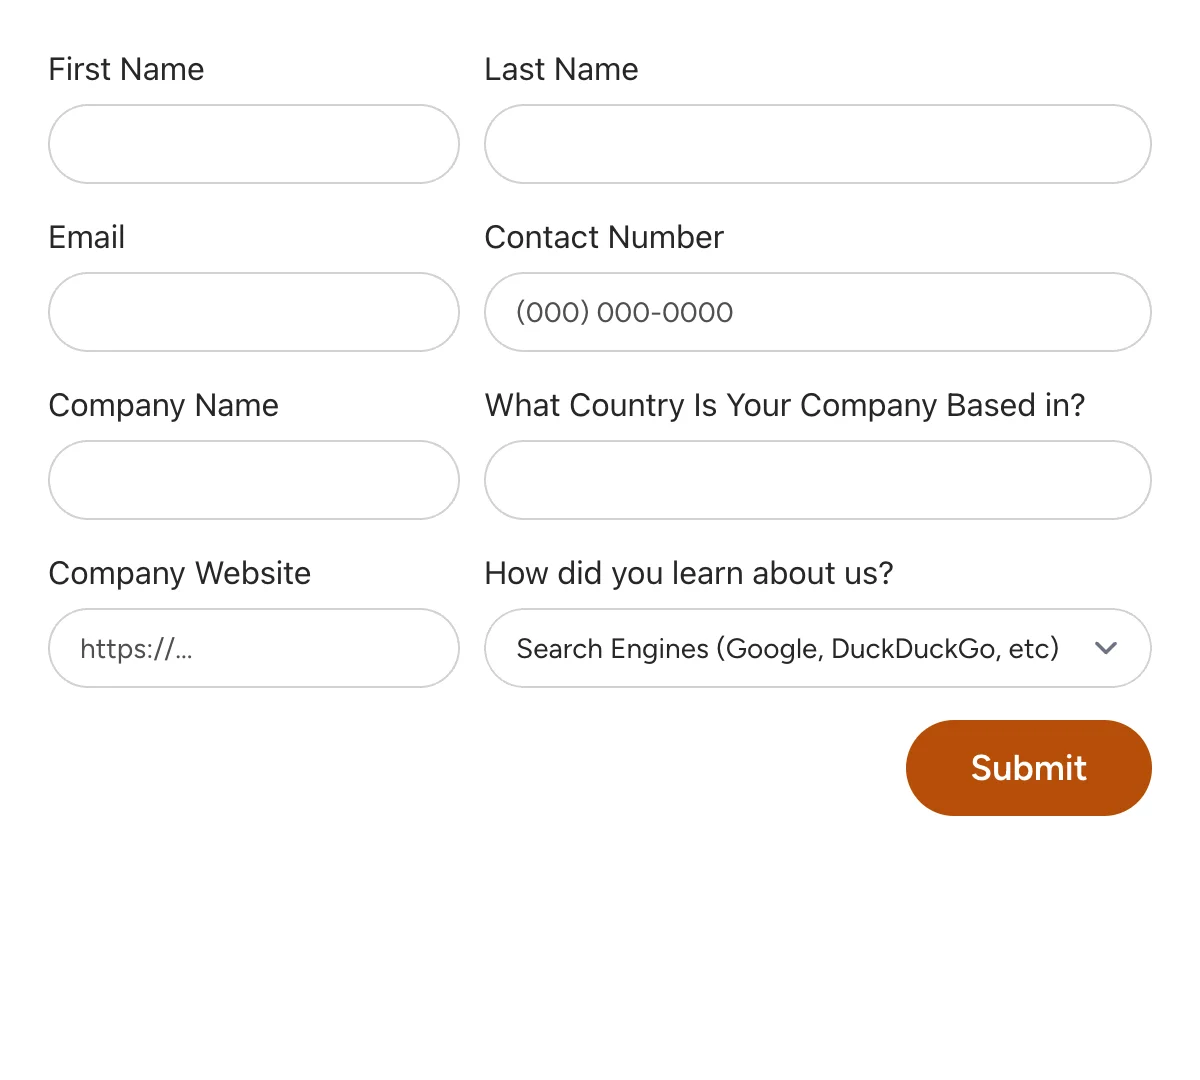
Webflow Inquiry Form
Clean, minimal inquiry form for general questions and quick responses
Get code -
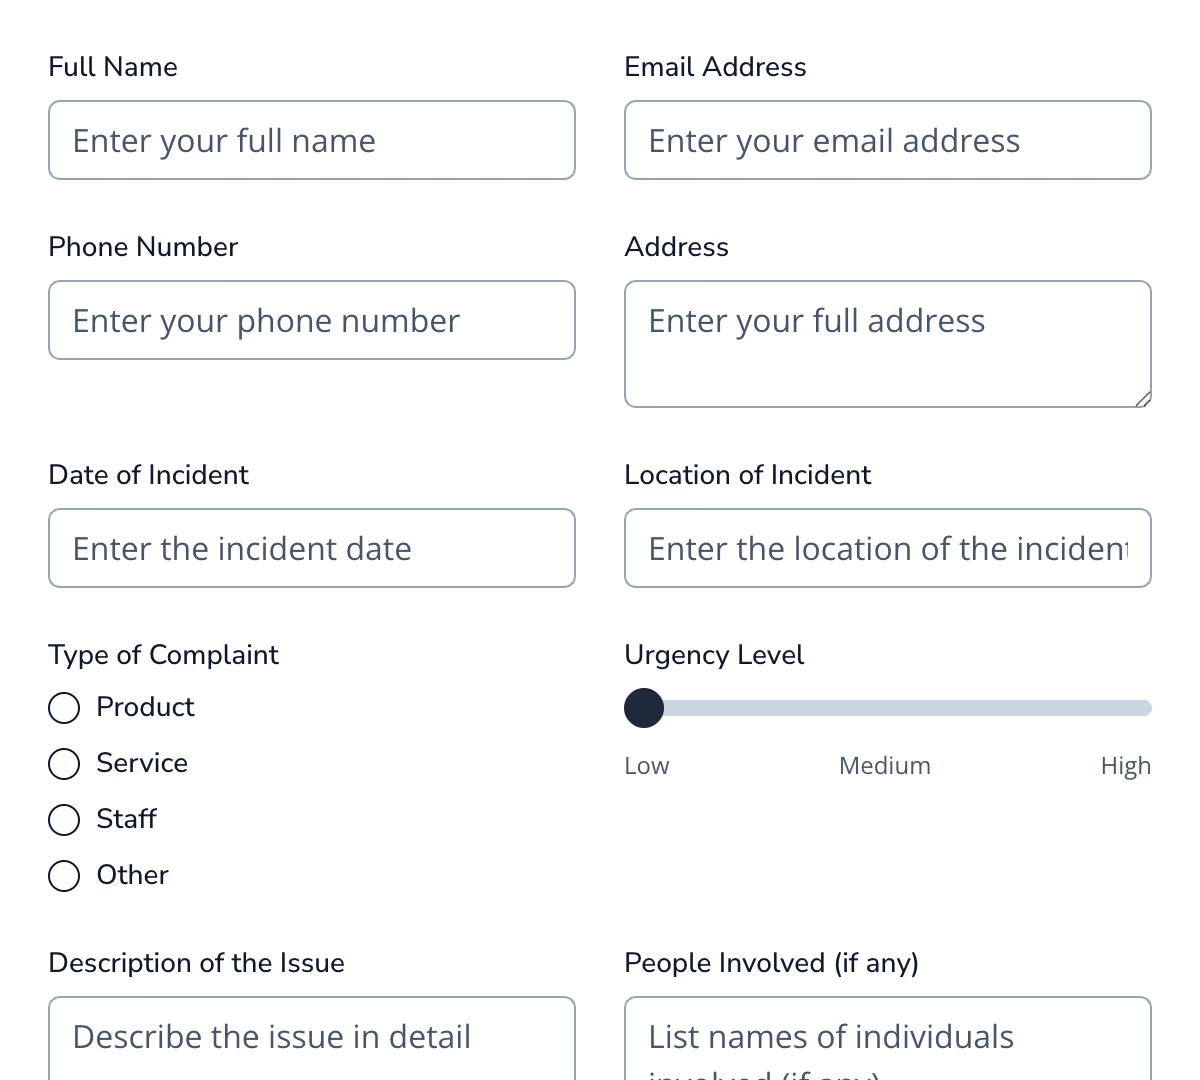
Webflow Complaint Form
Clean, effective complaint form for capturing grievances and resolving issues quickly.
Get code -
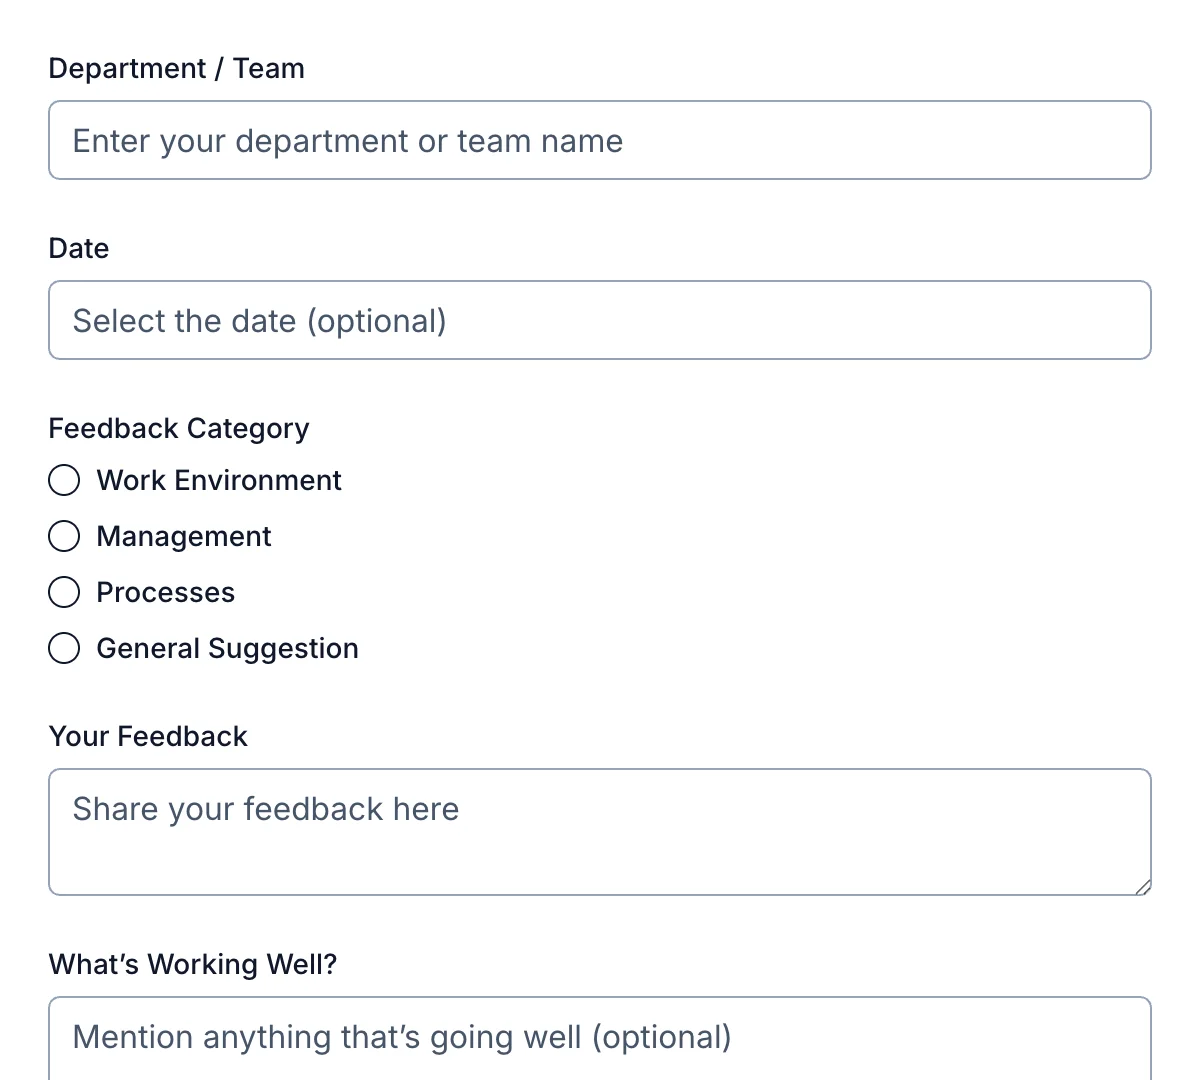
Webflow Anonymous Feedback Form
Clean, privacy-focused anonymous feedback form for honest and unfiltered opinions.
Get code -
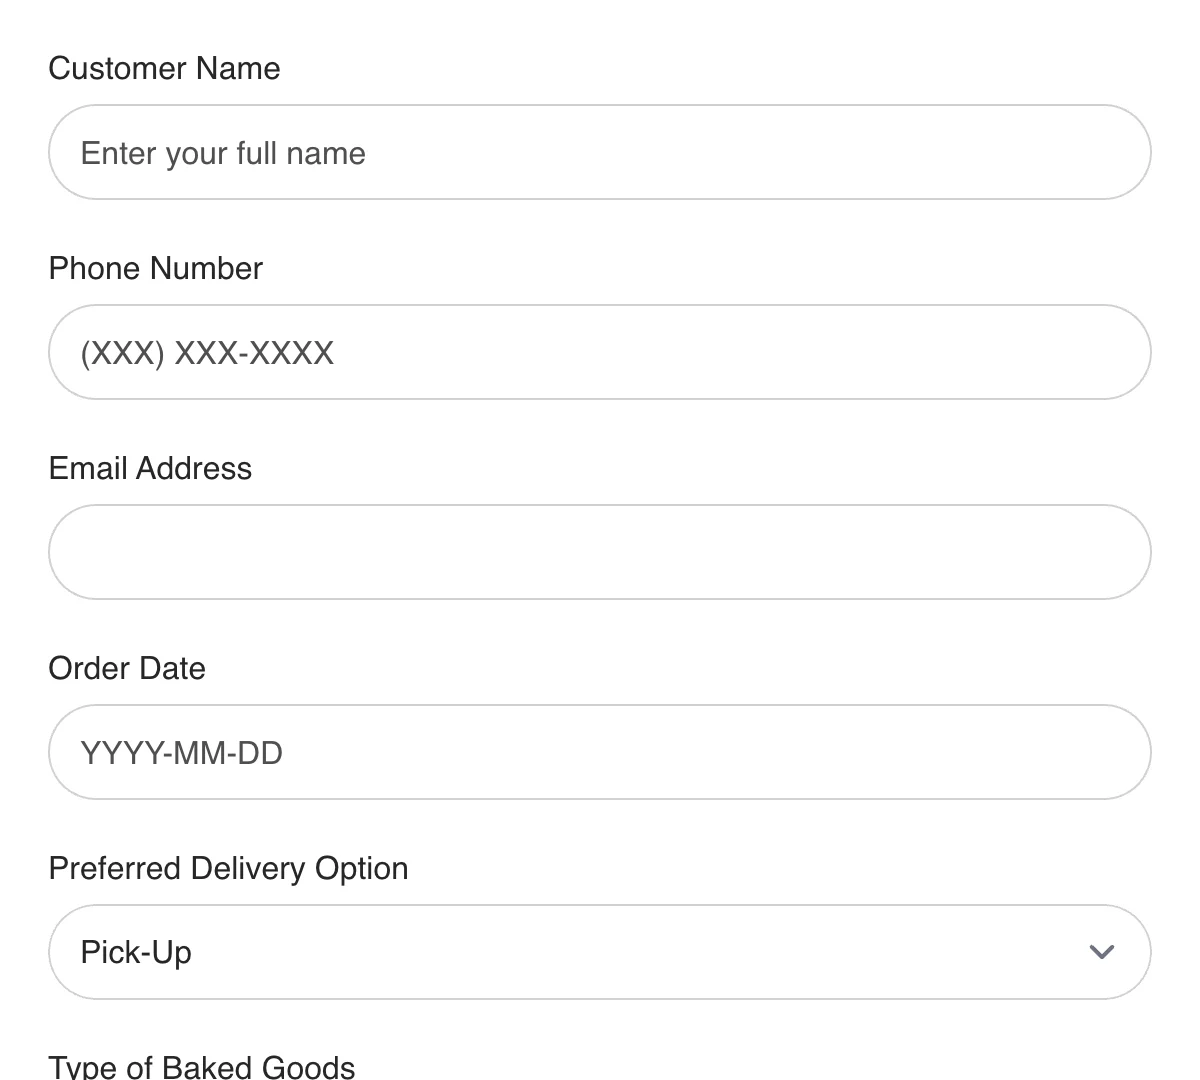
Webflow Bakery Order Form
Simple, efficient bakery order form for hassle-free order management and fulfillment.
Get code -
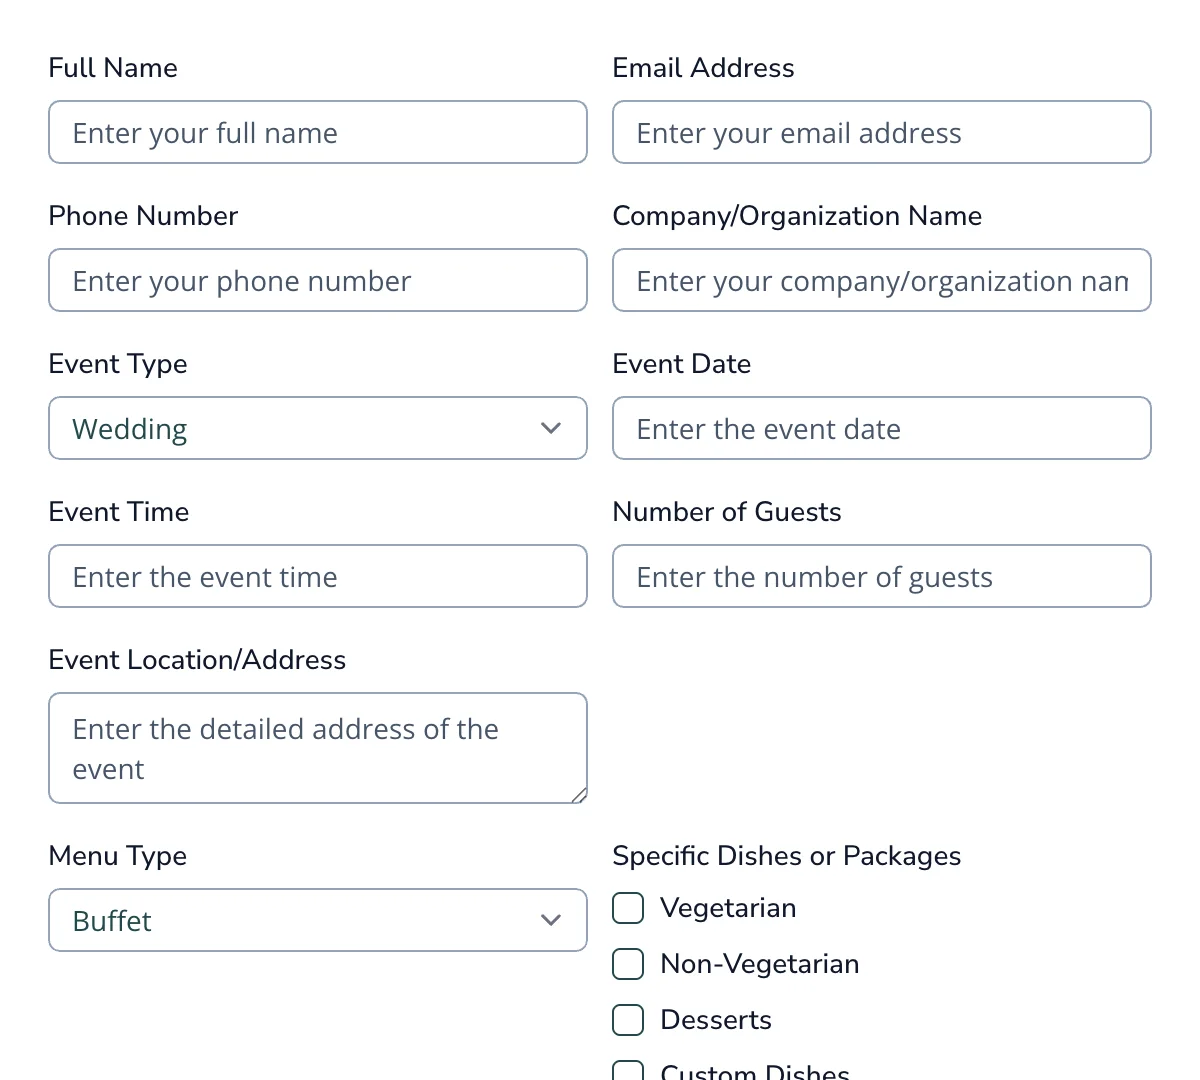
Webflow Catering Order Form
Clean, user-friendly catering order form for seamless order management and planning.
Get code -
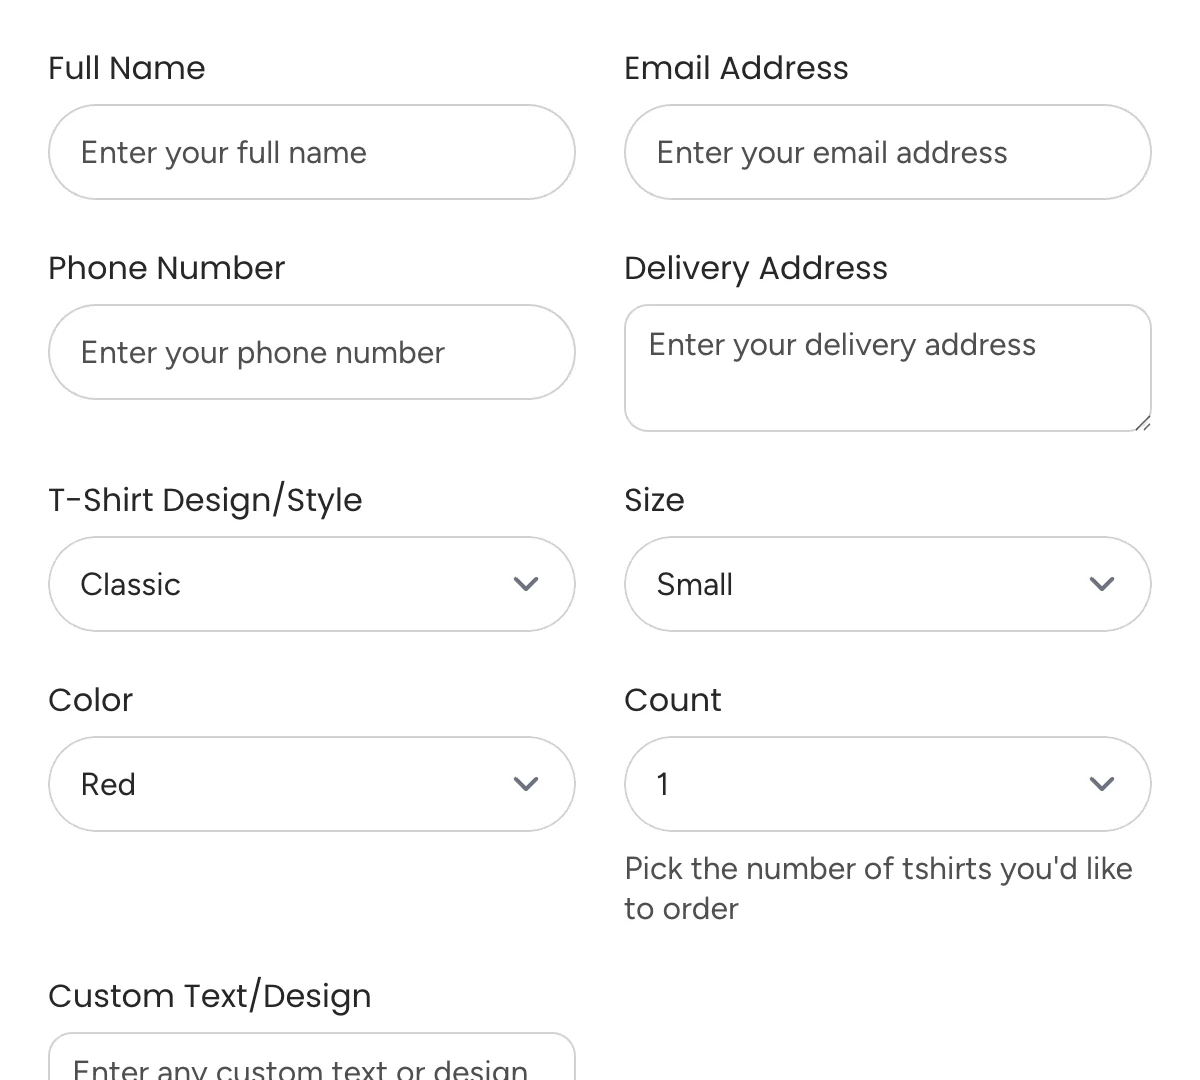
Webflow Tshirt Order Form
Simple, user-friendly t-shirt order form for seamless order tracking and customization.
Get code -
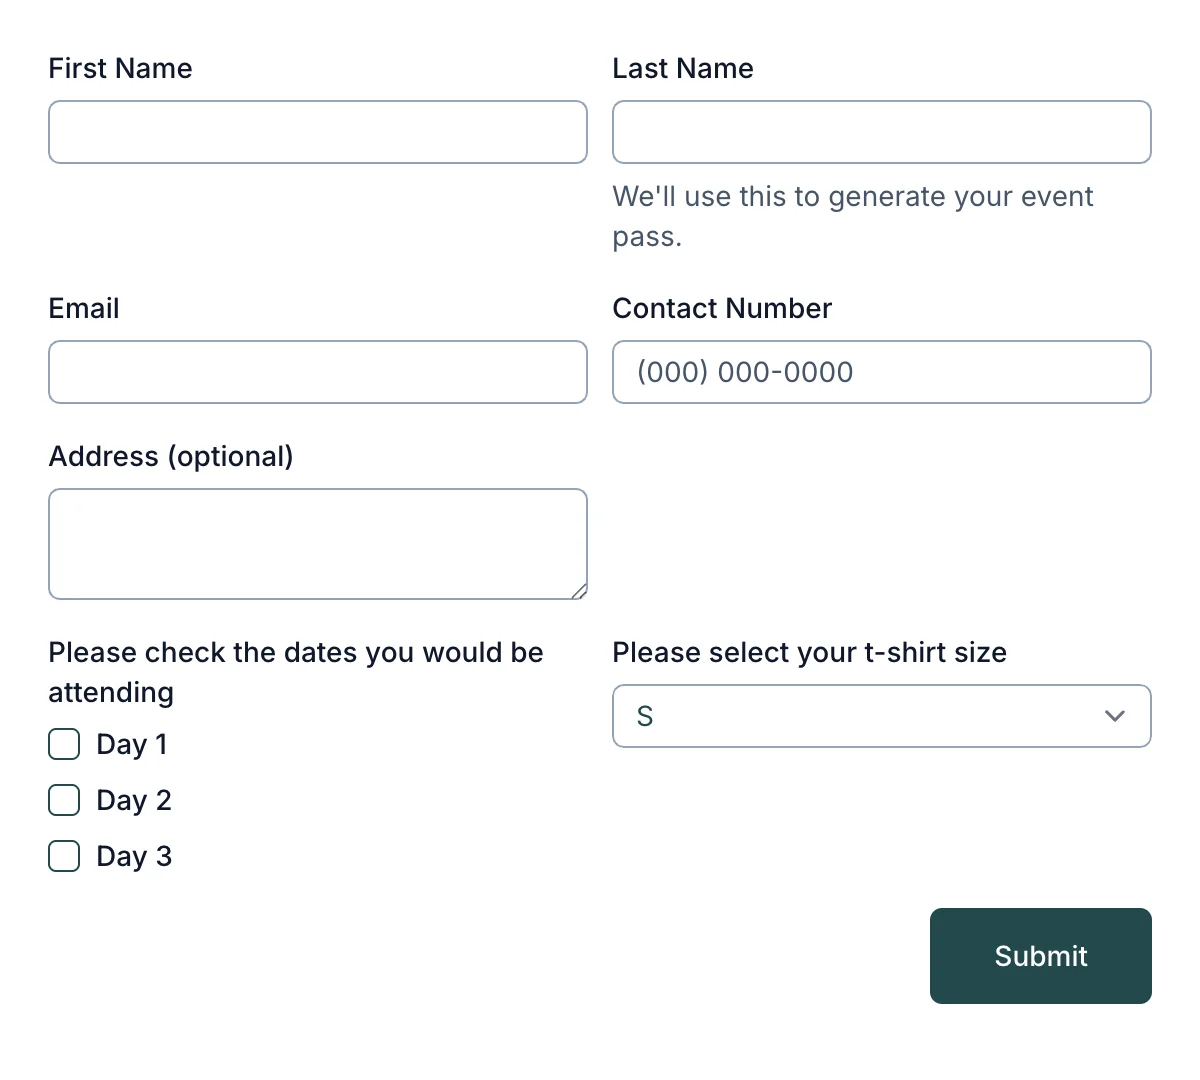
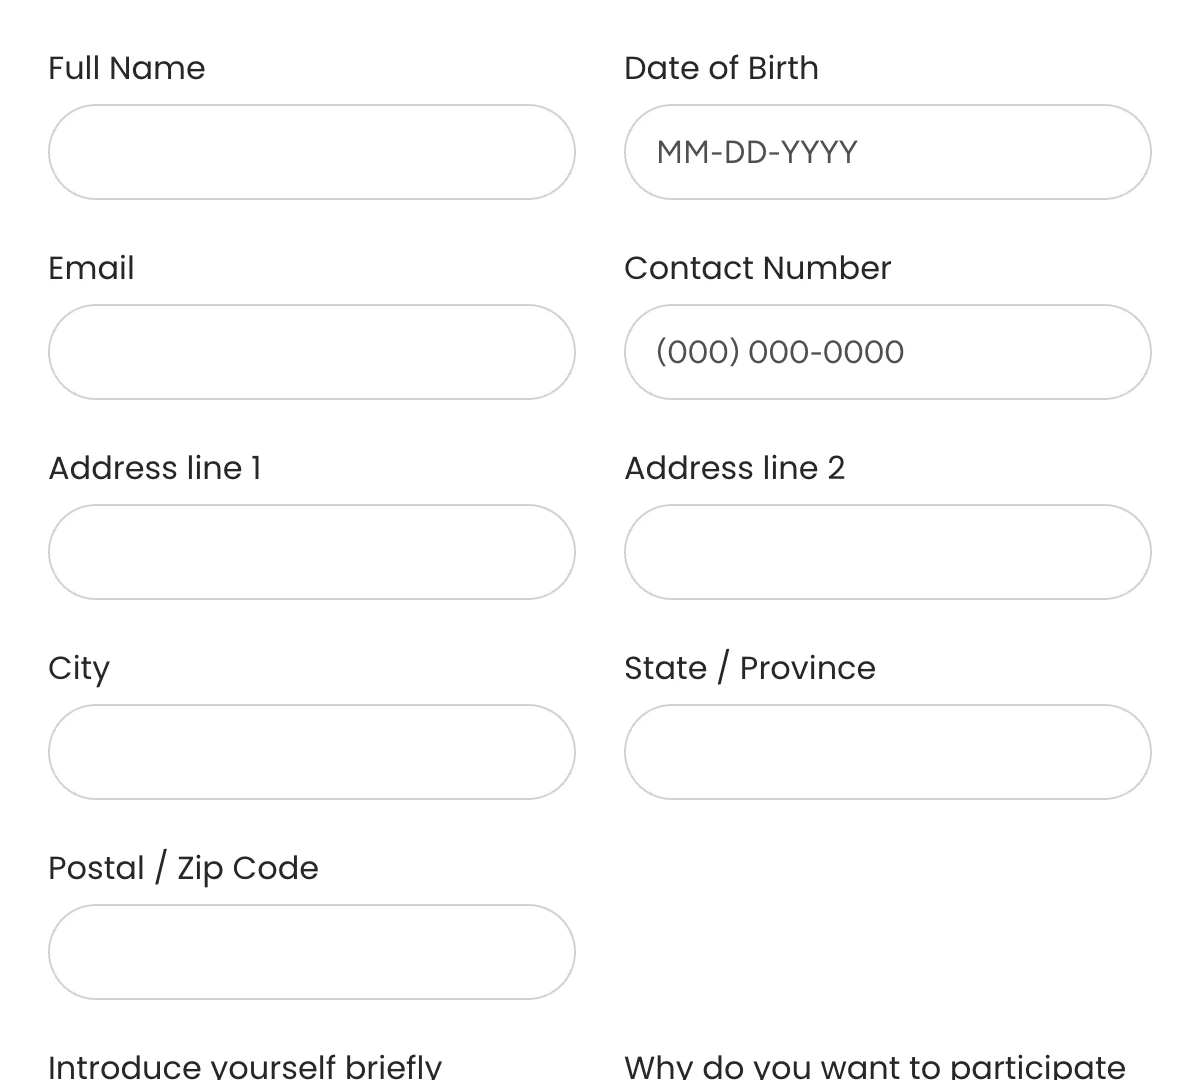
Webflow Event Registration Form
Essential event registration form for hassle-free attendee sign-ups
Get code -
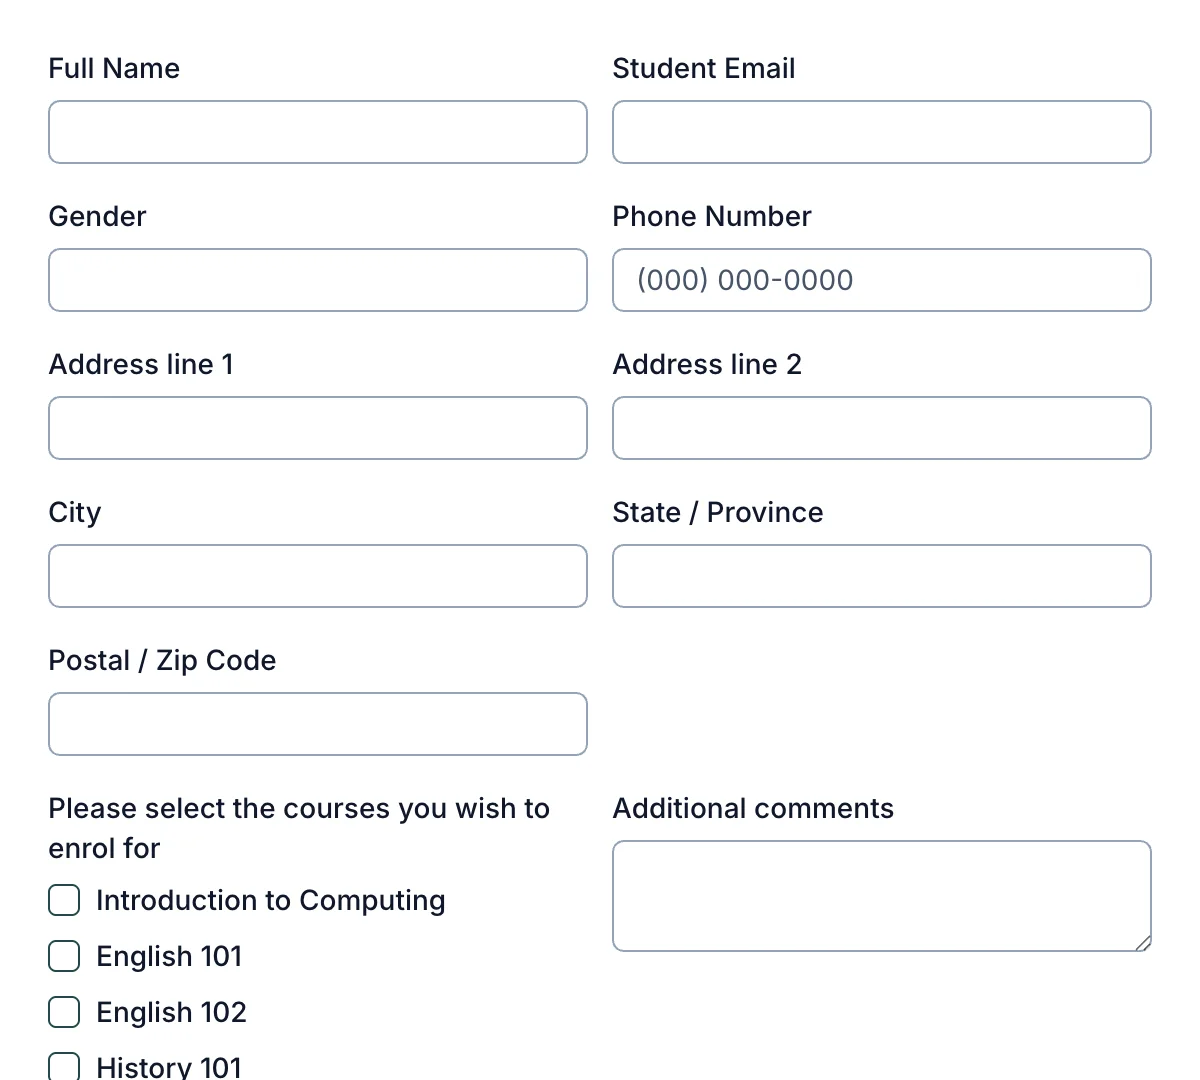
Webflow Course Enrollment Form
Simple course enrollment form for fast, easy student sign-ups
Get code -
Webflow Contest Entry Form
Quick contest entry form for seamless participation signups
Get code -
Webflow Webinar Registration Form
Streamlined webinar registration form for signups to online events
Get code -
Webflow Warranty Registration Form
Effortless warranty registration form for secure product coverage
Get code -
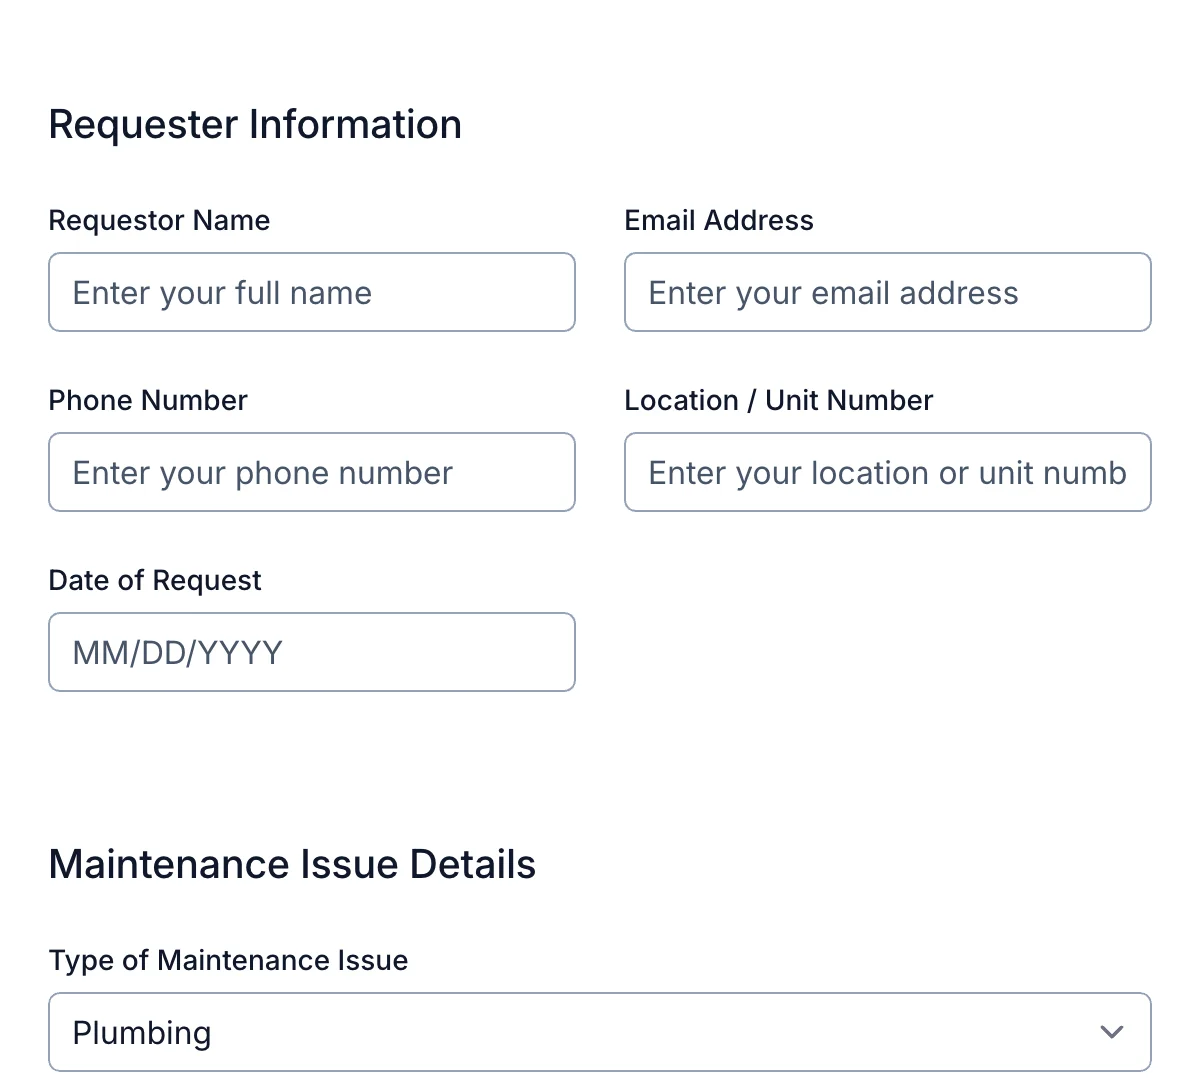
Webflow Maintenance Request Form
Clean, user-friendly maintenance request form for quick repair tracking and response.
Get code -

Webflow Refund Request Form
Clean, straightforward refund request form for faster and more organized refund management.
Get code -
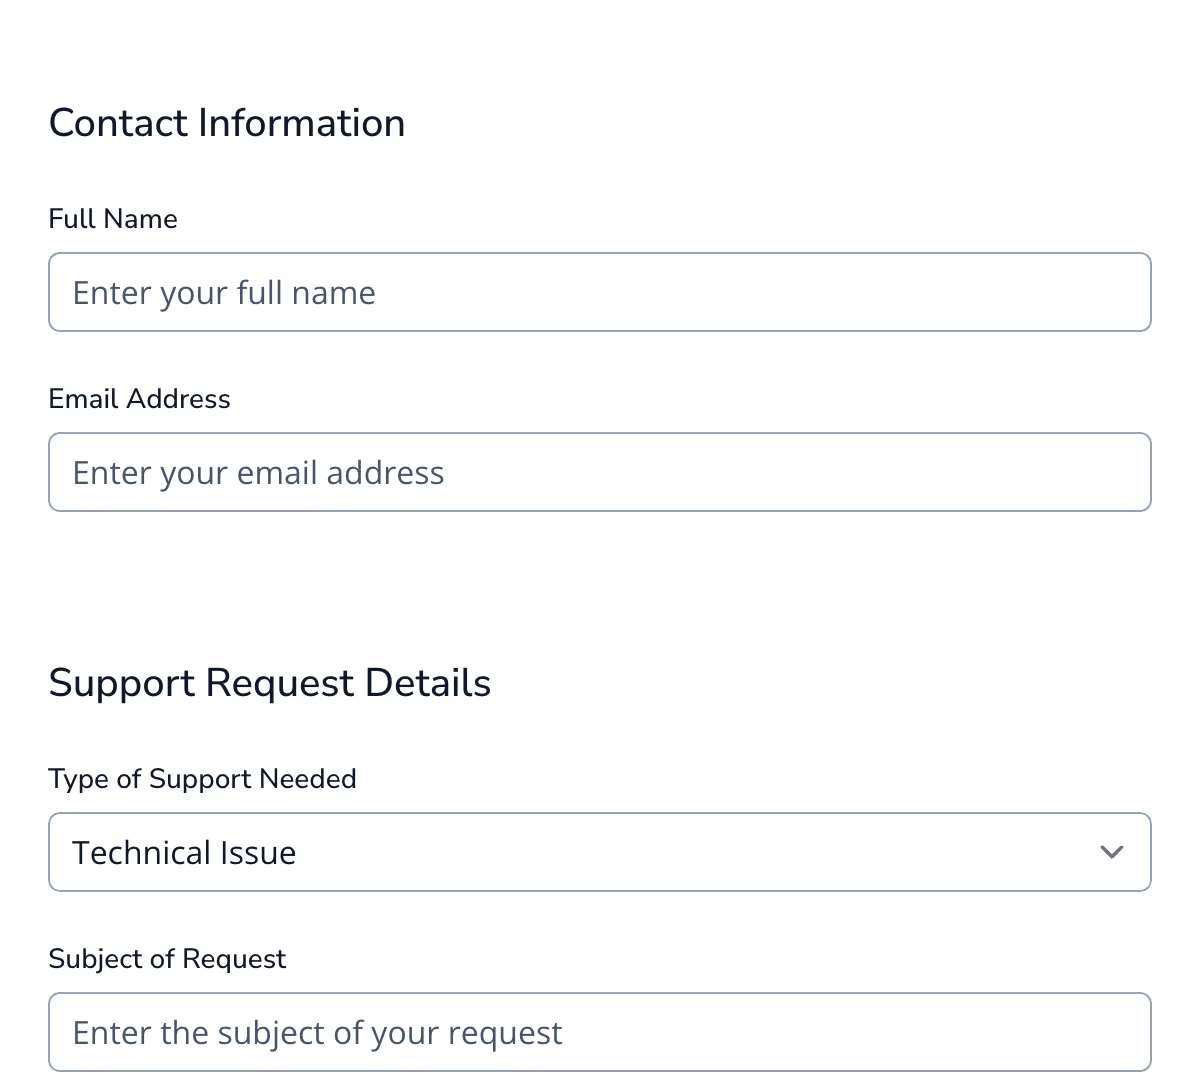
Webflow Support Request Form
Clean, easy-to-use support request form for faster customer service and troubleshooting.
Get code
What is a Webflow Form?
Webflow is a powerful visual website builder that gives designers and developers the ability to create fully responsive, visually stunning websites without writing a line of code. One of its built-in features, the native Webflow Form component, makes it easy to create contact forms, signup forms, and more using a drag-and-drop interface. But as your form handling needs grow (think file uploads, AJAX submissions, spam filtering, or integrations with CRMs and APIs), you’ll likely run into the limitations of Webflow’s default form functionality.
That’s where Formspree comes in. Formspree is a form backend platform that handles submissions, spam protection, storage, notifications, and more, without requiring you to build or maintain server-side logic. It is possible to extend Webflow’s native forms by simply replacing the form’s action attribute with a Formspree endpoint, and this might work well for simple cases. But if you want full control over your form markup, style, and advanced client-side validation, there’s a better way: embedding a custom HTML form using Webflow’s Code Embed component.
In this guide, we’ll walk you through why and how to use Formspree with custom embedded forms in Webflow. You’ll learn how to go beyond native form limitations, get access to advanced capabilities like AJAX, secure file uploads, and hidden field tracking, and build forms that are not only beautiful but also production-ready. Whether you’re a no-code creator who wants more flexibility or a developer building for clients at scale, this article will help you get the best of both platforms, with no backend code required.
Why Use Custom HTML Forms with Code Embed
Webflow’s native forms are perfect for getting started quickly. You can visually drop in fields, style them in the Designer, and connect basic submission handling; all without touching code. But the moment you need more control over the form’s behavior, structure, or backend processing, the native approach starts to fall short.
By embedding a custom HTML form using Webflow’s Embed component, you unlock a much broader range of capabilities. Instead of working within the constraints of Webflow’s form builder, you write your form markup directly using HTML, giving you full control over structure, validation, and hidden behaviors.
Here’s why that matters:
- Full Formspree Feature Access: Certain Formspree features, like honeypot spam protection, hidden, special metadata fields, or redirect URLs, depend on having control over your form’s HTML. These can be difficult or impossible to implement using Webflow’s native form UI. With a Code Embed, you’re writing raw HTML, so every Formspree feature is available to you out of the box.
- Clean Separation of Logic and Design: Embedding your form lets you decouple the front-end layout from Webflow’s internal form system. That means your design stays as-is, but the form behavior and logic are 100% under your control. This is ideal for power users and developers managing workflows across multiple projects or platforms.
- Advanced Customization: Need to include hidden fields that pull in dynamic data like page URLs or referral sources? Want to use
data-*attributes for JavaScript-based interactions? Prefer fine-grained control over form validation or styling? Custom HTML gives you the flexibility to do all of this, without fighting Webflow’s native form abstractions.
How to Embed a Formspree Form in Webflow
Embedding a custom HTML form in Webflow using Formspree is surprisingly straightforward. All you need is a Formspree form endpoint and Webflow’s Embed component. With just a few steps, you’ll have a fully functional, customizable form that integrates seamlessly into your Webflow site design.
Step 1: Create a Form on Formspree
Start by logging in to your Formspree dashboard and creating a new form.
Click “New Form” and give your form a name. Choose the form fields you plan to include (e.g., name, email, message) if you would like to set up server-side validation rules on them.
Once the form is created, Formspree will generate a unique form endpoint for you, that looks like https://formspree.io/f/your-form-id. You will need this later once you have added your HTML code to the webflow page.
Step 2: Copy the Embed HTML Code
From the Formspree Forms Library, copy the complete HTML code for the form you want to implement in your Webflow site. It will look something like this:
  <form action="https://formspree.io/f/xyznqgpr" method="POST">
    <label>
      Your email:
      <input type="email" name="email" required>
    </label>
    <label>
      Your message:
      <textarea name="message" required></textarea>
    </label>
    <button type="submit">Send</button>
  </form>
You can customize this HTML however you like; add more fields, style with classes, or insert special hidden fields to modify behavior.
Step 3: Add an Embed Component in Webflow
Inside the Webflow Designer:
- Open the page or section where you want to add the form.
- From the Add panel, drag in the Code Embed component (you can use the search bar to find it easily).
- Paste your custom HTML form into the Code Embed Editor.
Click Save & Close, and position the Embed block as needed in your layout.
This Embed block is now part of your Webflow site, and it renders the custom form just like any other element.
Step 4: Publish and Test the Form
Publish your Webflow site and try submitting the form. You should receive submissions in your Formspree dashboard immediately!
Webflow Form Elements vs Embedded Formspree Fields
When building forms in Webflow, you’re usually working with the native form elements offered through the visual Designer, like Input, Textarea, Select, Checkbox, and so on. These elements are great for simple use cases and benefit from Webflow’s drag-and-drop convenience. But they’re also tied to Webflow’s internal form handling system, which can introduce limitations when you want to go beyond basic form submissions.
By switching to a custom HTML form embedded via the Code Embed component, you regain full control over every field, label, and behavior. Let’s compare what you get with each approach:
Native Webflow Form Elements
- Drag-and-drop UI: Webflow offers an intuitive, no-code interface for building forms by dragging and arranging elements.
- Visual Styling in Designer: You can style every part of the form visually, though direct access to certain HTML attributes like
nameoridis limited. - File Uploads: Supported, but only available on Webflow’s higher-tier Business and Ecommerce plans.
- reCAPTCHA Integration: Supported through Webflow’s reCAPTCHA element, but the setup is manual and customization options are limited.
- AJAX Support: Not built-in. You’d need to add custom JavaScript to enable AJAX behavior.
- Hidden Fields / Honeypots: Not natively supported in the Webflow Designer. Adding hidden inputs requires workarounds or embeds.
Embedded Formspree Fields
- Drag-and-drop UI: Not available. You’ll need to write or paste raw HTML for the form structure.
- Visual Styling in Designer: Partially supported. You can assign CSS classes to inputs and style them using Webflow’s Designer, but direct visual editing isn’t possible inside the Embed block.
- File Uploads: Fully supported on any Formspree plan. Files are scanned for security and delivered through expiring download links.
- reCAPTCHA Integration: Fully customizable, including support for invisible reCAPTCHA and other spam filters via HTML or Formspree’s built-in options.
- AJAX Support: Supported out of the box. You can enable AJAX via the
data-formspreeattribute or use custom JavaScript for advanced behavior. - Hidden Fields / Honeypots: Easily added using standard HTML inputs. You can also take advantage of Formspree’s built-in anti-spam features.
Accessibility & UX Quick Wins
Just because you’re embedding a custom HTML form doesn’t mean you should skip the accessibility and user experience best practices that Webflow encourages by default. In fact, when you’re writing your own markup, you have even more responsibility and flexibility to make your form usable, inclusive, and responsive.
Here are some quick tips to keep in mind when working with custom embedded Formspree forms in Webflow:
- Always Use
<label>Elements: Every form input should have a corresponding<label>. This improves usability for everyone, especially users relying on screen readers. - Preserve Logical Tab Order: Arrange form fields in a top-to-bottom, left-to-right sequence in your HTML. This ensures users navigating by keyboard can move through your form predictably using the Tab key.
- Provide Helpful Error Messages: Native browser validation handles some of this, but you can enhance it with custom messages or real-time JavaScript validation. Be clear about required fields, format issues (like invalid emails), file size/type requirements for uploads, etc.
- Avoid Placeholder-Only Fields: Placeholders are not substitutes for labels. They disappear when users start typing and aren’t accessible to screen readers. Always use labels, even if they’re hidden.
- Use ARIA and Semantic Markup (When Needed): For complex forms (multi-step, custom components), consider using ARIA attributes like aria-required, aria-invalid, or aria-describedby to enhance accessibility.
- Match Webflow Styles (Optional): To blend your custom form with your Webflow design, assign class names to inputs and buttons, then style them using the Webflow Designer.
Managing and Analyzing Submissions in Formspree
Once your embedded form is live, Formspree gives you a centralized way to manage all your submissions across projects. Unlike Webflow’s basic form handling, Formspree is built for scale and visibility.
- Dashboard and Search: Every submission is logged in the Formspree dashboard, where you can view timestamps, field values, and metadata. You can filter by form, search across submissions, and export data as CSV for reporting or analysis.
- Email Alerts and Auto-Replies: Set up custom notifications to alert your team of new submissions, and send auto-response messages to users. Both can be customized using form field values.
- Webhooks and Integrations: Trigger workflows using built-in integrations with Slack, Notion, Airtable, CRMs, or custom APIs via webhooks. Submissions can instantly move into your tools without manual steps.
- Analytics: Track submission volume, spam rates, delivery issues, and referral sources, all from the Formspree dashboard.
Webflow Native Forms vs Embedded Formspree Forms
Webflow’s native form builder is easy to use and great for simple contact forms. But it’s limited when you need more advanced functionality, like multi-step workflows, file uploads on lower-tier plans, or third-party integrations. Embedding a custom Formspree form gives you full control over behavior, structure, and data handling.
When to Use Native Webflow Forms
- You only need basic submission storage and email notifications
- You’re working within Webflow’s Business or Ecommerce plans
- You prefer a purely visual, no-code experience
When to Use Embedded HTML Forms with Formspree
- You need file uploads without a high Webflow plan
- You want to include hidden fields, redirect URLs, or honeypot spam filters
- You want AJAX form submissions and smoother UX
- You need to trigger custom workflows via API, Slack, or CRM
- You want to manage submissions across multiple sites from one dashboard
💡 Already have a form in Webflow? You can connect it to Formspree in under 5 minutes. Here’s how.
Conclusion
Webflow makes it easy to design beautiful, responsive forms, but design is only half the story. For advanced functionality like AJAX submissions, file uploads, spam protection, and integrations with tools like Slack or CRMs, you need a more powerful backend.
By embedding a custom HTML form using Webflow’s Code Embed component and connecting it to Formspree, you unlock full control over your form’s structure and behavior. You’re no longer limited by native form constraints and can build workflows that scale, without writing backend code.
Whether you’re a solo creator or part of a larger team, this approach gives you flexibility, reliability, and room to grow. If your form needs go beyond simple notifications, embedded Formspree forms in Webflow are the way forward.
Ready to get started? Create a Formspree form and embed it in your Webflow project today.