HTML Forms
Design an HTML form with Formspree's templates. Easily create customizable, embeddable forms for any website.
-
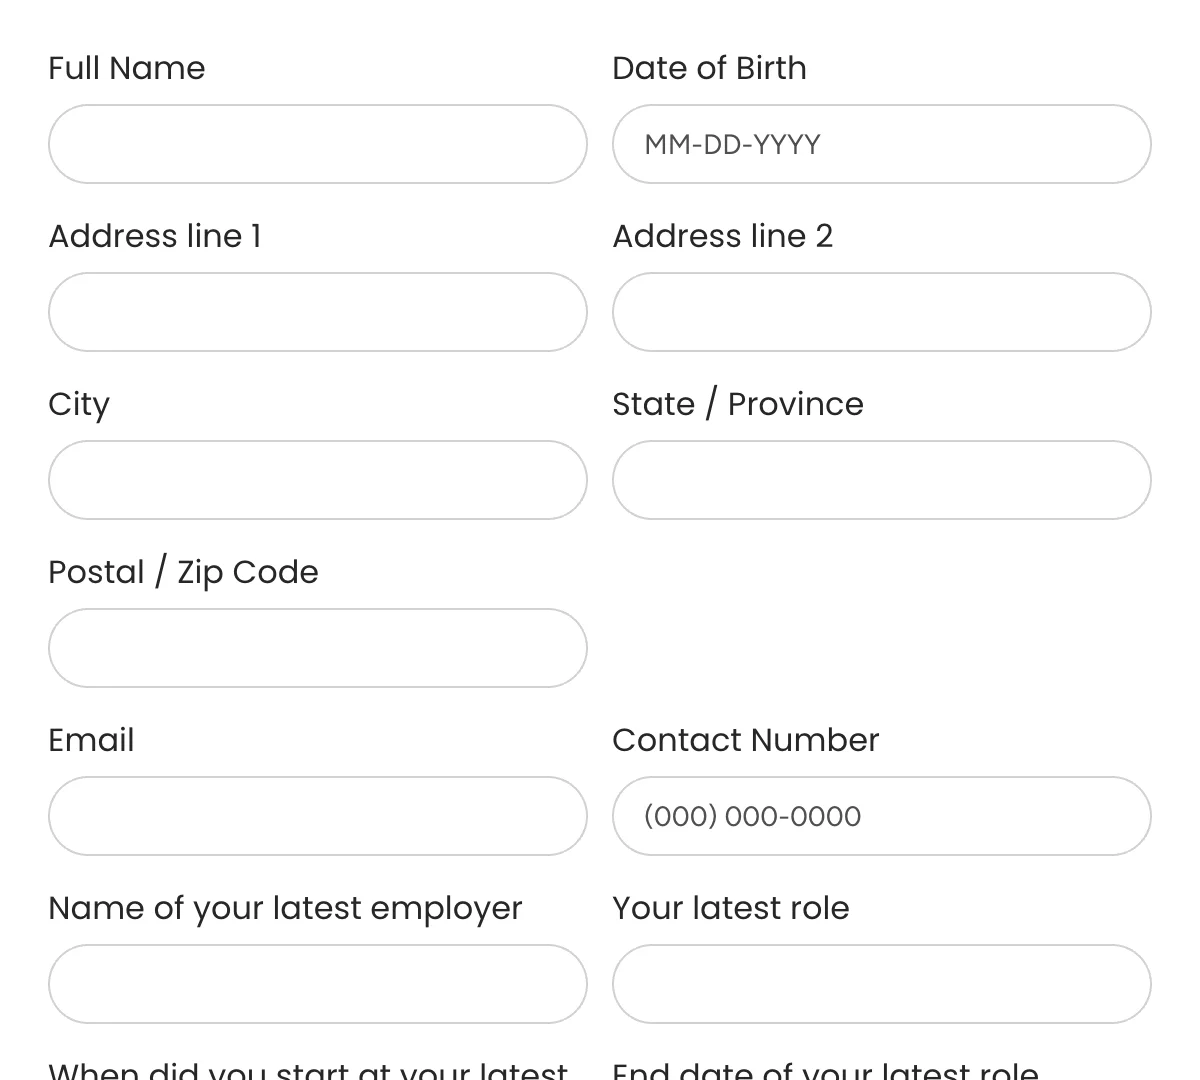
HTML Application Forms
Application forms to simplify hiring and screen candidates effectively!
-
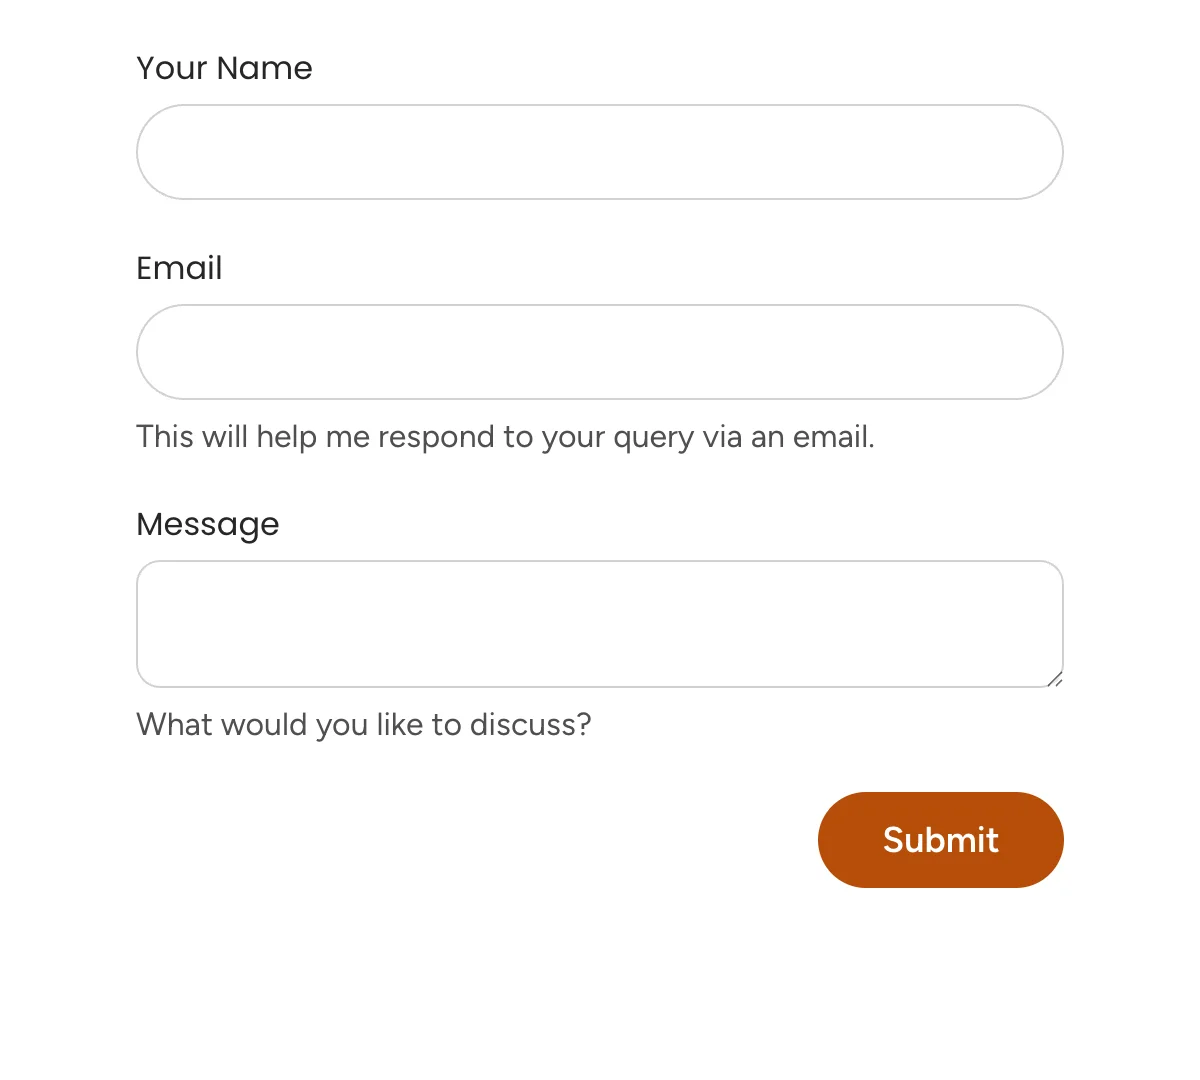
HTML Contact Forms
Essential contact forms for smooth communication with your business
-
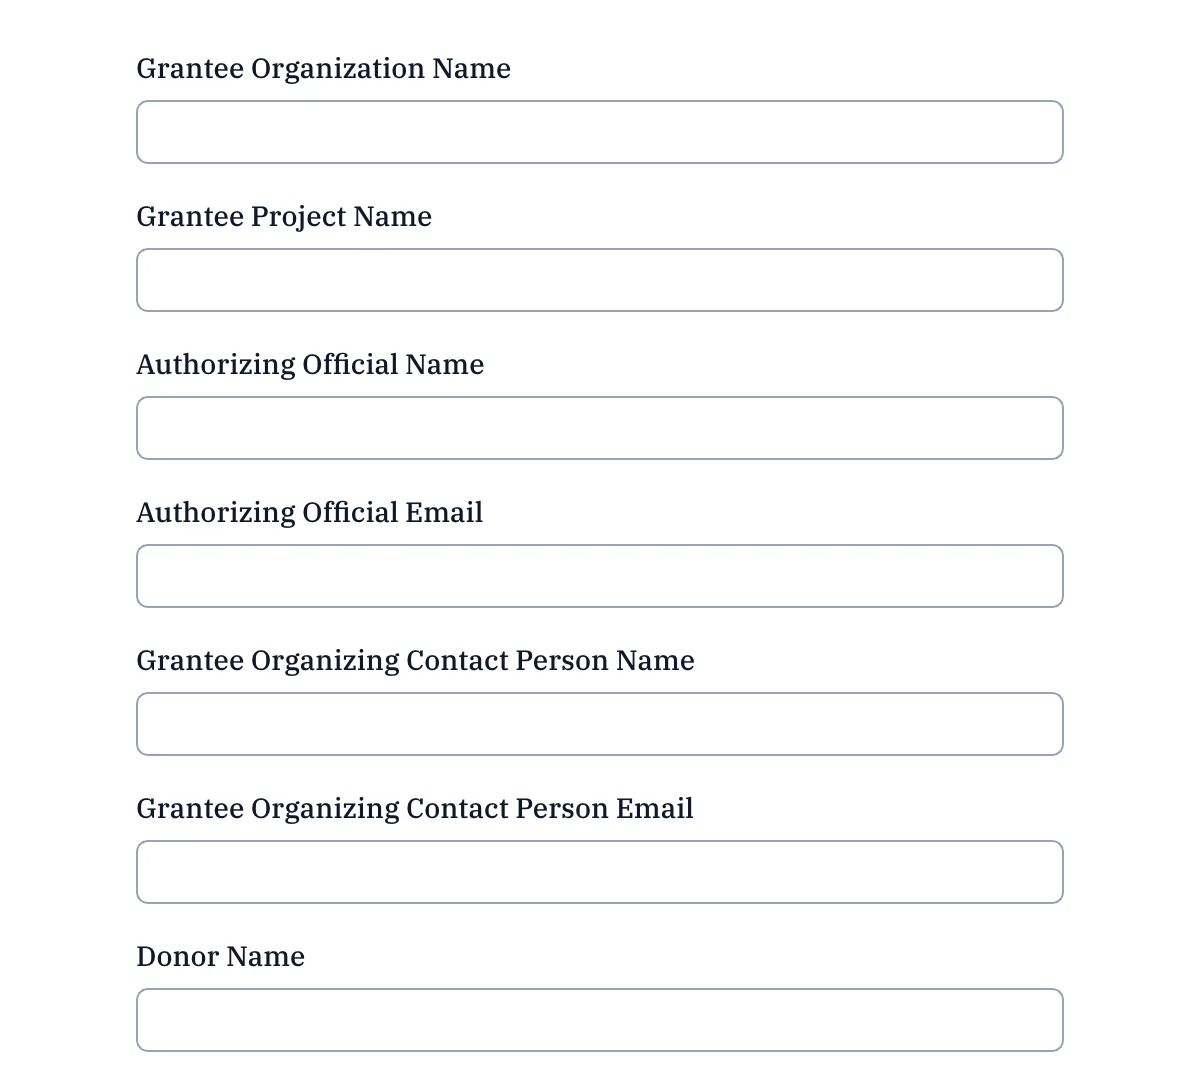
HTML Donation Forms
Ready-to-go donation forms for non-profits and charities
-
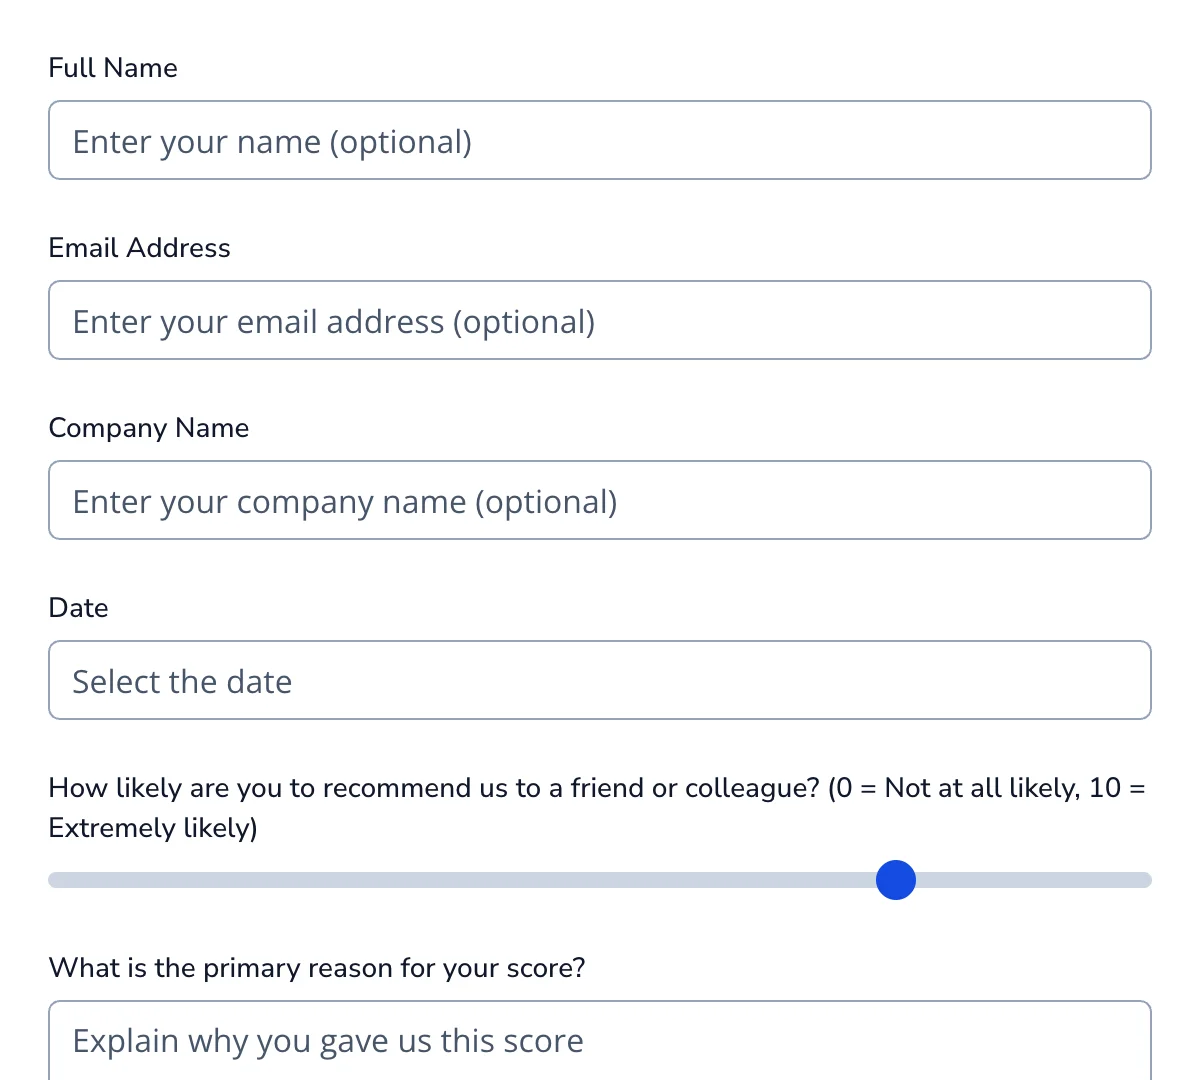
HTML Feedback Forms
Clean, minimal feedback forms for collecting opinions, reviews, and experiences
-
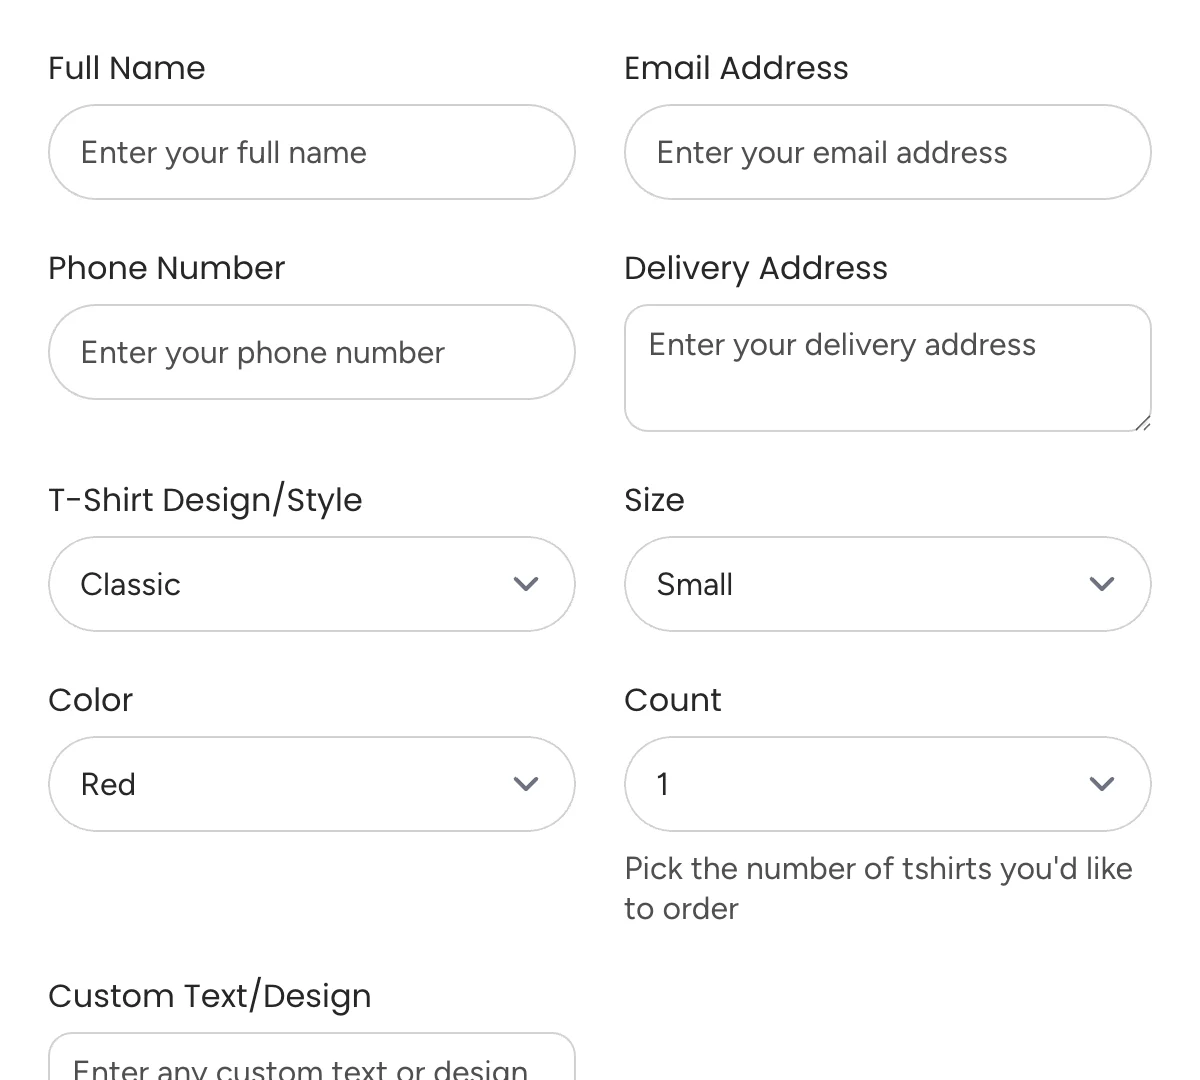
HTML Order Forms
Clean, versatile order forms for efficient tracking and processing.
-
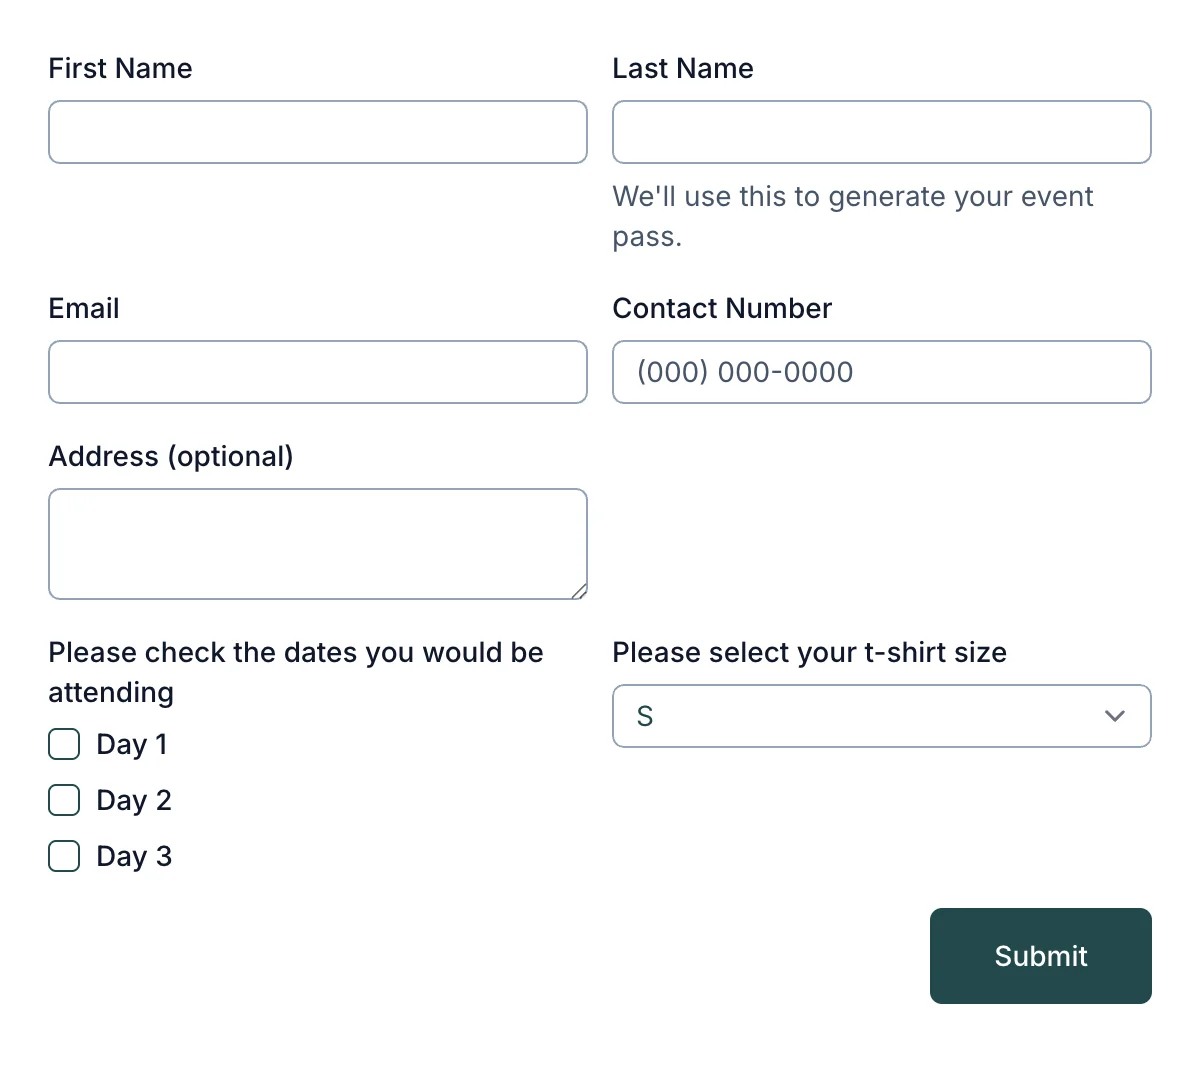
HTML Registration Forms
Simple registration forms for easy sign-ups and onboarding
-
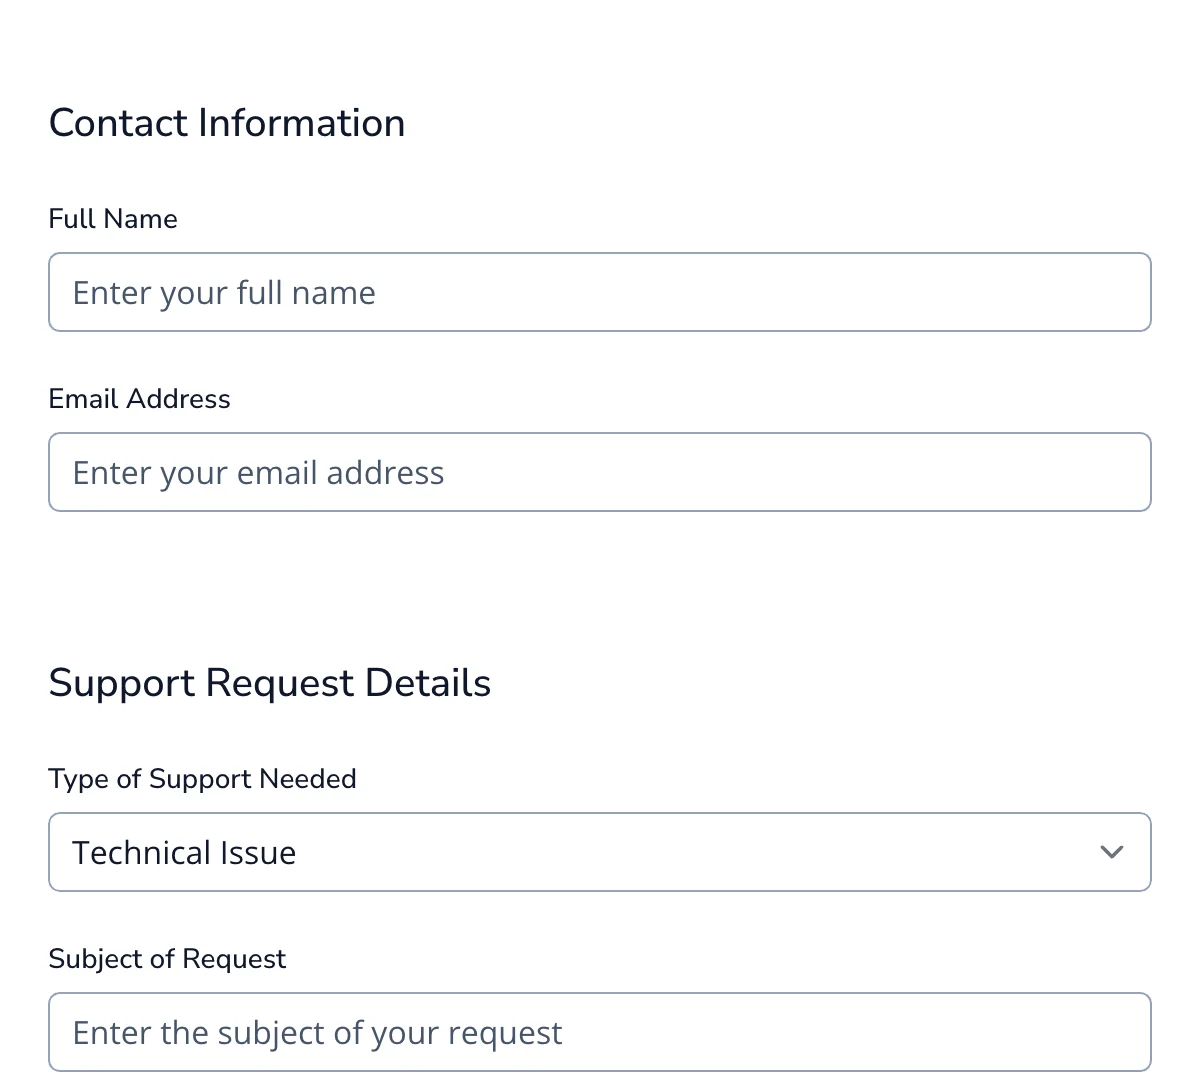
HTML Request Forms
Clean, flexible request forms for streamlining customer and internal submissions.
-
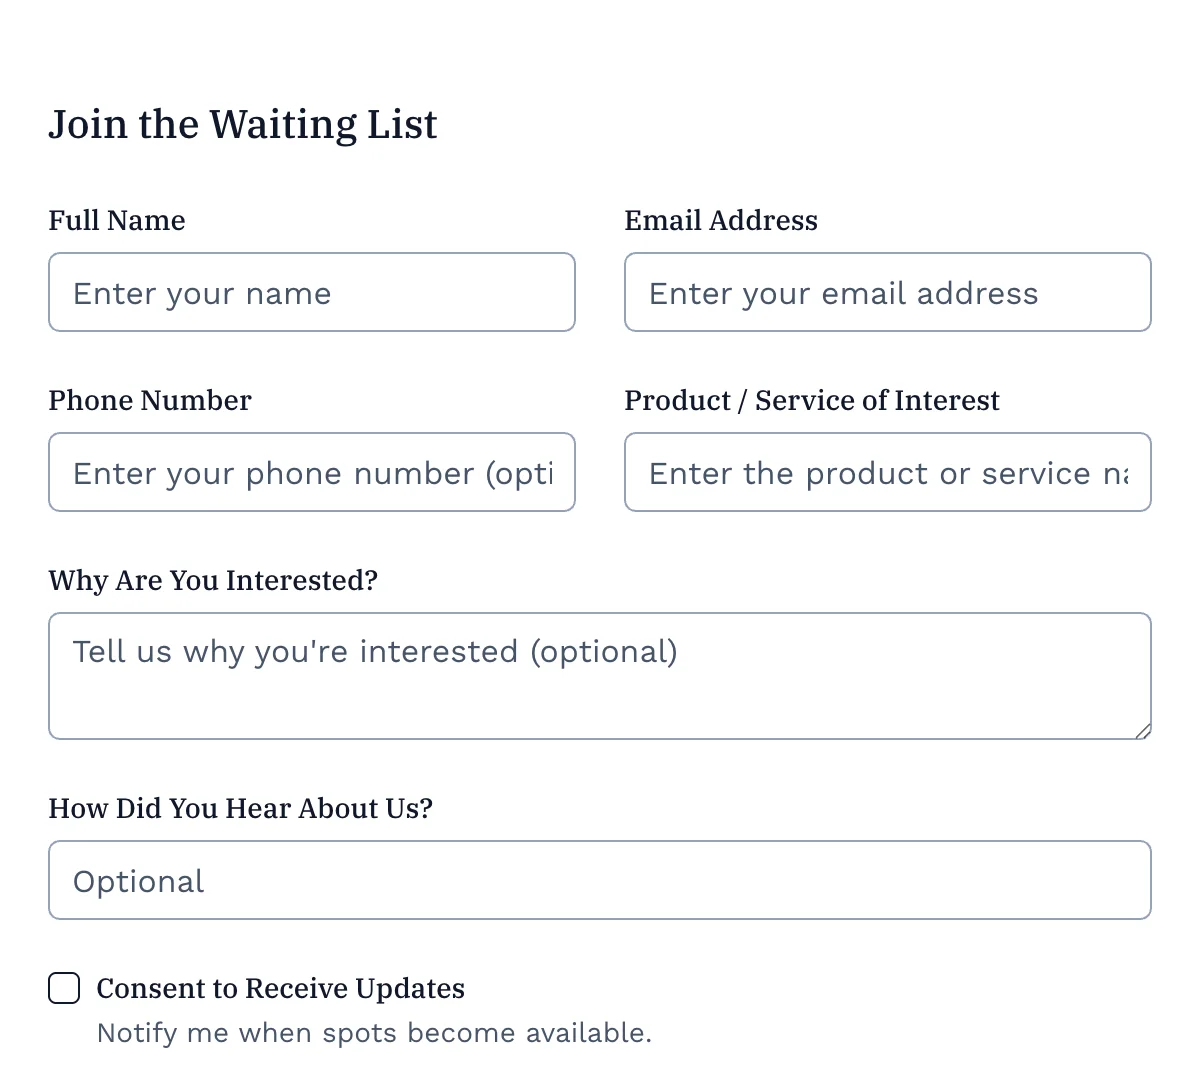
HTML Signup Forms
Clean, effective signup form for growing your audience or user base.
What are HTML forms?
HTML forms are an integral part of web development, serving as the primary means of collecting user input on web pages. From simple contact forms to complex data submission workflows, forms are an essential tool for capturing and processing user data. At their core, HTML forms provide a structure for gathering information, such as email addresses, feedback, or payment details, and sending it to a web server for further handling.
In this guide, we will explore everything you need to know about HTML forms, from basic input elements and attributes to advanced techniques for improving form usability. Along the way, we’ll cover key topics such as form validation, form submission, and best practices to create forms that enhance the user interface. Whether you’re a beginner or an experienced developer, this guide will help you build and optimize HTML forms for any project.
What Are HTML Forms?
At its core, an HTML form is a set of HTML form elements designed to collect user input and send it to a server. These forms are embedded in an HTML document and are essential for creating interactive web pages. Whether it’s a login form, a feedback form, or a signup form, HTML forms enable users to submit data that websites can process and respond to.
A simple HTML form might look like this:
  <!DOCTYPE html>
  <html>
    <body>
      <form action="/submit-data" method="POST">
        <label for="email">Email Address:</label>
        <input type="email" id="email" name="email" required>
        <button type="submit">Submit</button>
      </form>
    </body>
  </html>
In this example:
- The
<form>element defines the form itself and includes attributes likeaction(where to send the data) andmethod(how to send the data). - Form controls like
<input>fields and<button>collect user data and facilitate form submission. - The
<!DOCTYPE html>declaration ensures the document is treated as a modern HTML document.
HTML forms are fundamental to web development, making them crucial for capturing user input such as text fields, email addresses, and radio buttons.
Anatomy of an HTML Form
An HTML form consists of several key components that work together to capture and process form data. These components include the <form> element, form control, and attributes that define how the form behaves.
The <form> Element
The <form> element serves as the container for all form controls. It has attributes like action and method that define how and where the form data is submitted.
Here’s an example:
<form action="/action_page.php" method="POST">
In this example, the action="/action_page.php" specifies the server endpoint where the form data will be sent. Traditionally, this type of endpoint was used when building server pages in PHP from scratch, where you manually handle the logic to process the submitted data.
While building a custom server in PHP or another back-end technology is still an option, there are simpler and more modern approaches. Formspree, for example, offers an out-of-the-box solution for handling form submissions without requiring server-side code.
You can set the action to Formspree’s endpoint:
<form action="https://formspree.io/f/{form_id}" method="POST">
And now,
- There’s no need to write any server logic.
- Your form backend includes spam protection and data encryption.
- You get 3rd party integrations, error handling, and form analytics out of the box.
Form Controls
HTML elements like <input>, <textarea>, <select>, and <button> allow users to interact with the form, and hence these are called form controls. These form controls capture user input, including text, email, and checkbox selections.
Here’s an example of an input field:
<input type="text" name="username" required>
Labels and Accessibility
Using <label> elements improve accessibility by associating text descriptions with input fields.
Here’s an example:
  <label for="name">Name:</label>
  <input type="text" id="name" name="name">
Attributes for Form Behavior
There are many HTML attributes that you can use to modify the form behavior. Some of those include:
action: Specifies the URL where the form data should be submitted.method: Defines the HTTP method used for form submission (GETorPOST).enctype: Specifies the encoding type for form data when submitting files.
An understanding of these components and attributes can help in building effective forms that capture user input and send it as structured data to web servers.
Different Types of Input Fields
HTML forms rely on various input fields to capture different types of user input, each tailored for a specific purpose. The <input> element supports many HTML input types, defined using the type attribute. Understanding these HTML input types is essential for creating user-friendly forms. Here are a few popular HTML input types:
Text Input Field (input type="text")
This form field is used to capture single-line text input, such as a name or username. Here’s a quick example:
  <label for="username">Username:</label>
  <input type="text" id="username" name="username" placeholder="Enter your username">
Email Input Field (input type="email")
This field helps validate email address formatting. Here’s a quick example:
  <label for="email">Email Address:</label>
  <input type="email" id="email" name="email" required>
Radio Buttons (input type="radio")
This input element allows users to select one option from a predefined set. Here’s a quick example:
  <label for="gender">Gender:</label>
  <input type="radio" id="male" name="gender" value="male"> Male
  <input type="radio" id="female" name="gender" value="female"> Female
Checkboxes (input type="checkbox")
This field enables multiple selections from a list of options. Here’s a quick example:
  <label for="subscribe">Subscribe to newsletter:</label>
  <input type="checkbox" id="subscribe" name="subscribe" value="yes">
Submit Button (input type="submit")
This field enables the user to submit the form data to the server. Here’s a quick example:
<input type="submit" value="Submit">
Understanding Form Attributes
Form attributes play a vital role in defining how a form behaves during submission and how form data is processed. Some of the common form attributes are:
action: This is used to specify the URL where the form submission is sent. For example:<form action="/submit-data">method: This defines the HTTP method for submitting the form. Setting it toGETsends form data in the URL (query parameters), and setting it toPOSTsends form data in the request body.target: This attribute opens the submission result in a new browser tab if set to_blank. For example:<form action="/submit-data" target="_blank">enctype: This attribute is used with file uploads to specify the encoding type. For example:enctype="multipart/form-data"
Understanding these attributes ensures your HTML forms function correctly, enabling smooth interaction between user input and web servers.
Collecting and Submitting Form Data
Form submission is the process of sending user input to a web server for processing. HTML forms enable this through a combination of form elements and attributes.
Input fields like text, email, and radio are used to collect data from users. Upon form submission, this data is organized as name/value pairs, such as [username=JohnDoe&email=john@example.com](mailto:username=JohnDoe&email=john@example.com).
Submitting Form Data to a Web Server
Once the user clicks the submit button, the data is sent to the endpoint defined in the action attribute of the form. For example, a form defined as <form action="/action_page.php"> will send the form data to the endpoint /action_page.php once the user clicks the submit button.
With well-structured HTML code and form controls, collecting and submitting form data becomes seamless.
Labels and Accessibility in Forms
Accessibility is a critical aspect of creating user-friendly forms. The label element play a vital role in making input fields more intuitive and accessible, especially for screen readers.
The Role of <label> in Accessibility
The label element associates text descriptions with input fields. Here’s a quick example:
  <label for="lname">last name:</label>
  <input type="text" id="name" name="name">
You should always use a <label> for every input field. Also, avoid ambiguous or missing descriptions to prevent user errors. Accessible forms improve user experience and ensure inclusivity for all users, regardless of their abilities.
Validating HTML Forms
Form validation ensures that user input is correct and meets the required criteria before it is submitted to the server. This process can be handled both on the client side (in the browser) and the server side (on the web server).
Client-Side Validation
Client-side validation is performed using HTML attributes and JavaScript. Examples of such attributes are:
required: Ensures the field is not empty.pattern: Validates input against a regular expression.
Client-side validation helps to check the validity of data before it is sent to the server for submission. This can help provide quick feedback to users.
Server-Side Validation
Server-side validation is used to check form data after it is submitted to the server. This ensures security by handling malicious or invalid input.
Form validation enhances user experience and reduces errors, ensuring high-quality input data for web servers.
Styling HTML Forms for Better Usability
The design and layout of HTML forms significantly impact user experience. Proper styling ensures forms are visually appealing and intuitive.
Using CSS to Style Form Elements
CSS allows you to customize form elements like input fields, buttons, and labels. Here’s an example of a styled text input field:
  <style>
      input[type="text"] {
      border: 1px solid #ccc;
      padding: 10px;
      width: 100%;
      }
  </style>
Adding Placeholder Text
You can use the placeholder attribute to guide users. Here’s a quick example:
<input type="text" name="name" placeholder="Enter your name">
Best Practices for Form Styling
Here are a few quick best practices for designing the perfect HTML forms:
- Maintain consistent spacing and alignment.
- Highlight required fields and error messages.
- Use contrasting colors for form controls to enhance visibility.
A well-styled form encourages user interaction and improves the overall usability of a web page.
Organizing Forms: Grouping and Layout
Creating a logical structure within HTML forms improves user experience and accessibility. Grouping related fields and designing a clear layout help users navigate and complete forms more easily.
Using <fieldset> and <legend> for Grouping
The <fieldset> element groups related HTML form elements, providing a visual boundary for clarity. The <legend> element adds a title to each group, enhancing accessibility. Here’s a quick example:
  <fieldset>
    <legend>Personal Information</legend>
    <label for="fname">First Name:</label>
    <input type="text" id="fname" name="fname" required>
    <label for="lname">Last Name:</label>
    <input type="text" id="lname" name="lname" required>
  </fieldset>
Structuring Line Input Field and Text Area
You should consider aligning input fields in a grid or vertical stack for better readability. For example:
  <div>
    <label for="address">Address:</label>
    <textarea id="address" name="address" rows="4" cols="50"></textarea>
  </div>
Here are a few quick tips you can use to best structure your HTML forms:
- Use consistent spacing between form controls.
- Group fields logically, such as separating personal details from payment information.
- Avoid clutter by displaying only necessary form fields.
A well-organized form improves usability and makes it easier for users to provide accurate input data.
Advanced HTML Form Controls
HTML5 introduced advanced form control elements that enhance functionality and interactivity, enabling developers to create dynamic and user-friendly forms. Some of the advanced HTML Form controls are <datalist>, <output>, and <progress>. Here’s how they work:
<datalist>
The datalist element provides a list of predefined options for an input field to show users the possible values for the field. Here’s a quick example:
  <label for="city">City:</label>
  <input list="cities" id="city" name="city">
  <datalist id="cities">
    <option value="New York">
    <option value="Los Angeles">
    <option value="Chicago">
  </datalist>
Once a user clicks an option from the list, the input field gets populated with the value of the option. This is different from a dropdown or select element, since it does not prevent the user from entering things other than the given options into the field.
For example, you could use this with a time picker to recommend specific slots while allowing the user to choose other slots as well if needed:
  <input type="time" list="recommendedSlots" />
  <datalist id="recommendedSlots">
    <option value="11:00"></option>
    <option value="14:00"></option>
    <option value="19:00"></option>
  </datalist>
<output>
The output element is a semantic element meant to display calculated or dynamically updated values. Here’s a quick example:
  <form oninput="result.value=Number(a.value)+Number(b.value)">
    <input type="number" id="a" name="a">
    +
    <input type="number" id="b" name="b">
    =
    <output name="result" for="a b"></output>
  </form>
<progress>
The progress element helps to show the progress in a task, such as form completion or file upload progress. Here’s a quick example:
  <label for="progress">Progress:</label>
  <progress id="progress" value="50" max="100"></progress>
These controls enhance user experience, making forms more interactive and functional.
Handling Form Submissions
On submission, form data is serialized and sent to the web server. The server processes the data and responds, often with a redirect or a message. Here’s a complete example:
  <form action="/process" method="POST">
    <label for="lname">Last Name:</label>
    <input type="text" id="name" name="name">
    <input type="submit" value="Submit">
  </form>
There is another way to handle form submissions: through AJAX. In this method, the form data is sent asynchronously to the server without reloading the page. Here’s a quick example:
  document.querySelector('form').addEventListener('submit', (e) => {
    e.preventDefault();
    const formData = new FormData(e.target);
    fetch('/process', {
      method: 'POST',
      body: formData,
    }).then((response) => response.json())
      .then((data) => console.log(data));
  });
Each method has its use cases, with AJAX offering a modern, dynamic approach for web applications while HTML redirects remain simple and effective for basic forms.
The Reset and Submit Buttons
HTML forms often include buttons to handle user actions, such as submitting or resetting the form data.
The Submit Button
This button sends the form data to the web server. Here’s how to use it: <input type="submit" value="Submit">
The Reset Button
This button is used to clear all form fields, restoring default values. Here’s how to implement it: <input type="reset" value="Reset">
By adding reset and submit buttons to your forms, you can enhance user control over form submission and data management.
Common Pitfalls and Best Practices for HTML Forms
Even well-designed forms can have issues. Avoiding common pitfalls ensures forms function as intended across browsers and devices. Some of the most common pitfalls are:
- Ensure all input fields have associated labels.
- Test forms on older browsers, such as Internet Explorer, to ensure consistent behavior.
- Always validate user input to prevent the submission of invalid data.
Here are a few quick tips you can use to get the most out of HTML forms:
- Use boolean attributes like
requiredfor essential fields. - Test forms for responsiveness and accessibility.
- Provide clear error messages for invalid input.
Conclusion
HTML forms are a fundamental tool for collecting and processing user input on the web. By understanding the key elements, attributes, and techniques covered in this guide, developers can create efficient, user-friendly forms that meet diverse requirements. From basic form elements like text fields and radio buttons to advanced features like validation and styling, forms provide a powerful way to interact with users.
To streamline form handling, solutions like Formspree offer an easy-to-use backend for managing form submissions, saving developers time and effort. Whether you’re building a simple contact form or a complex data collection system, leveraging tools and best practices ensures your forms are both functional and secure.
Experiment with different input types, validation techniques, and styling options to create forms that elevate the user experience and meet modern web development standards. With HTML forms, the possibilities for collecting and managing user data are endless.