
Adding a form to Shopify
In this guide we’ll show you how to add a contact form to your Shopify site using Formspree.
Many Shopify users also use Formspree for their forms. While Shopify does provide a contact form for your website, it’s limited to their own platform leaving you with no options for integrations or more elaborate configurations.
Prerequisites
To follow this guide you’re going to need a Formspree account, which you can sign up for free right here, and an existing Shopify website. Check out the Shopify website and documentation to get started.
Getting started
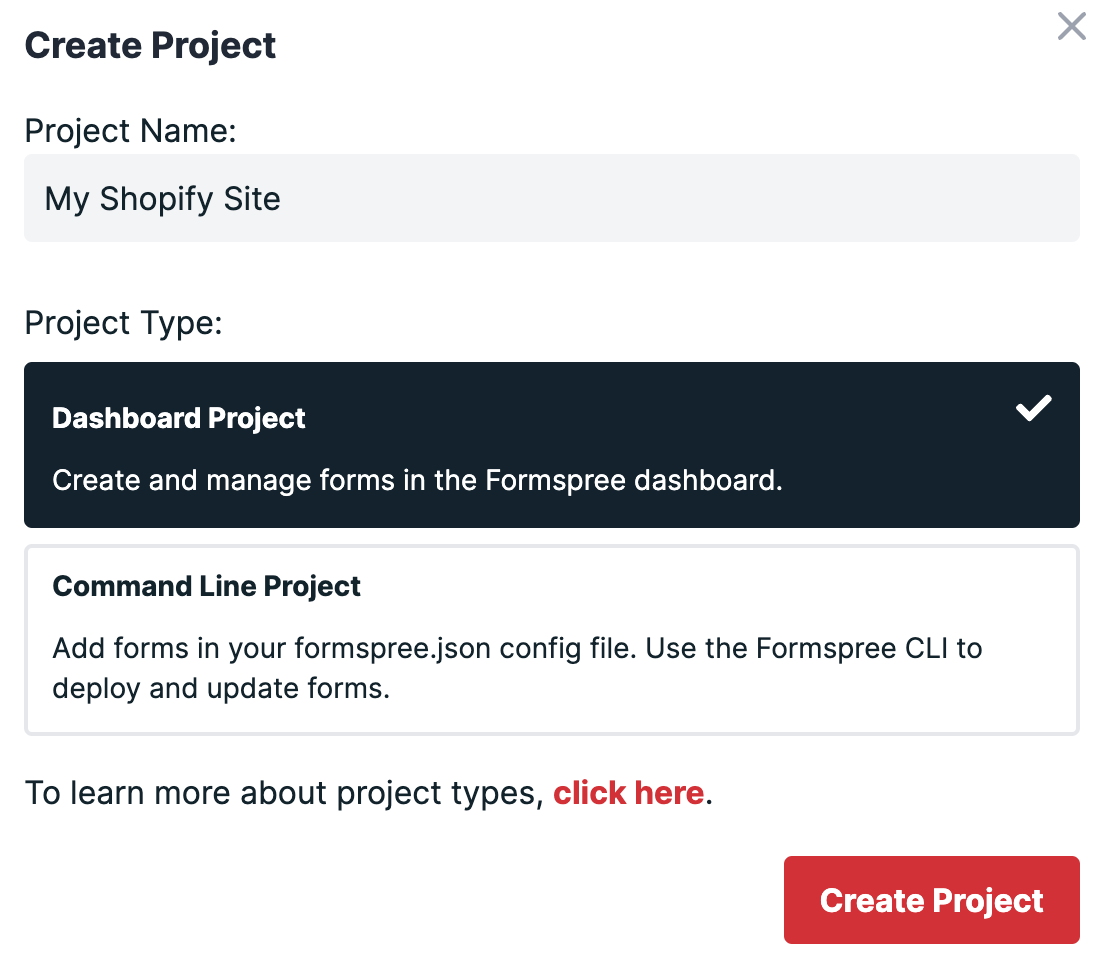
Within your Formspree account click the button labelled New Project and name your new dashboard project. Projects let you group forms together if say you were using multiple forms on a single website for example. After naming your project click Create Project.
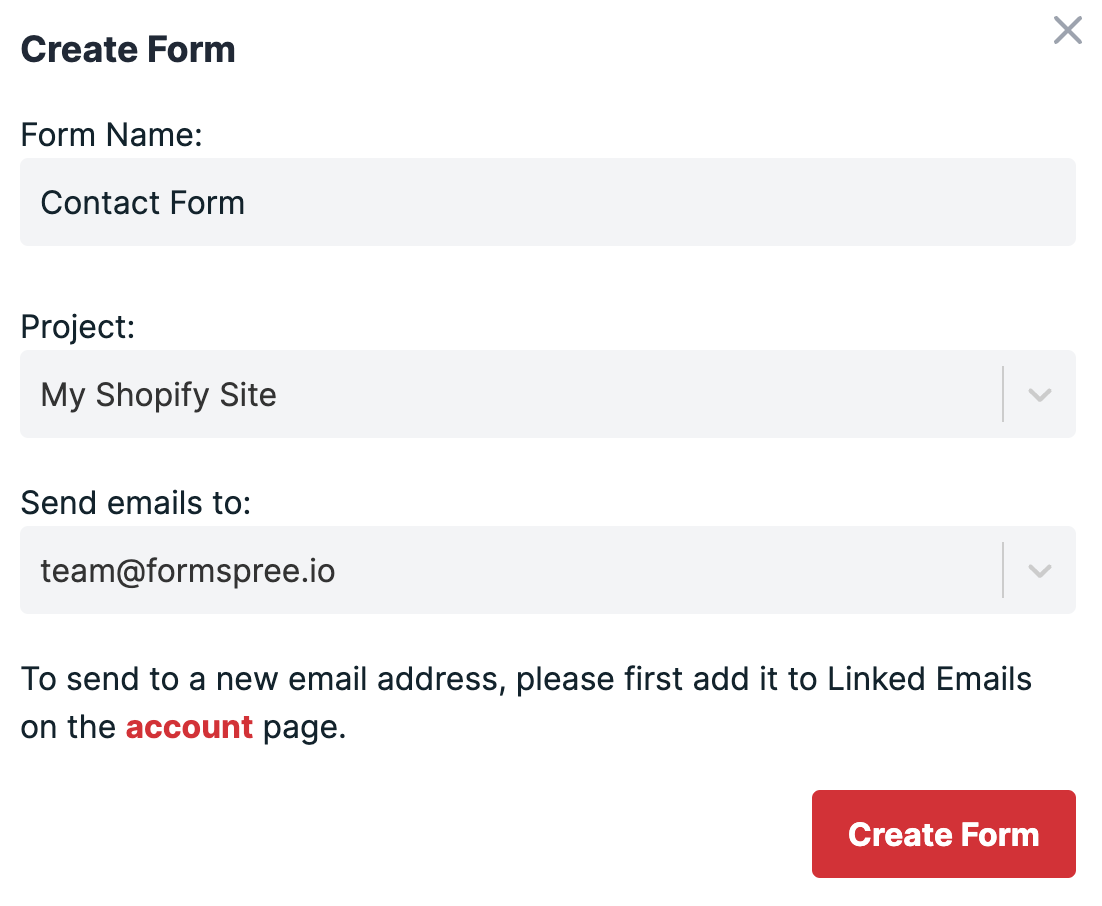
Next create a new form with the New Form button, call it Contact Form and update the recipient email to the email you wish to receive your form submissions in. Then click Create Form.
You’ll then be presented with the integration options for your new Formspree form. Formspree provides you with a wide range of implementation examples such as React, Ajax and regular HTML.

For Shopify we’ll be using regular HTML. Select all the code within the example block and copy it to your clipboard.
<form action="https://formspree.io/f/{form_id}" method="POST">

  <label>
    Your email:
    <input type="email" name="_replyto">
  </label>

  <label>
    Your message:
    <textarea name="message"></textarea>
  </label>

  <button type="submit">Send</button>
</form>
Integrating with Shopify
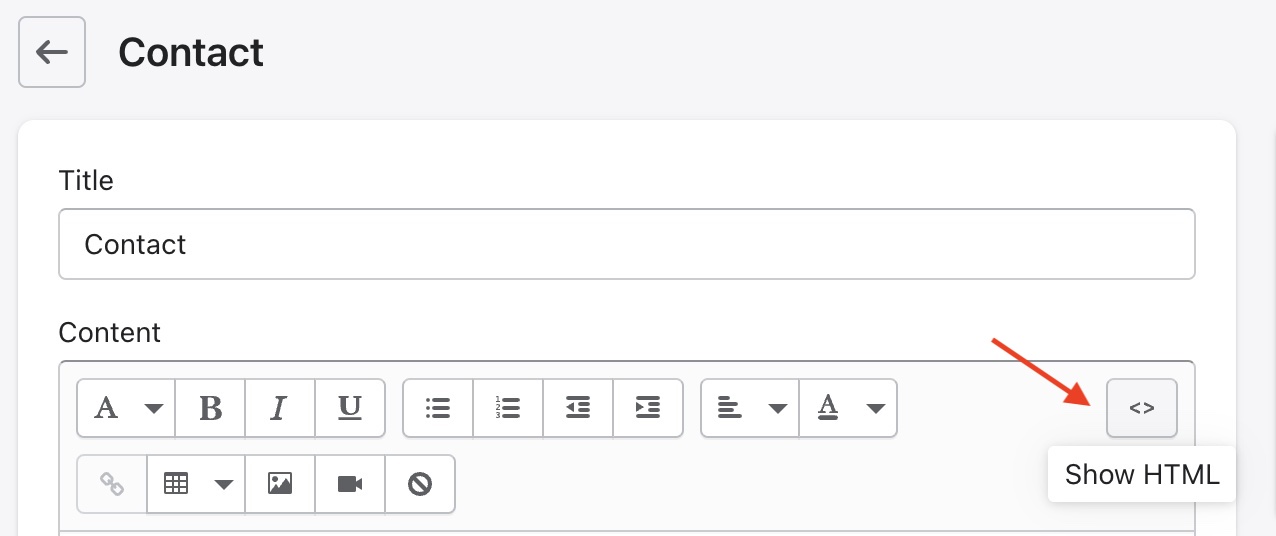
Navigate to a new or existing page, or product, within your Shopify dashboard. Switch to the HTML view in the main content area, using the “Show HTML” button in the top right (Denoted by the “<>” icon).
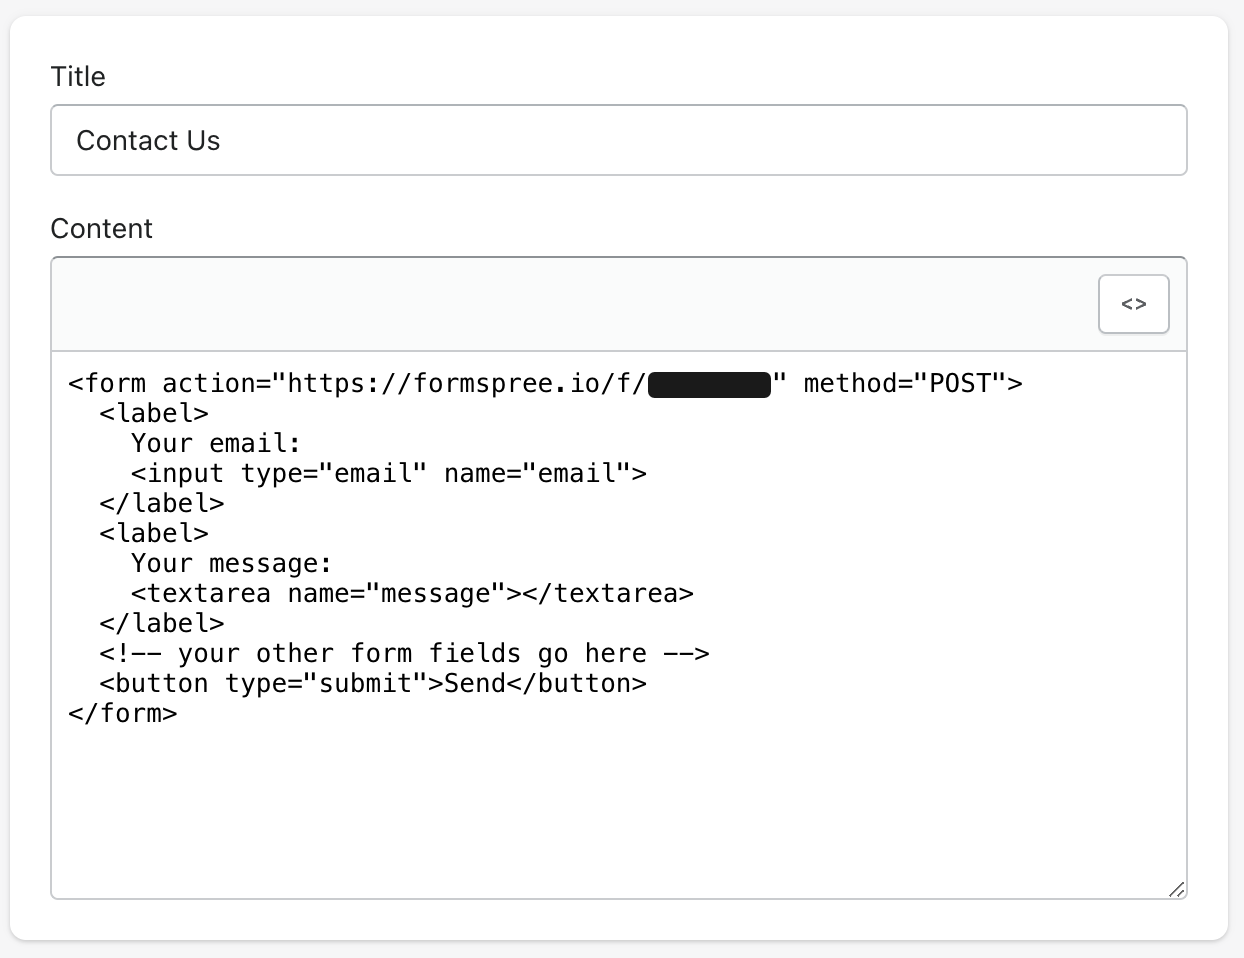
Paste the recently copied HTML in your clipboard into the HTML content area in the page or product.
Finally click “Save” in the bottom right corner of the view. Use the preview button on your Online Store to view the site and navigate to try out your newly added contact form.
Using Formspree with a Shopify store
The difference with using Formspree forms is that you can integrate with different services and extend the functionality of your forms. One example could be that you want to use a form as a support request portal. With Formspree you can turn your form requests into Gorgias support tickets, or feed them directly into your organization’s Slack group to make them visible to the entire team.
You’re not limited to one form either, nor by purpose. With a little development knowledge you can add a form to every product page on your site, allowing prospective customers to contact you about a specific product.
Formspree and Shopify in the wild
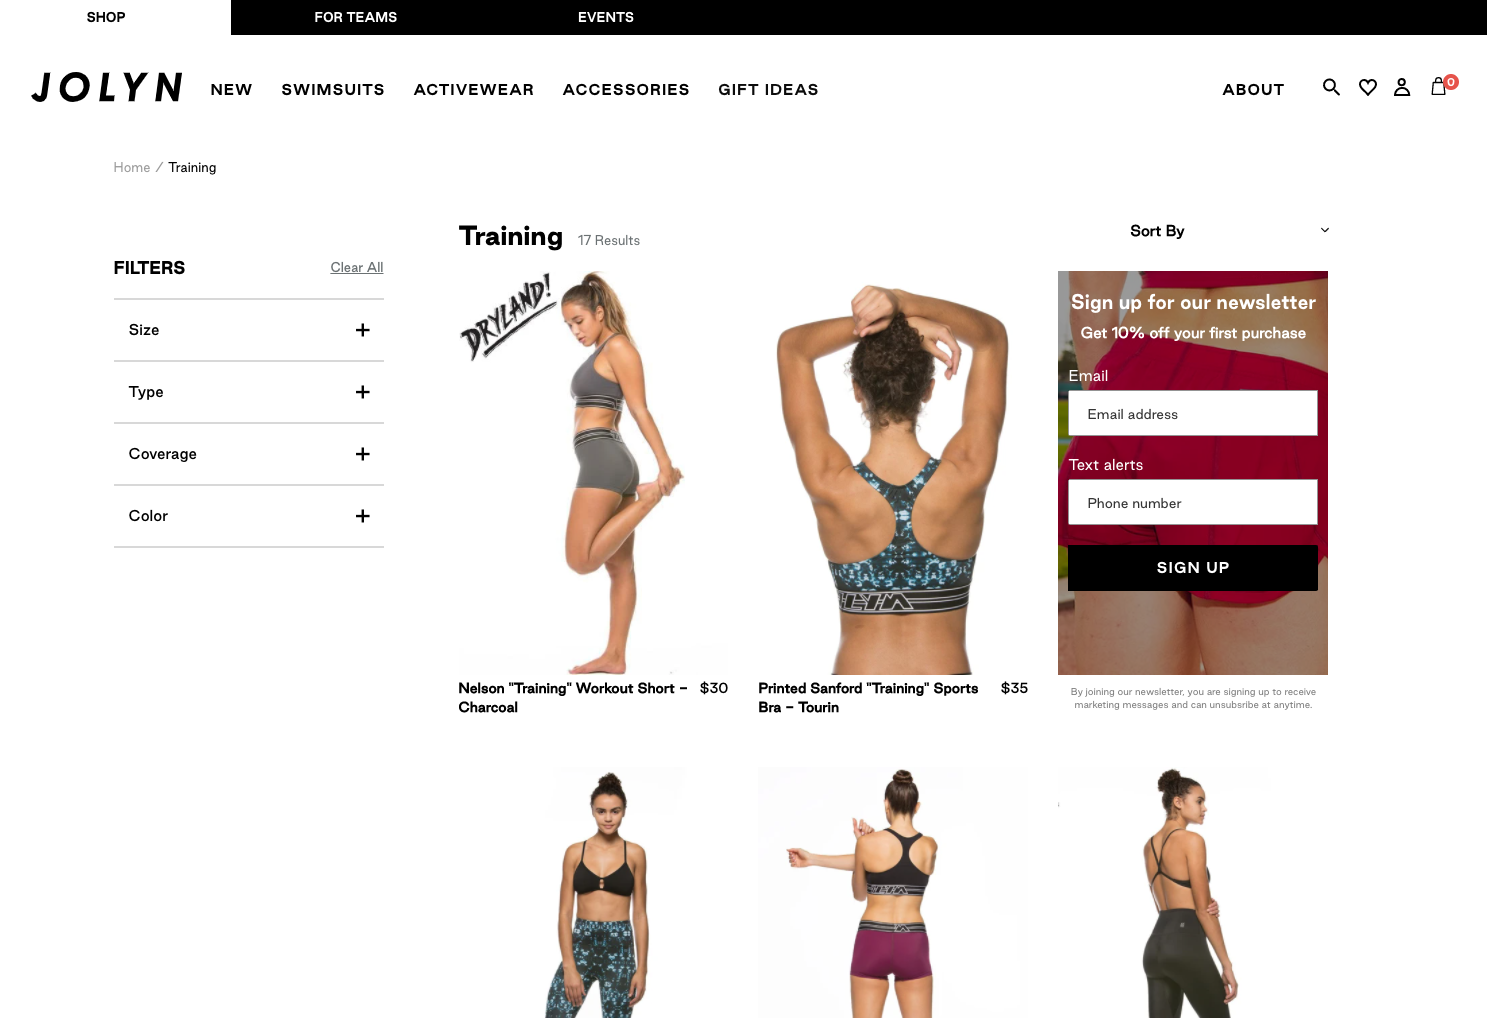
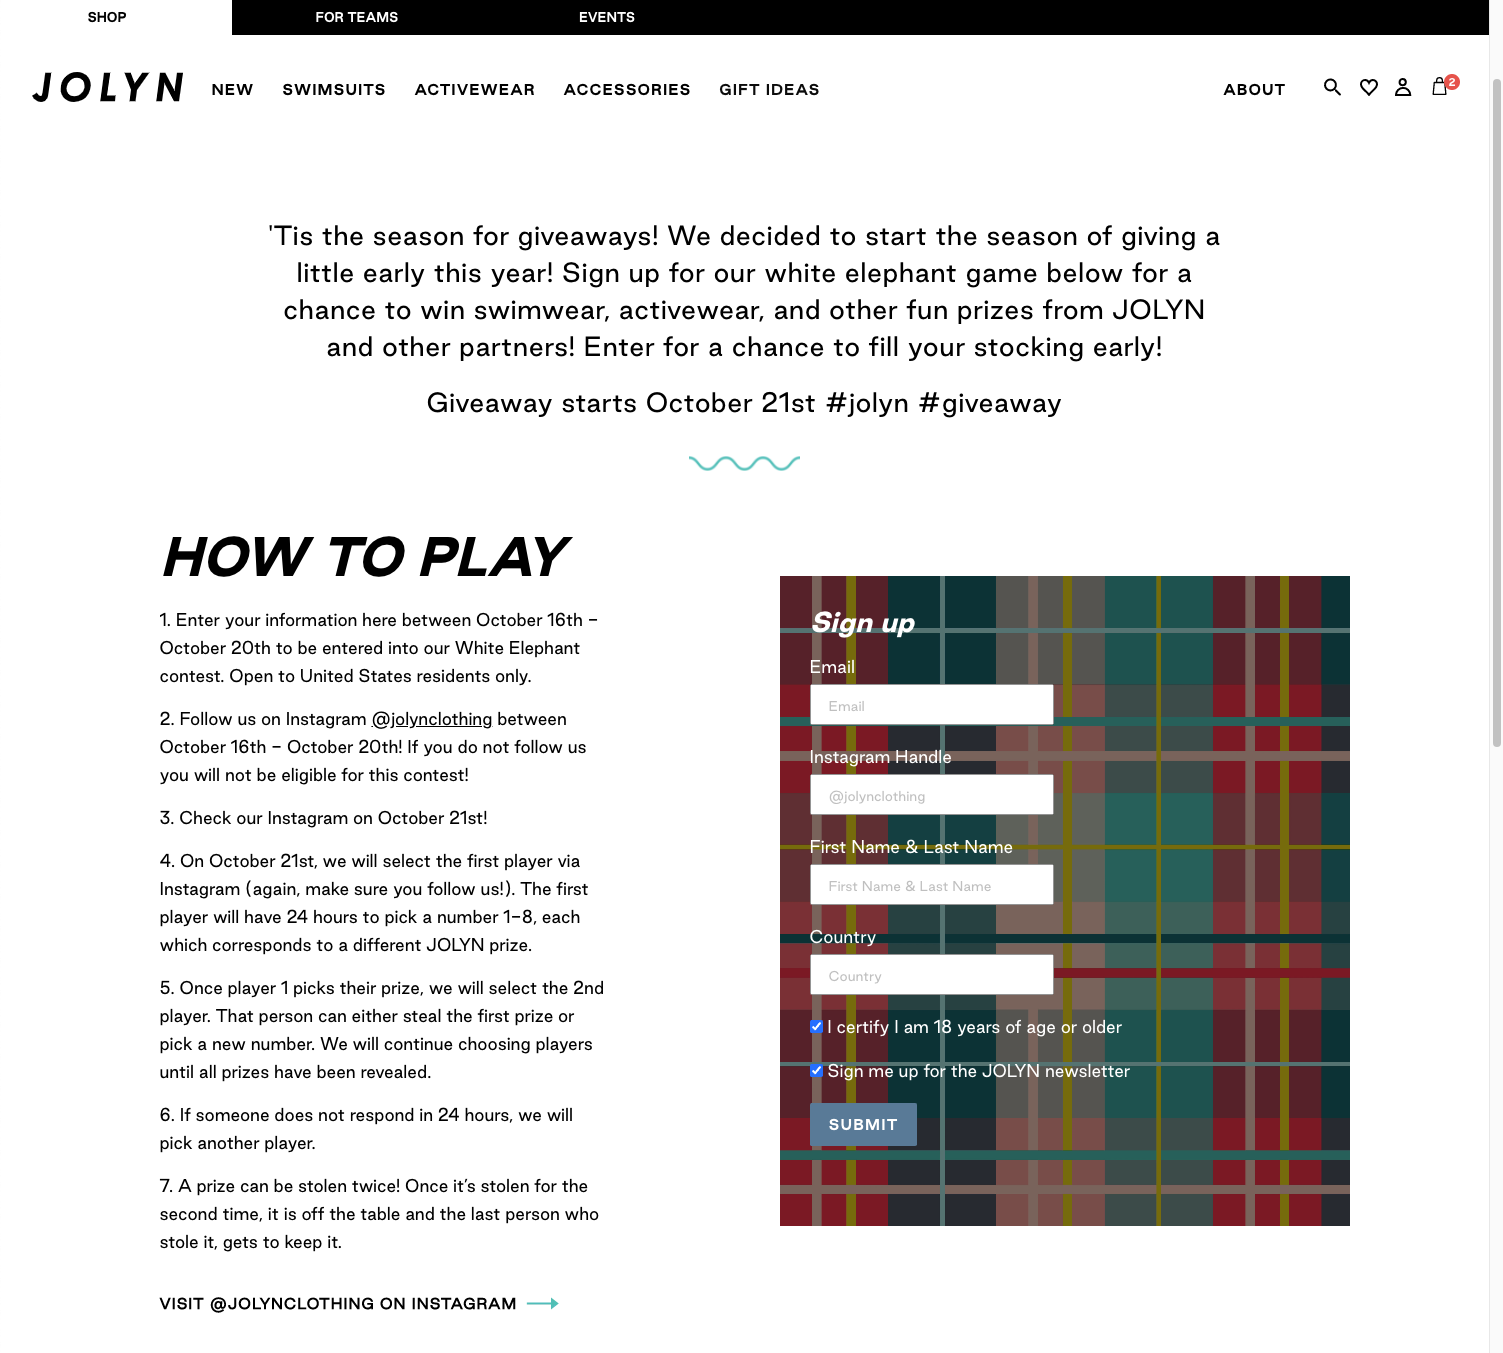
One example is JOLYN, who uses Formspree to collect competition entries and as a newsletter sign up form.
In the words of Cory, JOLYN’s lead developer:
Formspree made it easy when adding HTML and AJAX forms
With the flexibility of Formspree, JOLYN was not only able to add a newsletter sign up form on their Shopify store, but also create a competition campaign to attract prospective customers and award people with prizes.
Tips for using Formspree with Shopify
Formspree is extremely flexible when it comes to creating custom forms. You’ll notice at the top of the form integration view in Formspree there’s an endpoint URL for your form.

This endpoint applied to the action attribute along with an attribute of method="POST" is all you really need to get a form working.
Everything within the form element is open for you to edit, add and remove to your particular needs.
<form action="https://formspree.io/f/XXXXX" method="POST">
  ...
</form>