
HTML Forms with Jekyll
In this guide we’ll show you how to add a contact form to your Jekyll website using Formspree.
Formspree is a form backend that’s an ideal companion for static site generators, letting you get on with building and deploying your Jamstack website.
At the end of this guide you should have a working HTML contact form in your Jekyll project that sends you email notifications. Check out a live demo of the final project. The project repository is hosted on GitHub.
Prerequisites
To follow this guide you’re going to need a Formspree account, which you can sign up for free right here, and an existing website built in Jekyll. If you don’t have a Jekyll project yet, you can create one by running:
jekyll new my-awesome-site
If you’re not familiar with Jekyll, then check out the official website to learn more.
Adding a form to Jekyll
Jekyll uses Liquid as it’s templating language meaning that the form code you’re about to add can be neatly wrapped up in a partial. Create a new file called contact-form.html inside of your _includes directory within the source of your Jekyll project. Here’s an example of the file structure including your new partial:
project-root/
├─ config.yml
├─ _includes/
|  └─ contact-form.html
└─ index.html
Now you can copy-paste the following example form into your contact-form.html partial and tailor it to meet your needs:
<form action="https://formspree.io/f/YOUR_FORM_ID" method="POST">

  <label>
    Your email:
    <input type="email" name="email">
  </label>

  <label>
    Your message:
    <textarea name="message"></textarea>
  </label>

  <button type="submit">Send</button>
</form>
A few notes:
- Currently the
actionattribute contains a placeholderYOUR_FORM_ID. We’ll replace this with our own form endpoint in a bit. - The
methodattribute must bePOSTfor the form to submit correctly. - Each input has a
nameattribute. This is essential to correctly send the data to Formspree. - For the sake of clarity, this form doesn’t include any styling, but you can see an example of how to apply styles to the form in this tutorial’s companion GitHub project.
- You can create any form you want by adding your own
<input ... >tags and labels. For more examples and inspiration checkout our Form Library.
The partial code can then be included in any one of your markdown or liquid template files. Open a template file that you wish to add a form and add the following code:
{% include contact-form.html %}
Once you’ve saved your changes, use your build or deployment workflow to either run the Jekyll site locally or deploy it to your live environment to see the newly added form.
When you attempt to submit the new form you’ll see a page like this:
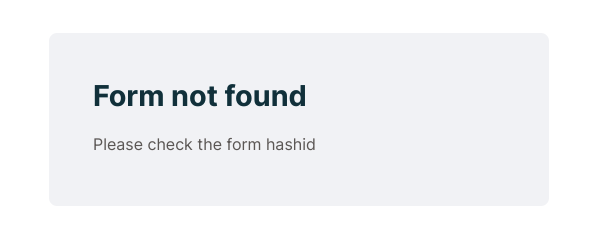
Oops! Thats because we still have the placeholder YOUR_FORM_ID in the form action. Let’s fix this by setting up a form endpoint to accept our form submissions.
Creating a form endpoint
Next we’ll create a form endpoint using Formspree. If you don’t have an account yet you can sign up.
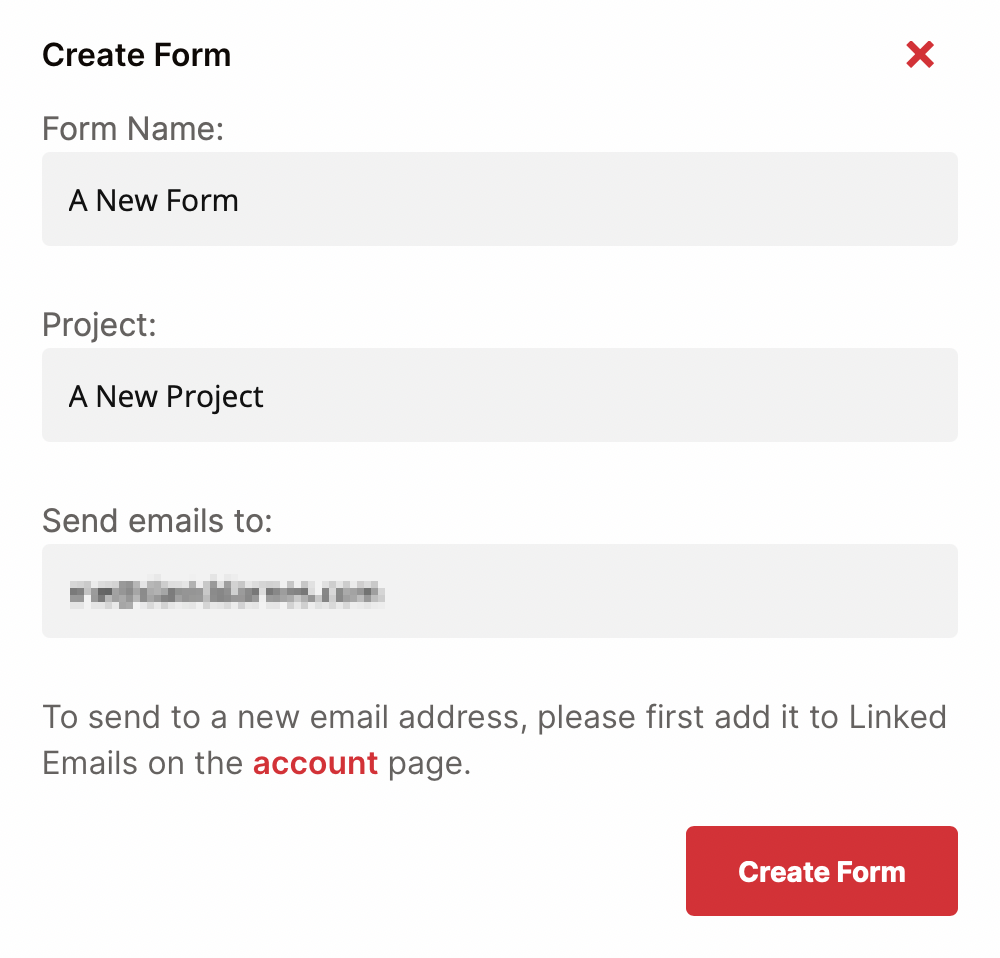
To start, create a new form with the +New form button, call it Contact form and update the recipient email to the email where you wish to receive your form submissions. Then click Create Form.
You’ll then be presented with the integration options for your new Formspree form. Formspree provides you with a wide range of implementation examples such as React, Ajax and regular HTML.
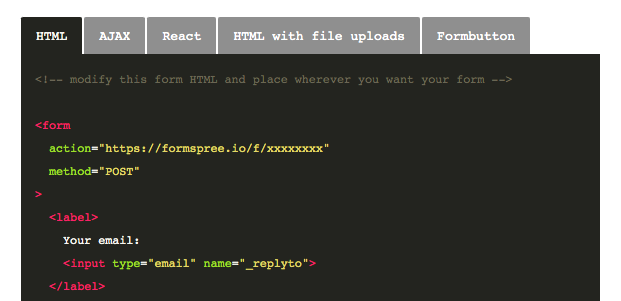
Integration view of the sample code section, tabbed with alternative language samples
The code we used to create the contact-form.html partial is almost identical to the HTML example code on the integration page. We just need to update the action URL.
Copy the 8 character ID from your new form’s endpoint URL and replace the YOUR_FORM_ID placeholder in your contact-form.html partial.
<form action="https://formspree.io/f/abcd1234" method="POST">
Now when you fill out the form and submit, you should see a success message.
That’s it, you’re done!
Bonus Tip: Production and Development Forms
Sometimes you want to test out a new design locally, but don’t want to affect your production data. With Jekyll you can switch between development and production forms using the jekyll.environment variable.
Using liquid, you can replace your form endpoint with a conditional like so:
{% if jekyll.environment == "production" %}
<form action="https://formspree.io/f/PROD_FORM_ID" method="POST">
{% else %}
<form action="https://formspree.io/f/DEV_FORM_ID" method="POST">
{% endif %}
  ...
</form>
Replace the placeholders PROD_FORM_ID and DEV_FORM_ID above with the hashids for your production and development forms, respectively.
As you’re developing locally your environment will be set to development by default. Then, depending on where you deploy, you may need to set the JEKYLL_ENV environment variable to production, which will switch the form endpoint to the production form. (Github Pages automatically sets the JEKYLL_ENV variable to production)
You can read more about how to set the environment in Jekyll, and how to set build environment variables in Netlify or Vercel.