React Form Validation: The Ultimate Guide
Understanding how to do form validation the right way in React

Forms are the backbone of user interaction in React applications, helping you capture valuable data for everything from logins to contact submissions. However, since this data is coming directly from leads, customers or other valuable website visitors, it becomes important to ensure the accuracy and completeness of the collected data right at the source. Here’s where form validation comes in. By implementing validation rules, you prevent users from submitting invalid information, safeguarding data integrity and enhancing the overall user experience.
However, managing complex validation logic, especially for multi-step forms or intricate validation requirements, can quickly become a challenge. This is where validation libraries for React shine. These libraries provide a tested approach to handling form states, validation rules, and error messages, reducing boilerplate code and simplifying the validation process.
This guide will discuss the concepts and tools needed to develop robust and user-friendly React form validation. We’ll explore core validation concepts, delve into popular validation libraries like React Hook Form and Formik, and uncover advanced techniques like server-side validation and conditional logic. By the end, you’ll be confident in building forms that not only collect accurate data but also provide a seamless user experience.
Core Concepts of Form Validation
Form validation ensures that the data submitted by a user adheres to specified criteria, helping ensure data integrity and improving the user experience. In React, you can implement multiple types of validation rules to achieve this:
- Required Fields: You can enforce that users fill in essential information. This is often achieved using the
requiredattribute in HTML or by setting up validation logic on React’s state management. This helps avoid situations where users miss filling up certain fields of the form that are crucial to the application’s operations. - Format Validation: You can guarantee proper formatting for specific fields like email addresses (e.g.,
user@example.com) or phone numbers (e.g.,(123) 456-7890). Regular expressions or pre-defined patterns can be used for this purpose. This helps ensure that the data entered into your application databases follows the correct formatting. - Length Validation: You can set minimum or maximum character limits for inputs like passwords or descriptions. This prevents excessively short or long entries and helps you filter out potentially invalid information or prevent abuse of your resources.
- Pattern Matching: You can leverage regular expressions for setting complex validation rules. For instance, ensuring passwords contain a combination of uppercase, lowercase, and numbers. This helps meet validation requirements for different data types appropriately.
- Custom Validation Logic: Finally, you can go beyond basic checks with custom validation logic. A common example is confirming a password re-entry field matches the original password.
When it comes to notifying users of validation results, having user-friendly validation messages is crucial. Clear and concise validation feedback helps the users pinpoint and fix the issue quickly. Instead of a generic “Invalid input” message, you should prefer to explain what’s wrong (e.g., “Email format is incorrect”) in your validation function. You should consider implementing inline validation, displaying errors next to the problematic field. This provides relevant feedback in context and improves the user experience.
Validation in Controlled Components vs. Uncontrolled Components in React Forms
In a React application, forms are often built using controlled components. In controlled components, form data is stored in the React component’s state, allowing for controlled manipulation and validation. When a user interacts with a form element (like typing in an input field), the state is updated, triggering a re-render with the new data and any necessary validation logic.
In contrast, uncontrolled components manage data directly within the DOM elements themselves. While simpler, uncontrolled components do not give you full control over the validation experience.
Both approaches have their place. Uncontrolled components can be quicker to implement, and may satisfy most use cases. Controlled components, however are needed when a consistent and customized UX is desired.
Validation Techniques and Libraries
To implement React form validation, there are multiple approaches you can take. This section explores everything, right from plain old HTML attributes to dedicated form management libraries in React.
Built-in HTML Validation Attributes for uncontrolled React components:
React supports built-in HTML attributes for basic client-side form validation in uncontrolled components. These attributes provide a simple way to enforce basic validation rules without extensive JavaScript code. Some commonly used attributes are:
- required: This attribute ensures a field is not left empty. When the form is submitted, the browser will prevent submission if any required field is missing a value.
- minlength and maxlength: These attributes define the minimum and maximum number of characters allowed in an input field. For example,
minlength="8"enforces a password to be at least 8 characters long. - min and max: These attributes are used for numeric input fields and they help to set the range for the number that can be entered in the field.
- pattern: This attribute allows you to specify a regular expression for validating the format of user input. This can be useful for ensuring email addresses or phone numbers follow a specific pattern.
Here’s an example of an uncontrolled form with these attributes:
  <form>
    <label htmlFor="name">Name:</label>
    <input type="text" id="name" name="name" required />

    <label htmlFor="email">Email:</label>
    <input type="email" id="email" name="email" required pattern="[a-z0-9._%+-]+@[a-z0-9.-]+\\.[a-z]{2,}$" />

    <button type="submit">Submit</button>
  </form>
While convenient for simple scenarios, built-in HTML validation has limitations:
- Limited customization: Error messages and handling are basic and offer limited control over the validation experience.
- Inconsistent UX: Since this method uses the browser’s built-in validation features, you must either accept the browser’s UX or write your own CSS to override these default styles, which sometimes involves browser-specific attributes. If you want to achieve a consistent design across browsers, controlled components are a better approach.
Here’s what built-in validation looks like across browsers:
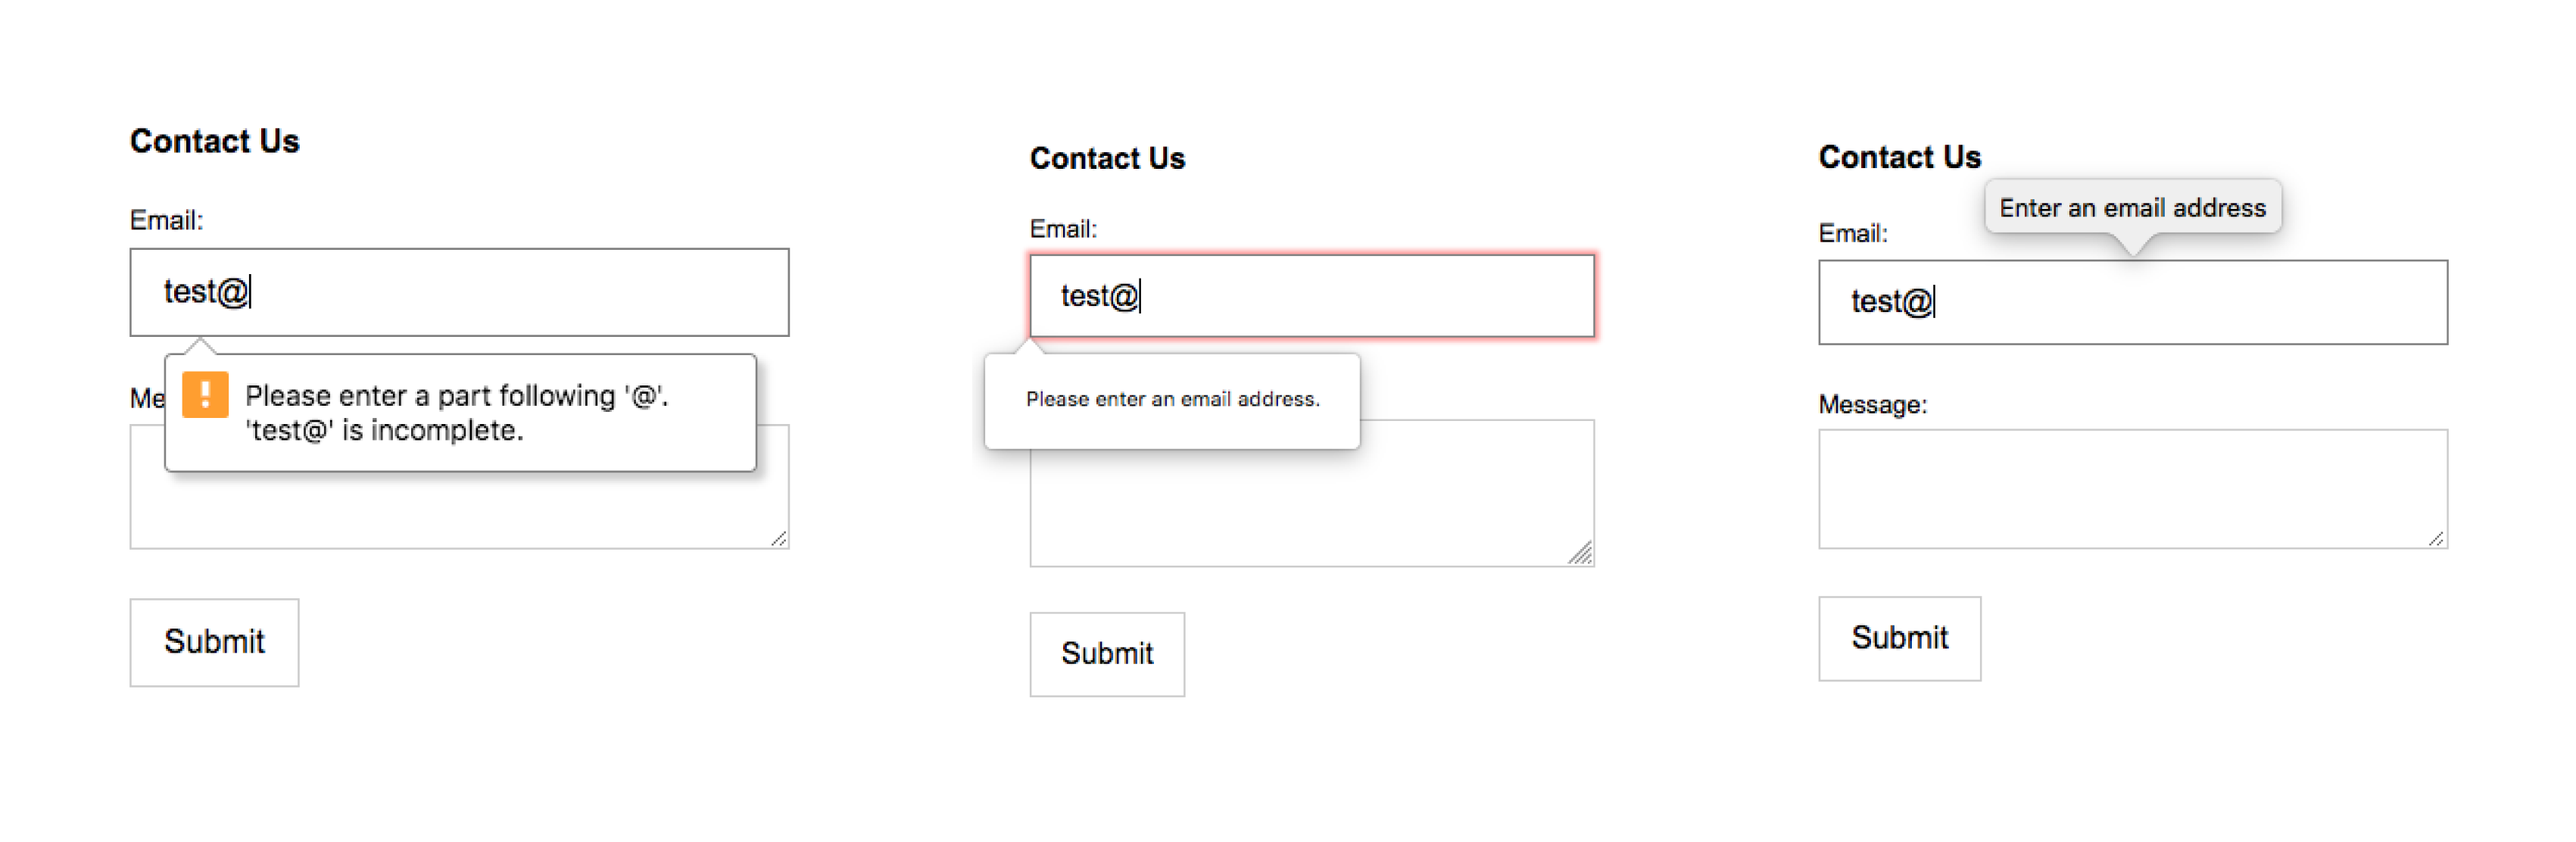
For more complex validation needs or a more consistent approach, you should consider using form management libraries like React Hook Form or Formik, which we’ll explore later in this guide.
Manual JavaScript Validation in controlled React components
While built-in HTML validation offers a simple and convenient solution, complex validation needs often require custom JavaScript logic. In controlled React components, where form data is managed by the component’s state, you can implement this logic using JavaScript functions. Here’s a breakdown of how you could do that:
- Validation Functions: First, create functions that take the form data (usually from the component’s state) as input and return
trueif valid, or an error message string if not. These functions can leverage regular expressions for format validation or perform more complex checks based on your requirements. - Inline Validation and Error Handling: Now, you can choose to trigger the validation functions during user interaction (e.g., on
onChangeevents for a form field). This will update the component’s state with any error messages returned by the validation functions, which provides immediate feedback to the user. - Form Submission Validation: Alternatively, you could perform a final validation before submitting the form using the same validation functions. This ensures all validation rules are met before sending data to the server.
Here’s a simplified example of manual JavaScript validation:
  import React, {useState} from 'react'

  const MyForm = () => {
    const [name, setName] = useState('');
    const [email, setEmail] = useState('');
    const [nameErrorMessage, setNameErrorMessage] = useState(null);
    const [emailErrorMessage, setEmailErrorMessage] = useState(null);

    const validateName = (name) => {
      if (name.trim() === '') {
        return 'Name is required.';
      }
      return null;
    }

    const validateEmail = (email) => {
      const re = /^[\w-\.]+@([\w-]+\.)+[\w-]{2,4}$/;
      if (!re.test(String(email).toLowerCase())) {
        return 'Invalid email format.';
      }
      return null;
    }

    const handleNameChange = (e) => {
      setName(e.target.value);
      const error = validateName(e.target.value);
      setNameErrorMessage(error);
    }

    const handleEmailChange = (e) => {
      setEmail(e.target.value);
      const error = validateEmail(e.target.value);
      setEmailErrorMessage(error);
    }

    const handleSubmit = (e) => {
      e.preventDefault();
      const nameError = validateName(name);
      const emailError = validateEmail(email);
      setEmailErrorMessage(emailError)
      setNameErrorMessage(nameErrorMessage)
      if (!nameError && !emailError) {
        // Submit form data to server
      }
    }

    return (
      <form onSubmit={handleSubmit}>
        <label htmlFor="name">Name:</label>
        <input type="text" id="name" value={name} onChange={handleNameChange} />
        {nameErrorMessage && <span className="error">{nameErrorMessage}</span>}

        <label htmlFor="email">Email:</label>
        <input type="email" id="email" value={email} onChange={handleEmailChange} />
        {emailErrorMessage && <span className="error">{emailErrorMessage}</span>}

        <button type="submit">Submit</button>
      </form>
    )
  }
You can try out this example on CodeSandbox.
While this approach offers flexibility, it can become cumbersome for complex forms. Managing multiple validation functions, error handling, and state updates can lead to cluttered code. This is where form management libraries come in, offering a more streamlined approach, which we’ll explore in the next section.
Popular Form Management Libraries for React
Apart from making use of the in-built features in HTML and JavaScript for form validation, here are a few convenient form management libraries to help make form validation and submission easy for you.
React Hook Form
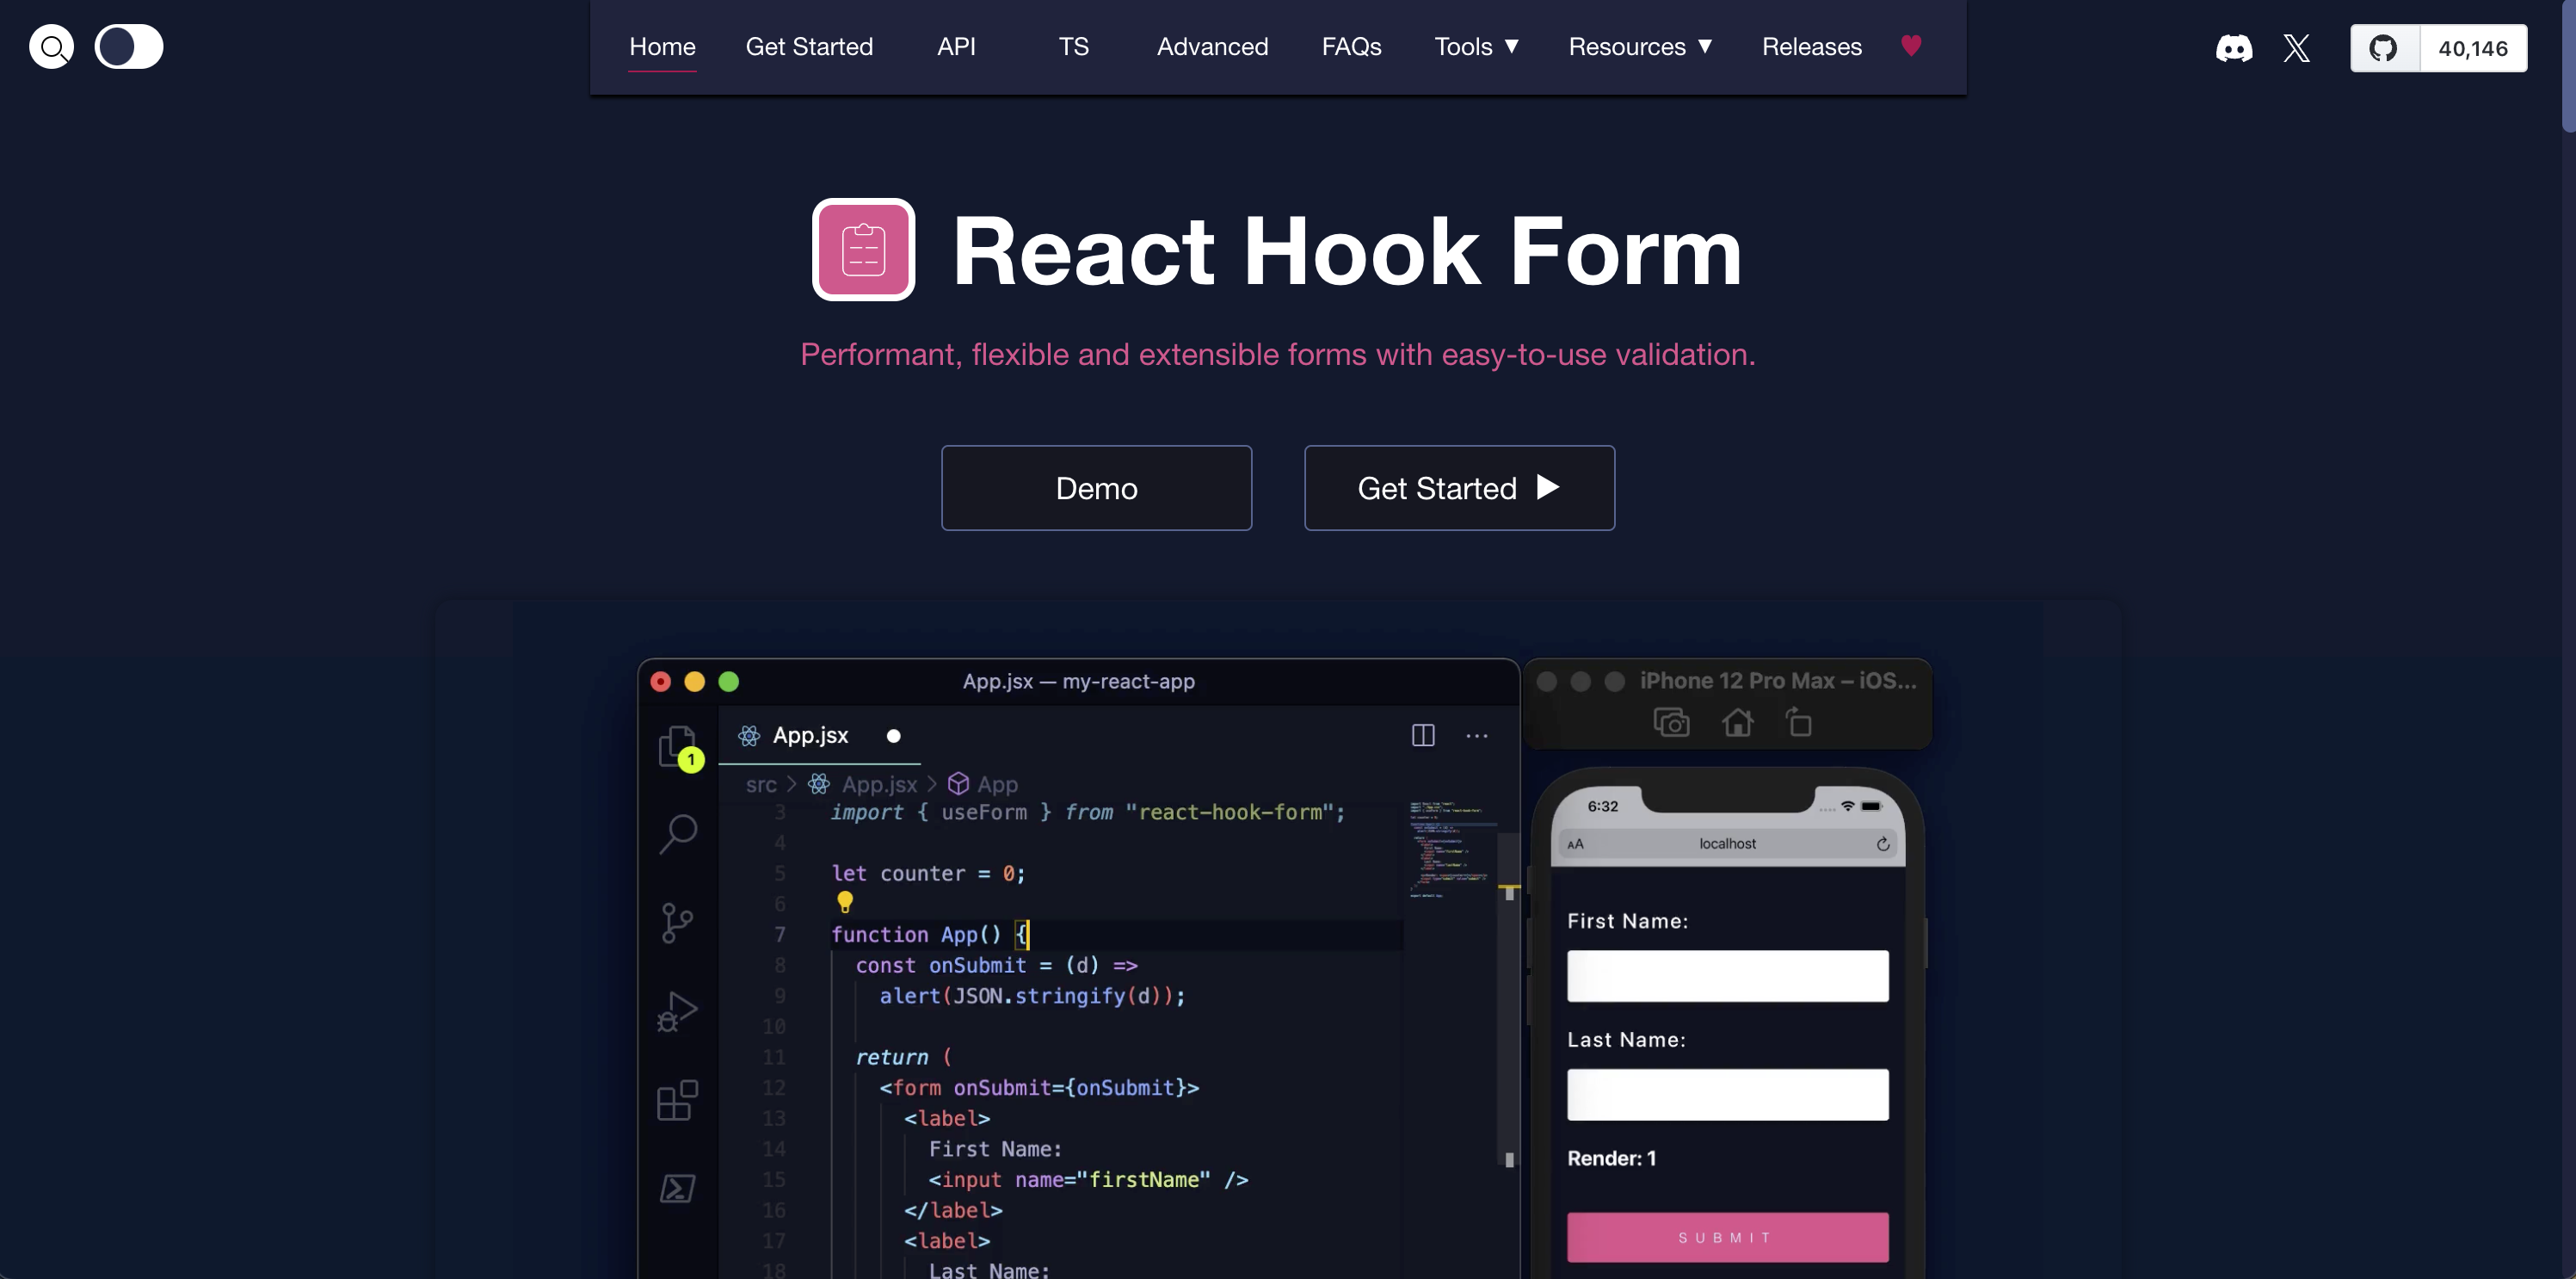
React Hook Form is a popular form management library that takes a functional approach to handling form state, validation, and submission. It offers a clean and concise API, making it a favorite among React developers.
Here’s what makes React Hook Form stand out:
- Performance: One of the flagship features of React Hook Form is its performance. RHF tries to improve performance by limiting the re-rendering of the form components. It achieves this through uncontrolled components that maintain state within the DOM instead of requiring frequent state updates and re-renders in React as the user types in input or other form values are updated.
- Functional Approach: React Hook Form leverages React Hooks (
useForm) for managing form state and validation logic. This aligns well with the functional component paradigm in React, leading to cleaner and more maintainable code. - Built-in Validation Rules: The library provides built-in validation rules like
required,pattern, andminLengthfor common validation scenarios. You can easily integrate these rules into your form definition. - Custom Validation: For more complex validation needs, React Hook Form allows you to define custom validation functions. These functions receive the current form values and can perform any necessary checks, returning an error message string if validation fails. You can also provide schema based validation using libraries like Yup, Zod, or Joi.
Here’s a basic example showcasing the useForm hook and built-in validation rules:
  import React from 'react';
  import { useForm } from 'react-hook-form';

  const MyForm = () => {
    const { register, handleSubmit, formState: { errors } } = useForm();

    const onSubmit = (data) => {
      console.log(data);
    }

    return (
      <form onSubmit={handleSubmit(onSubmit)}>
        <label htmlFor="name">Name:</label>
        <input type="text" {...register('name', { required: true })} />
        {errors.name && <span className="error">{errors.name.message || 'Name is required'}</span>}

        <label htmlFor="email">Email:</label>
        <input type="email" {...register('email', { required: true, pattern: /^[\w-\.]+@([\w-]+\.)+[\w-]{2,4}$/ })} />
        {errors.email && <span className="error">{errors.email.message || 'Invalid email format'}</span>}

        <button type="submit">Submit</button>
      </form>
    );
  }
You can try out this example on CodeSandbox.
React Hook Form simplifies form validation by providing a structured approach and built-in functionalities. In the next sections, we’ll explore other popular form management libraries and delve into advanced validation techniques.
Formik

Formik is a popular form management library for React that simplifies form state management, validation, and error handling. It offers a functional approach, making it ideal for functional components.
Some of the key features of Formik include:
- Built-in Validation Rules: Formik provides a wide range of built-in validation rules for common scenarios like required fields, email format, minimum/maximum length, and more.
- Custom Validation Logic: You can define custom validation functions for complex requirements beyond the built-in rules.
- Error Handling and Display: Formik manages validation errors and simplifies displaying them next to the corresponding form fields, improving user experience.
Here’s a basic example using Formik hooks:
  import { useFormik } from 'formik';

  const MyForm = () => {
    const formik = useFormik({
      initialValues: {
        name: '',
        email: '',
      },
      onSubmit: (values) => {
        // Submit form data to server
      },
      validate: (values) => {
        const errors = {};
        if (!values.name) {
          errors.name = 'Name is required.';
        }
        if (!values.email || !/^[\w-\.]+@([\w-]+\.)+[\w-]{2,4}$/i.test(values.email)) {
          errors.email = 'Invalid email format.';
        }
        return errors;
      }
    });

    return (
      <form onSubmit={formik.handleSubmit}>
        <label htmlFor="name">Name:</label>
        <input type="text" id="name" {...formik.getFieldProps('name')} />
        {formik.touched.name && formik.errors.name ? (
          <span className="error">{formik.errors.name}</span>
        ) : null}

        <label htmlFor="email">Email:</label>
        <input type="email" id="email" {...formik.getFieldProps('email')} />
        {formik.touched.email && formik.errors.email ? (
          <span className="error">{formik.errors.email}</span>
        ) : null}

        <button type="submit">Submit</button>
      </form>
    );
  }
You can try out this example on CodeSandbox.
Formik offers a concise and efficient approach to form validation, reducing boilerplate code and improving maintainability for complex forms.
While Formik is a powerful tool, it has some limitations to consider. For very large or complex forms, the code can become nested within the validate function, making it harder to manage and reason about. Additionally, Formik doesn’t offer built-in field-level subscription features like some other libraries. This can make it trickier to update specific parts of the UI based on validation changes.
Formspree React
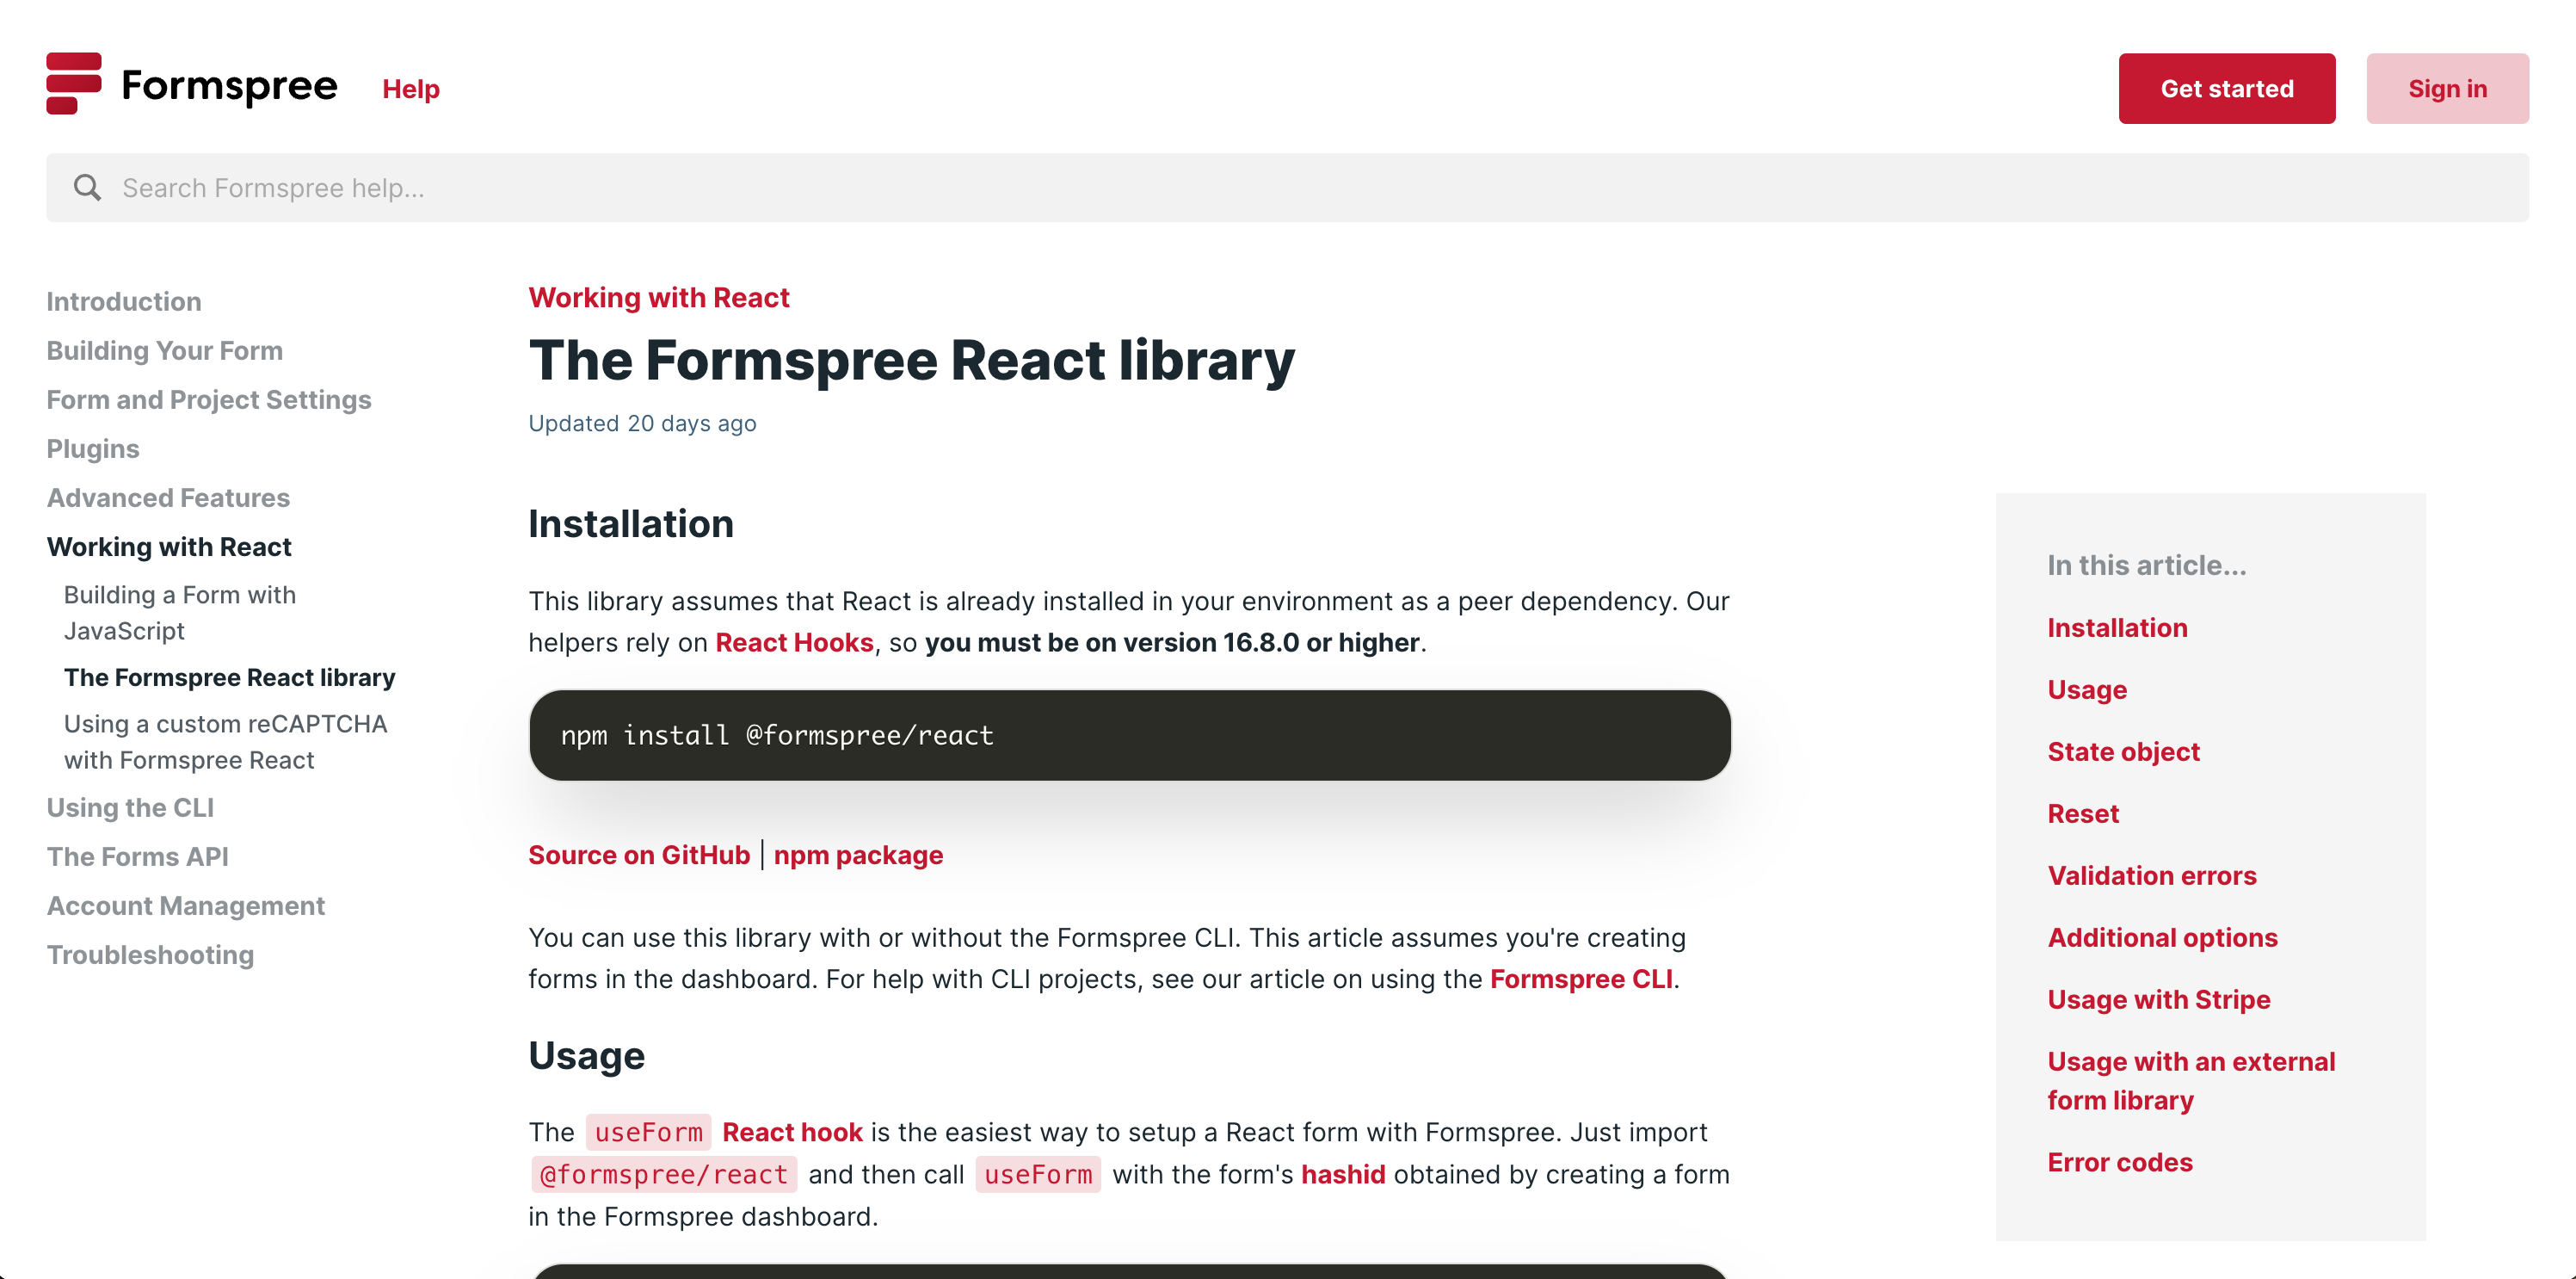
If you’re already using Formspree for handling form submissions in your React application, the Formspree React library offers a convenient solution. This library simplifies form handling and integrates seamlessly with your existing forms setup.
Some of the key features of the Formspree React library include:
- Backend Validations: Formspree React seamlessly integrates Formspree’s backend validation into your client side React code, and allows you to combine it with any client-side validation you implement. This adds an extra layer of security against malicious attacks.
useFormHook: The library provides auseFormhook for managing form state and submission. It handles sending data to your Formspree endpoint and automatically retrieves any validation errors returned by the server.- Integration with React Hook Form: Formspree React can also be used as a submit handler for React Hook Form. This allows you to leverage React Hook Form’s features like form state management and built-in validation rules, while still benefiting from Formspree’s server-side validation. You can make use of the
useSubmithook to do this.
When submitting a form through Formspree React, the response includes an errors object containing details of any validation errors that occurred on the server. You can use this information to display user-friendly error messages and improve the form submission experience.
While Formspree React offers a streamlined approach to form management, it makes the most sense to use when you are using Formspree to handle your form submissions.
React Final Form
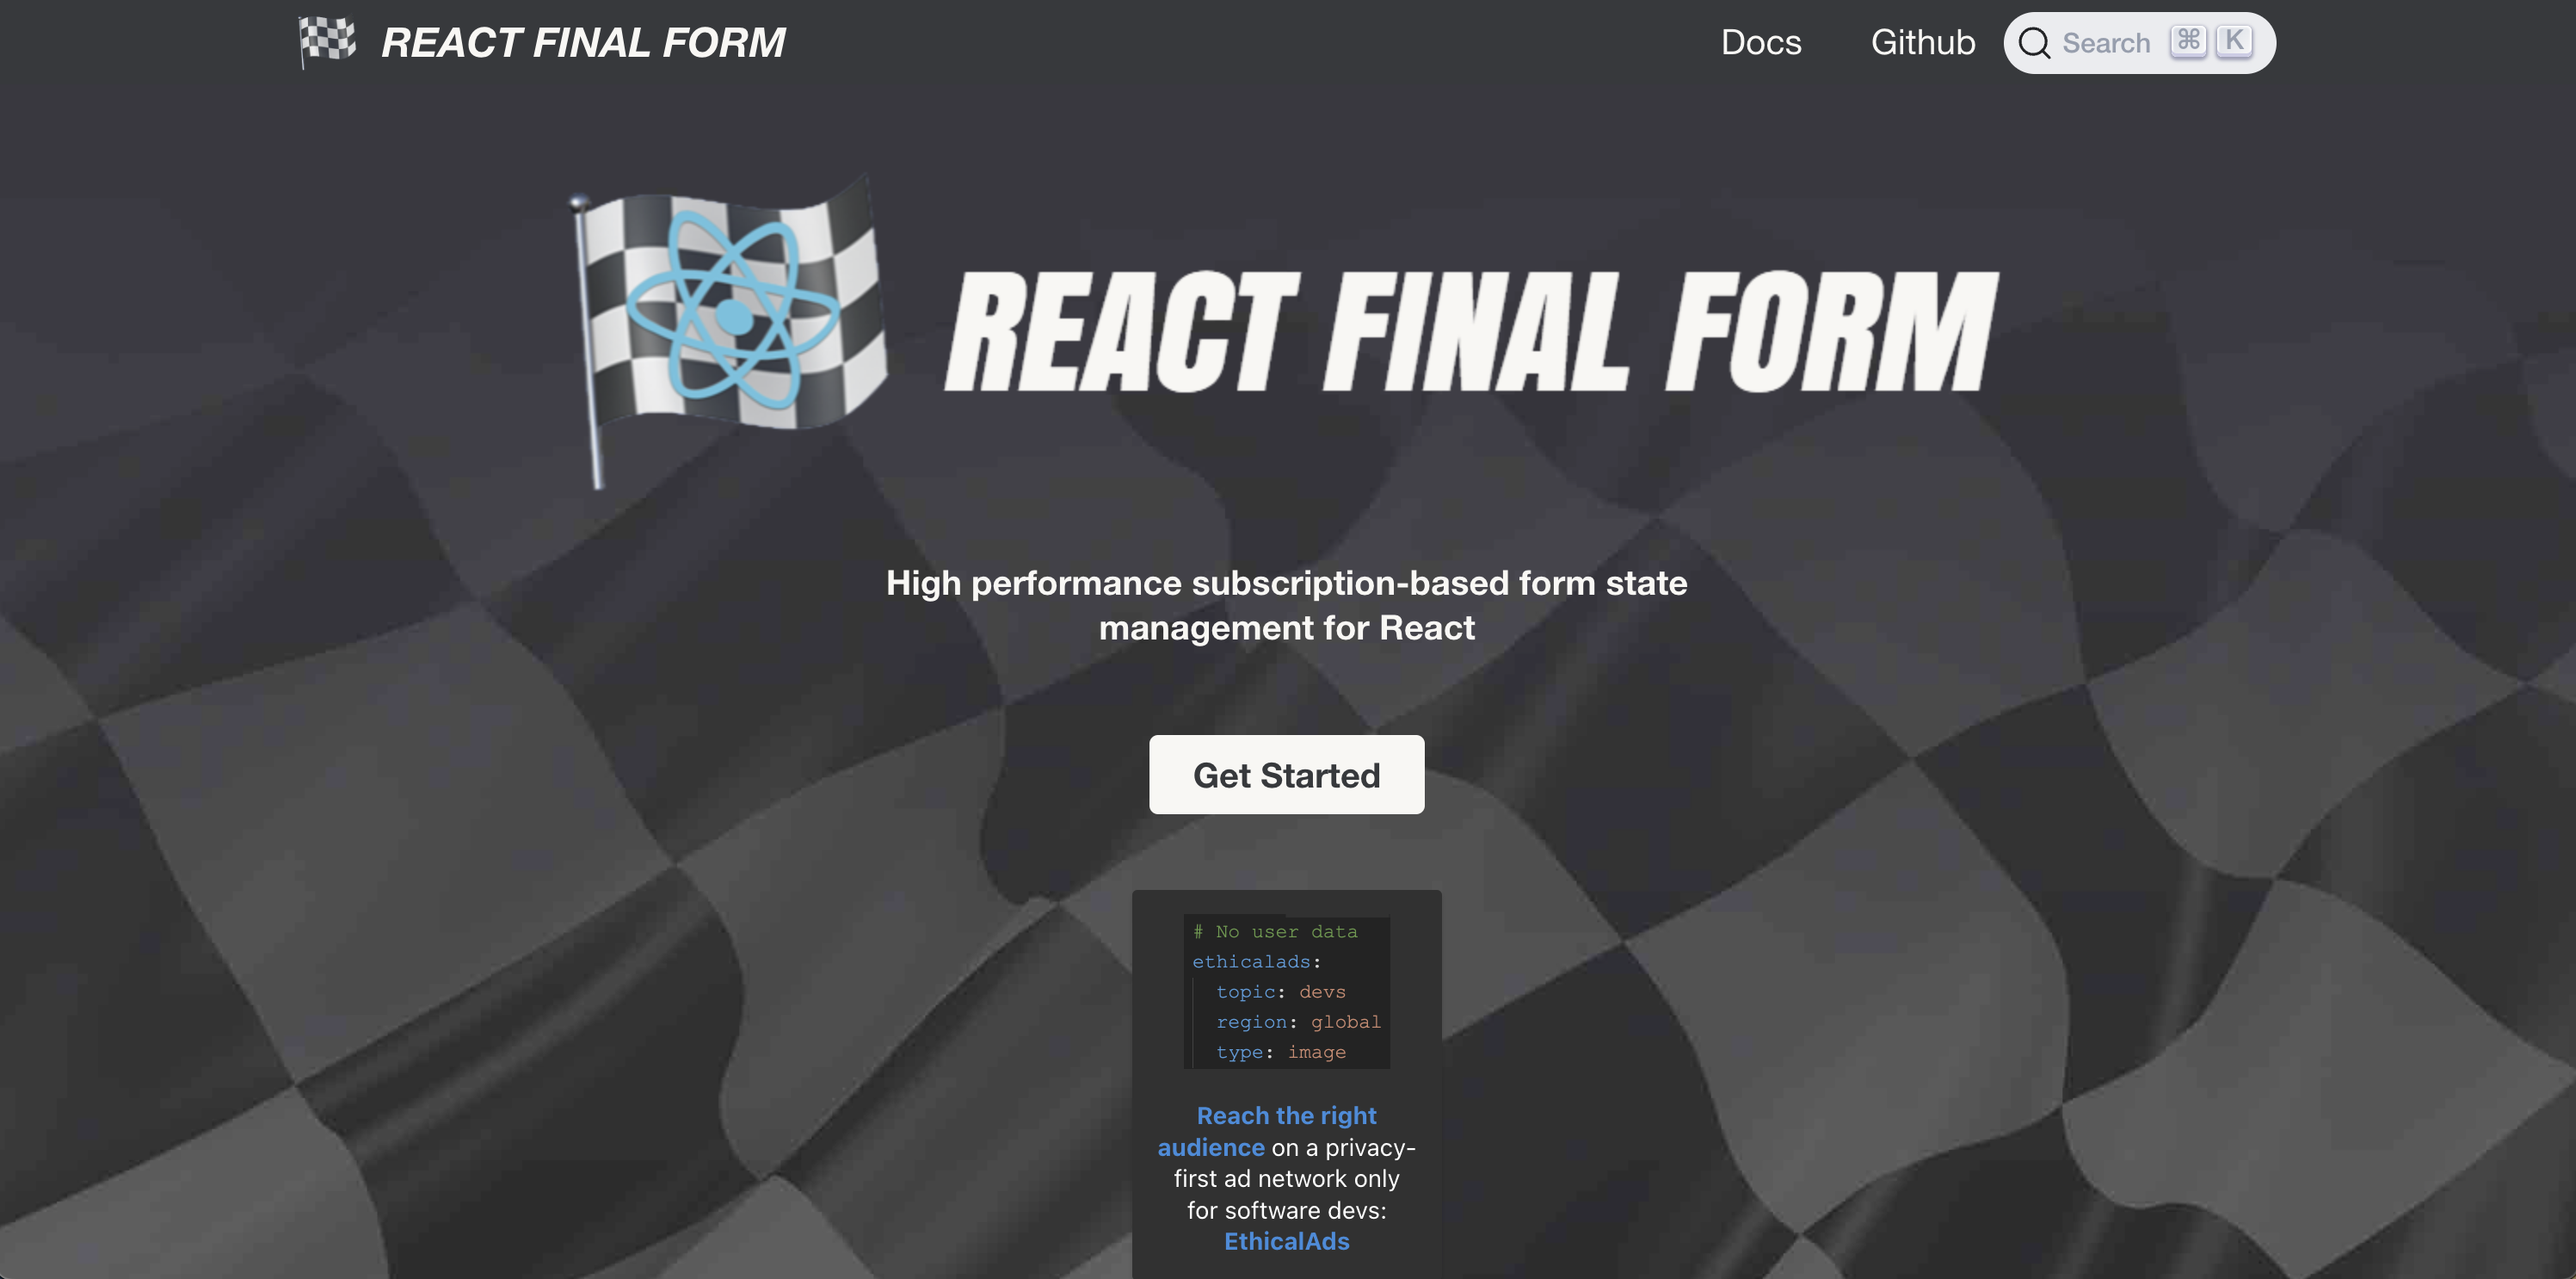
React Final Form was one of the first react form libraries known for its subscription-based approach and small bundle size. This makes it a great choice for performance-critical applications. Unlike React Hook Form’s functional approach, React Final Form utilizes render props and higher-order components. However, it remains fully compatible with React hooks, allowing you to leverage features like useState and useEffect within your forms.
Getting started with React Final Form involves installing the library and wrapping your form component with the Form HOC (Higher-Order Component). The Form component provides access to form state, submission handling, and validation capabilities.
For validation, React Final Form offers both field-level and record-level validation. Field-level validation lets you define validation rules for individual form fields. You can use built-in validators like required and maxLength, or create custom validators using functions. Record-level validation allows you to perform checks across multiple form fields at once, useful for ensuring data consistency.
Here’s a glimpse of a simple form with React Final Form:
  import { Form, Field } from "react-final-form";

  const MyForm = () => {
    const onSubmit = async (values) => {
      await sleep(300);
      window.alert(JSON.stringify(values, 0, 2));
    };

    return (
      <Form
        onSubmit={onSubmit}
        validate={(values) => {
          const errors = {};
          if (!values.name) {
            errors.name = "Required";
          }
          return errors;
        }}
        render={({ handleSubmit, form, submitting, pristine, values }) => (
          <form>
            <Field name="name">
              {({ input, meta }) => (
                <div>
                  <label htmlFor="name">Name:</label>
                  <input type="text" id="name" {...input} />
                  {meta.error && <span className="error">{meta.error}</span>}
                </div>
              )}
            </Field>
            <button onClick={form.reset} disabled={submitting || pristine}>
              Submit
            </button>
          </form>
        )}
      ></Form>
    );
  };

  export default MyForm;
You can try out the example on CodeSandbox.
In this example, the Field component is used for both the name input and the submit button. The validate prop on the Field for the name accepts a validation function (here, required) to ensure the field isn’t empty. React Final Form provides a rich set of features for complex validation scenarios, making it a valuable tool for building robust and efficient forms in React applications.
Choosing the Right Form Management Library
With a variety of form management libraries available, selecting the most suitable one depends on your project’s specific needs and team experience. Here’s a comparison table highlighting the key strengths and weaknesses of the options we discussed above:
| Library | Ease of Use | Features | Learning Curve | Ideal For |
|---|---|---|---|---|
| React Hook Form | Easy | Functional approach, built-in validation rules, optimized for performance, field-level subscriptions | Low | Beginners, complex forms with conditional validation |
| React Final Form | Moderate | Subscription-based approach, small bundle size, fine-grained control | Medium | Performance-critical applications, experienced developers |
| Formik | Easy | Declarative style, built-in validation, error handling | Low | Simple to medium complexity forms, good for quick integration |
| Formspree React (for Formspree users) | Easy | Simplifies Formspree form handling, server-side validation | Low | Users of the Formspree form backend service |
Remember, these are just general guidelines. Experimenting with different libraries can help you find the best fit for your project. The following sections will delve deeper into advanced validation techniques you can implement with these libraries.
Advanced Validation Techniques
While basic validation helps ensure data integrity, there are other advanced validation techniques you can use for building more robust and user-friendly forms. Let’s take a look at some of those.
Server-side Validation
Client-side validation in React offers immediate feedback, but it shouldn’t be the only line of defense. Malicious actors often try to mess with browser behavior to bypass client-side checks. In such cases, server-side validation ensures data submitted to your application adheres to your rules, even if the client-side validation is bypassed.
Here’s how a typical validation flow, with both client-side and server-side checks, should look like:
- The user fills out the form and receives validation results when the form is submitted, before data is sent, or in real-time as they fill in each field.
- Once submitted, the form data is sent to the server using HTTP requests (solutions like the built-in fetch method simplify this process).
- The server once again validates the data against your defined rules (often implemented in your backend language).
- If validation passes, the server processes the data and returns a success response.
- If validation fails, the server sends back an error response with details about the errors.
This approach provides an extra layer of security and can handle complex validation logic that might be cumbersome on the client side. Sometimes using a form backend like Formspree can speed up this process by providing a simple way to define backend validation rules, and tools to parse and display server response messages, such as @formspree/react.
Asynchronous Validation
Imagine a scenario where you want to check if a username is available while the user types. This requires asynchronous validation, where the validation logic involves an external call (e.g., to a server API). JavaScript provides mechanisms like async/await or promises to handle asynchronous operations like this in React.
Here’s an example of checking a username’s availability asynchronously using async/await:
  const validateUsername = async (username) => {
    const response = await fetch(`/api/check-username?username=${username}`);
    if (!response.ok) {
      throw new Error('Username already taken');
    }
    return true;
  }

  const MyForm = () => {
    const [username, setUsername] = useState('');
    const [usernameError, setUsernameError] = useState(null);

    const handleUsernameChange = async (e) => {
      setUsername(e.target.value);
      try {
        await validateUsername(e.target.value);
        setUsernameError(null);
      } catch (error) {
        setUsernameError(error.message);
      }
    }

    // ... rest of your form logic
  }
In this example, validateUsername is an asynchronous function that checks username availability. The handleUsernameChange function updates the state with the new username and triggers the validation. If the username is available, the error state is cleared. Otherwise, an error message is displayed.
The example shown above runs the validation function at each change of the state. In real-world applications, you should consider throttling operations like this to minimize resource usage.
Conditional Validation
Sometimes, validation rules depend on other form fields. For instance, requiring a confirmation password only makes sense if the user is creating a new account, and not logging in. Conditional validation allows you to tailor validation rules based on user input or form state.
A form library like React Hook Form that use Yup for schema based validation offers features for defining validation schemas with conditional logic. Here’s a simplified example using React Hook Form:
  const schema = yup.object().shape({
    userType: yup.string().required(),
    password: yup.string().when('userType', {
      is: 'new_user',
      then: yup.string().required().min(8),
      otherwise: yup.string(),
    }),
    confirmPassword: yup.string().oneOf([yup.ref('password'), null], 'Passwords must match'),
  });

  const MyForm = () => {
    const { register, handleSubmit, formState: { errors } } = useForm({ resolver: yupResolver(schema) });

    const onSubmit = (data) => {
      // ... form submission logic
    }

    return (
      <form onSubmit={handleSubmit(onSubmit)}>
        <select {...register('userType')}>
          <option value="existing_user">Existing User</option>
          <option value="new_user">New User</option>
        </select>
        {errors.userType && <span>{errors.userType.message}</span>}
        {/* Password and confirmation input fields with appropriate registrations */}
        <button type="submit">Submit</button>
      </form>
    )
  }
In this example, the Yup schema defines validation rules. The password field is only required if the userType is set to “new_user”. The confirmPassword validation ensures it matches the password if entered. This approach keeps validation rules dynamic and adaptable to user choices.
Best Practices for React Form Validation
Robust form validation goes beyond just ensuring data integrity; it aims to offer an all-round positive user experience. To do that, here are some key practices you should keep in mind when implementing form validation in React:
- Prioritize Clear and Helpful Error Messages: As mentioned already, jargon-free, specific error messages are very helpful when it comes to helping users correct their form inputs. Instead of a generic “Invalid input,” pinpoint the issue (e.g., “Email format is incorrect” or “Password must be at least 8 characters”). You should also consider offering suggestions for correction where appropriate.
- Accessibility Matters: To offer a safe and inclusive experience, you should ensure your forms are usable by everyone, including users with disabilities. You should consider utilizing semantic HTML properties like accessible names for form fields and screen reader-friendly error message placement.
- Leverage Form Libraries: Form libraries can often help easily implement and maintain form validation logic. Consider using form validation libraries like React Hook Form or Formik. These libraries streamline validation logic, error handling, and form state management and allow you to focus on the core functionality of your application.
- Embrace Real-time Feedback: One of the easiest ways to make form validation interactive and quick is to provide inline validation results as users interact with the form. This enables users to identify and rectify errors immediately, improving the overall experience.
- Test Your Validation Logic: You should write unit tests to ensure your validation functions work as expected under various input scenarios. This helps catch potential issues early on, preventing bugs and frustration for end-users.
- Prioritize Security: Remember, client-side validation is not a one-stop solution for ensuring data integrity. Always consider implementing server-side validation wherever possible to protect against malicious actors and ensure overall data integrity on your server.
Conclusion
React applications rely heavily on forms for user interaction and data collection. Effective form validation helps to maintain the integrity of this data and prevent errors. However, managing complex validation logic can often be challenging. This guide explored various approaches, from built-in HTML validation to powerful form management libraries.
We started with core validation concepts like required fields, format validation, and custom logic. We discussed the importance of clear error messages and user experience during validation. Then, we delved into different techniques and libraries. Ultimately, choosing the right library depends on your project’s needs. Hopefully, this guide will help you do that better.
We also explored advanced techniques like server-side validation for added security, asynchronous validation for real-time feedback, and conditional validation for dynamic rules. Finally, we emphasized best practices for user-friendly error messages, accessibility, and unit testing of your validation logic.
By leveraging these concepts, libraries, and best practices, you can build robust and user-friendly form validation experiences in your React applications, ensuring smooth data collection and a positive user journey.