Moving into 2025: More Plugins, More Control
Step into 2025 with new Formspree plugins for Salesforce and Asana, enhanced Google Sheets sync, and powerful hCaptcha integration for better form security and control

As we kick off a new year, we’re thrilled to share some major updates and improvements to Formspree that have been in the works over the past year. Thanks to your invaluable support and feedback, we’ve introduced powerful new integrations and features designed to streamline your workflows and enhance your form-building experience. Your input continues to inspire us to push boundaries and provide tools that simplify your day-to-day tasks.
Here’s a detailed look at what’s new and how you can start using these exciting features today.
New Plugins Launched
We’ve launched two new plugins to help you build workflows around your forms: Salesforce and Asana.
Salesforce
Our Salesforce integration enables you to turn form submissions into actionable leads automatically. With this integration, every form submission can seamlessly create or update a lead in Salesforce, ensuring your sales pipeline is always up-to-date!
Here’s how to get started:
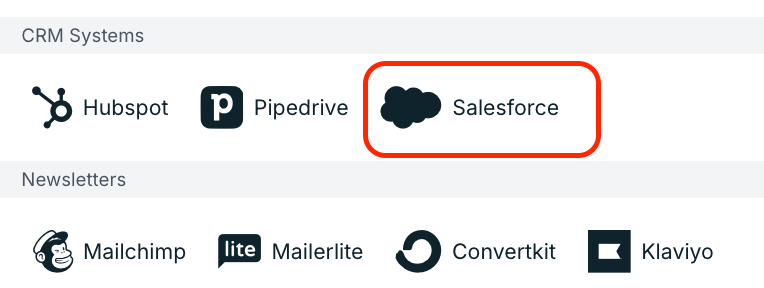
Go to your Form Settings in the Formspree dashboard. Navigate to the Integrations tab and select Salesforce.
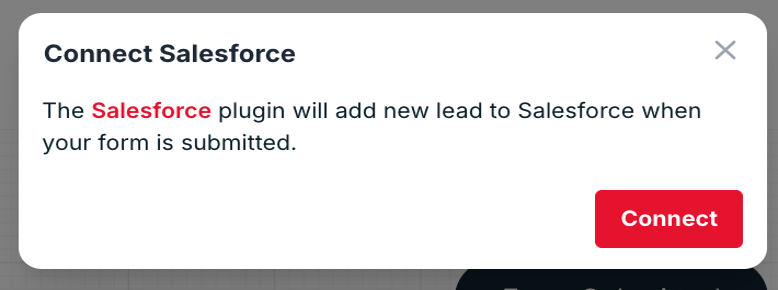
Click on the Connect button.
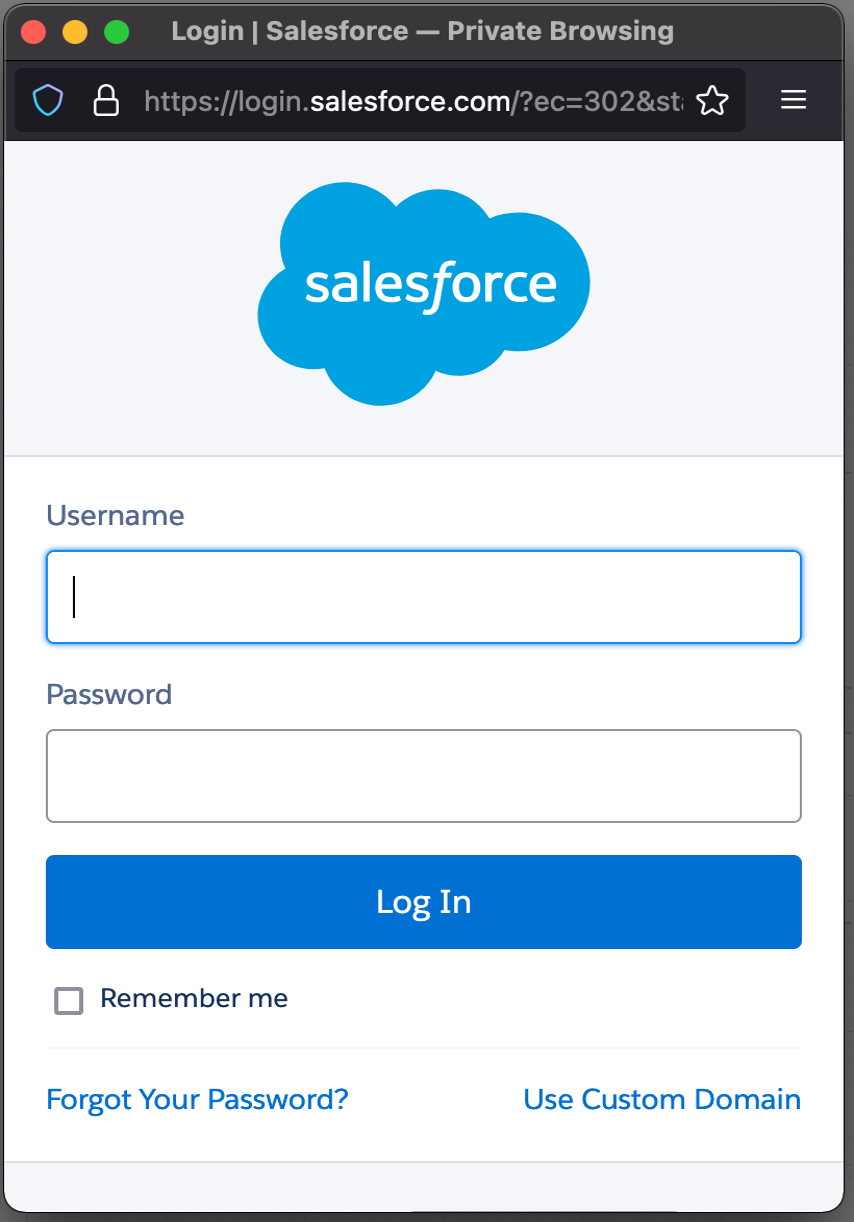
Next, you need to login in to Salesforce by entering your username and password and click on “Sign In” button as shown below:
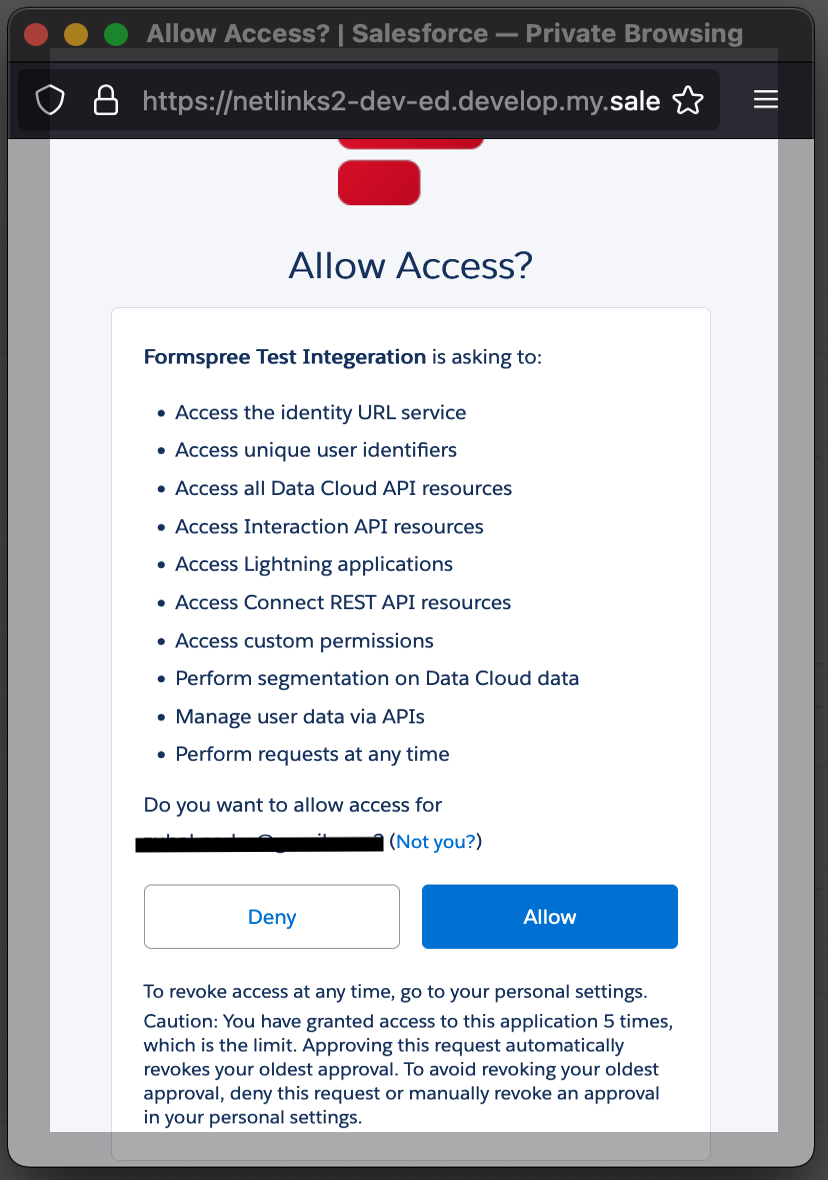
After logging in, you need to allow the required permissions as shown below:
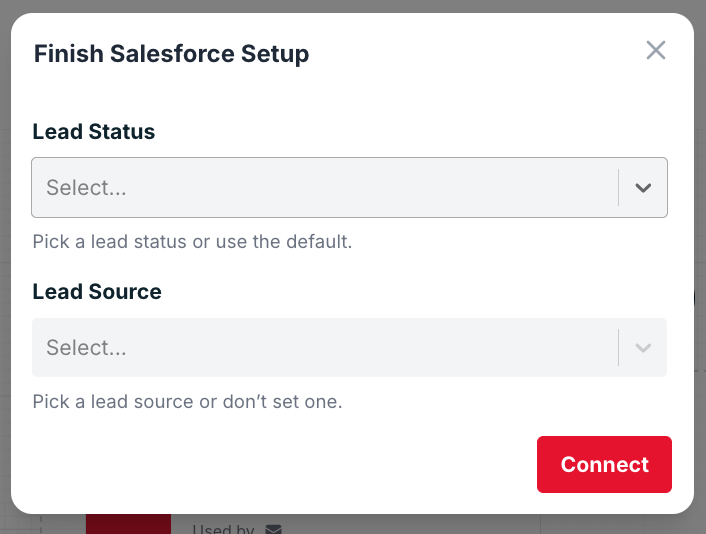
After granting the necessary permissions to Salesforce, you need to select the Lead Status and Lead Source. You can select the default Status by choosing the “– Use Salesforce Default –” option and no source by choosing the “—Don’t set lead source –” option in the Finish Setup window as shown below:
You can now test the integration by submitting your form with a valid response. To learn more, refer to the Salesforce Plugin Documentation.
Asana Integration
Creating new tasks in Asana is now a breeze with our new Asana integration. Form submissions can create tasks directly in your Asana projects, ensuring a seamless workflow from form to project. Whether you’re assigning new leads, tracking issues, or managing feedback, this integration can help you stay organized.
Follow these steps to set up the Asana integration:
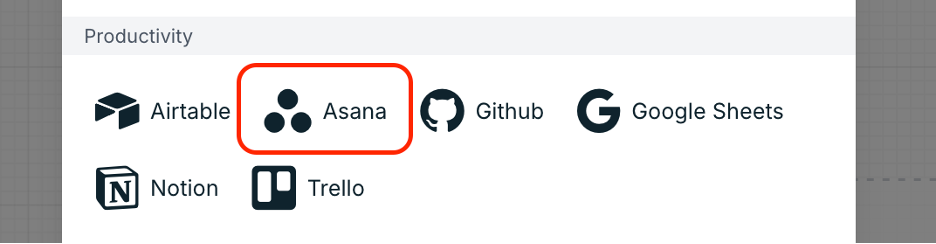
Go to your Form Settings in the Formspree dashboard. Navigate to the Integrations tab and select Asana.
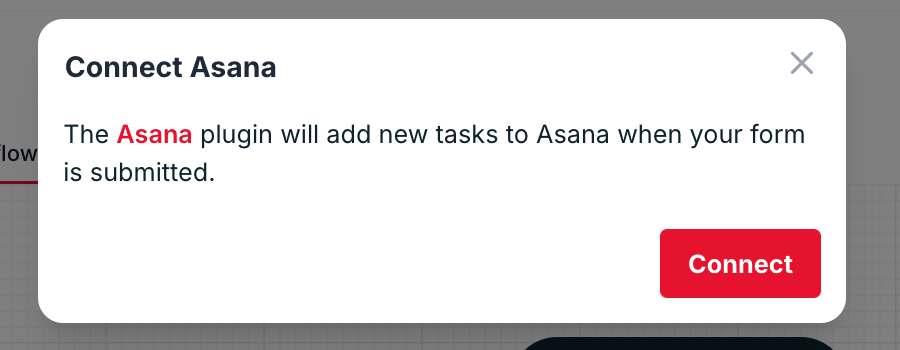
Next, the following dialogue window will open in which you need to click on the connect button:
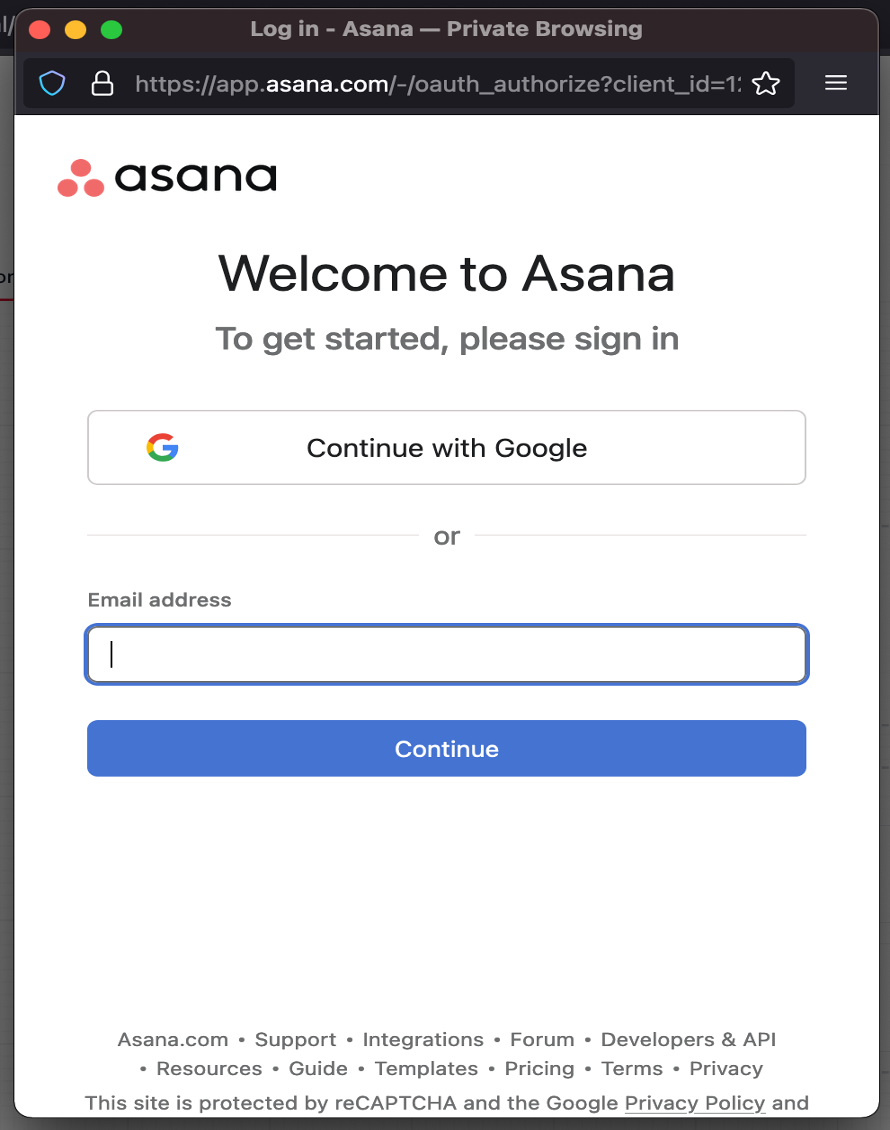
Then, you need to login in to Asana in the window that opens up as shown below,
After successfully logging in and granting the necessary permissions to Asana, you need to select the project where tasks will be created after form submissions. Optionally, you can select a section within the chosen project to assign the newly created tasks to:
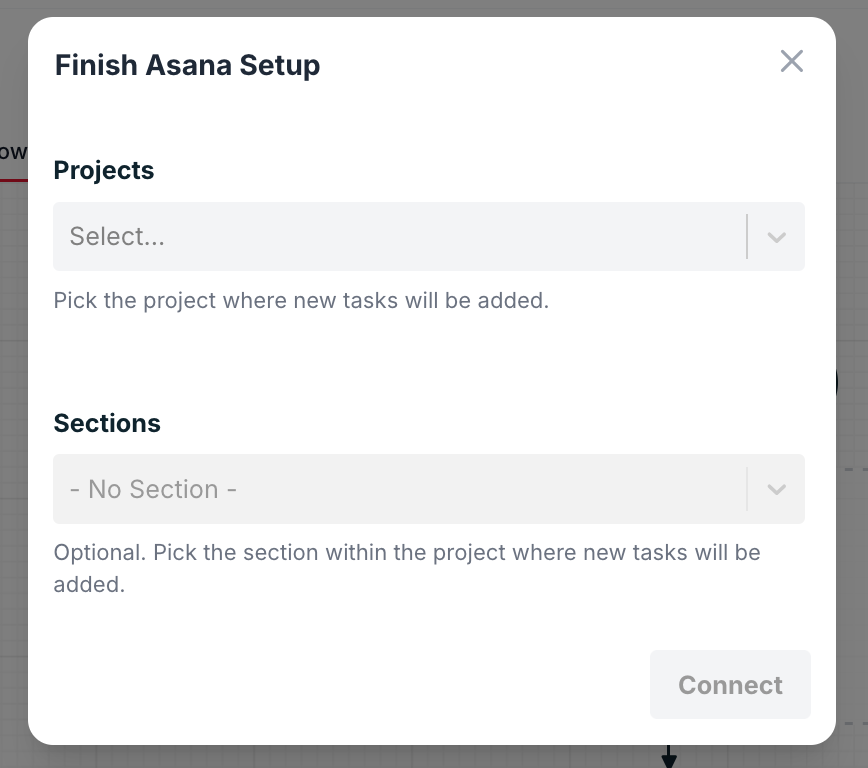
That’s it! You can now test the integration by submitting a valid response to your form, and you will see that a new task gets created in your Asana project. To learn more, check out the Asana Plugin Documentation.
hCaptcha Spam Prevention
We’re expanding our suite of spam prevention tools with the addition of support for hCaptcha. This new CAPTCHA option complements our existing spam security features, including Google reCAPTCHA, giving you more flexibility to choose the solution that best fits your needs.
Say goodbye to unwanted submissions with our latest spam prevention solution, hCaptcha. Available directly in Formspree’s Form Settings, hCaptcha offers a simple yet robust way to protect your forms from bots while ensuring that legitimate users have a frictionless experience.
To enable hCaptcha, go to Form Settings and scroll down to the Spam Protection tab:

Enable CAPTCHA for your form and click on the Adjust settings link. A dialog box to configure CAPTCHA options will open up:
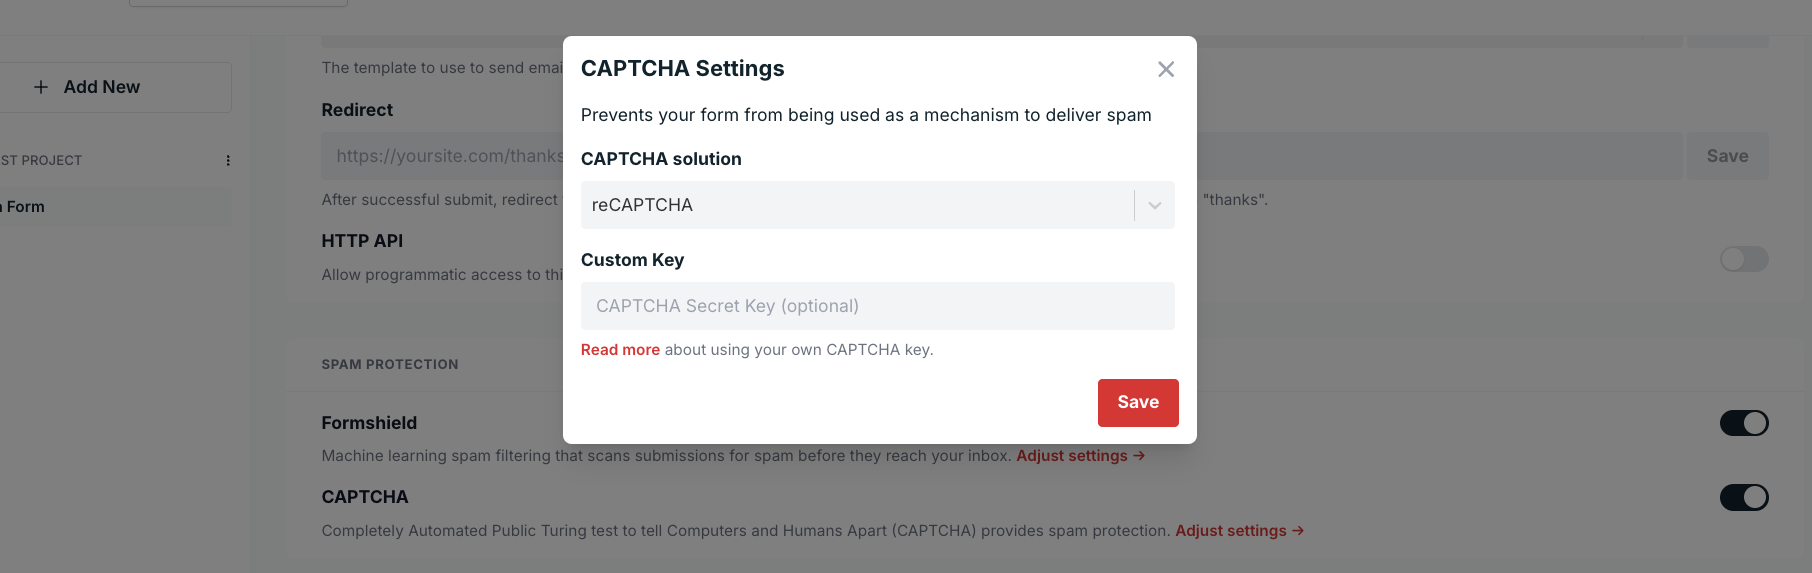
In this dialog box, click on the CAPTCHA solution dropdown and select hCaptcha:
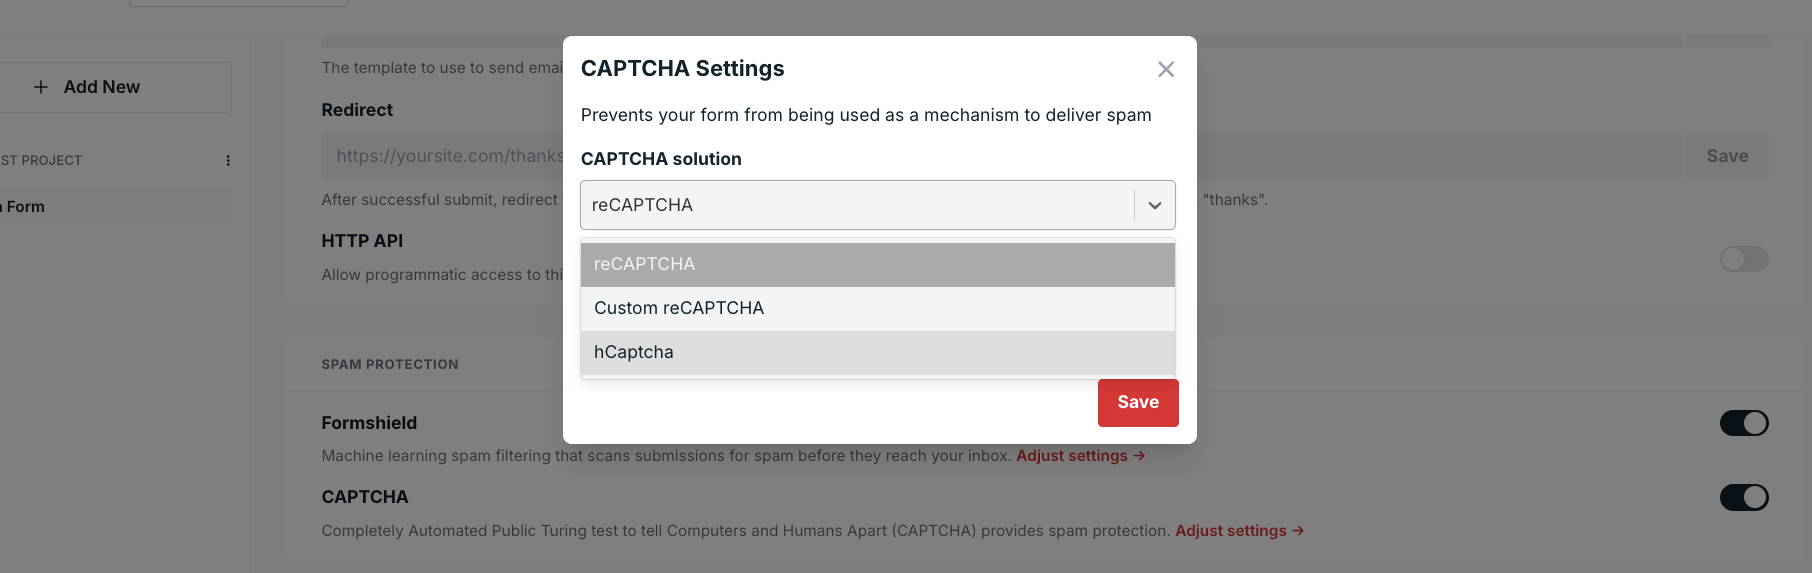
In the Custom Key field, you need to provide an hCaptcha secret key. Here’s how you can get one for your hCaptcha account.
Once you have added the key, click on the Save button. Now, you will need to follow these instructions to run CAPTCHA validation on the client side and send the result to the Formspree server as part of your form submissions.
Google Sheets Sync Option
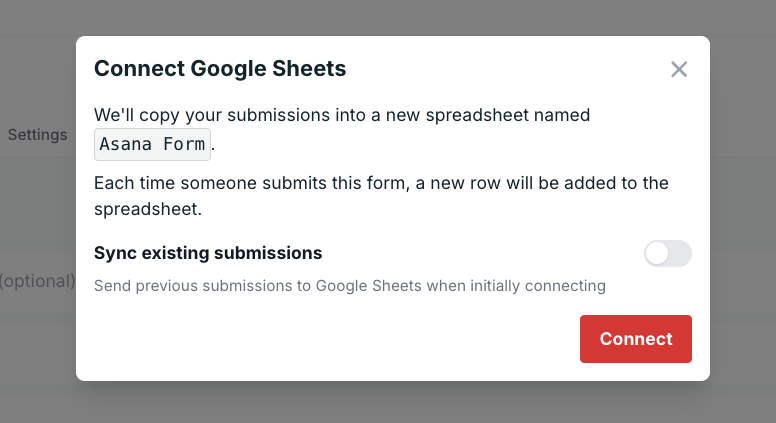
Formspree now lets you sync existing submissions with Google Sheets! Whether you’re analyzing data, collaborating with your team, or generating reports, this integration ensures you can easily export your form submissions to Google sheet’s simple format.
You will need to remove your existing Google Sheets integration and set it up again, enabling the Sync existing submissions option ,to use this feature:
Looking Ahead
We couldn’t have made these updates without your continued trust and feedback. Your engagement drives our mission to make Formspree the best form backend solution available. As we enter this exciting new chapter, we encourage you to explore these new features and integrations and let us know what you think.
Here’s to another year of building, connecting, and innovating together. Thank you for being an integral part of the Formspree community!